7 Steps to Repot a Pothos for Vine Maintenance
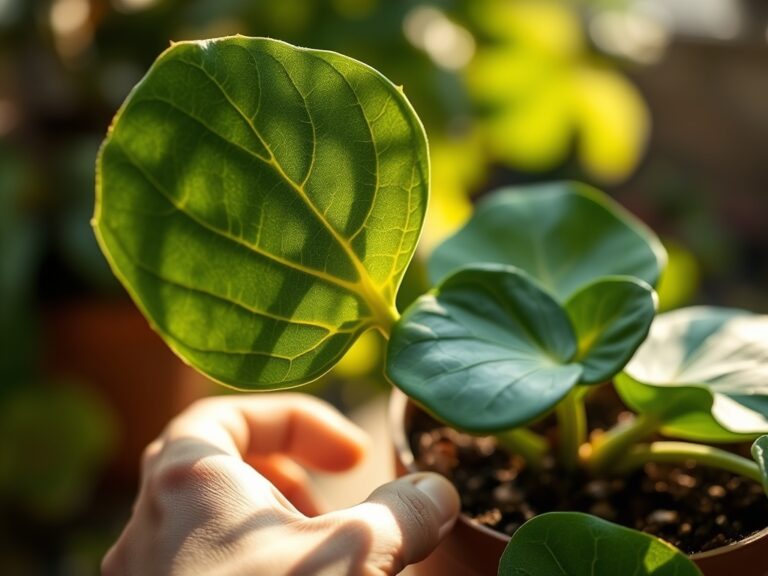
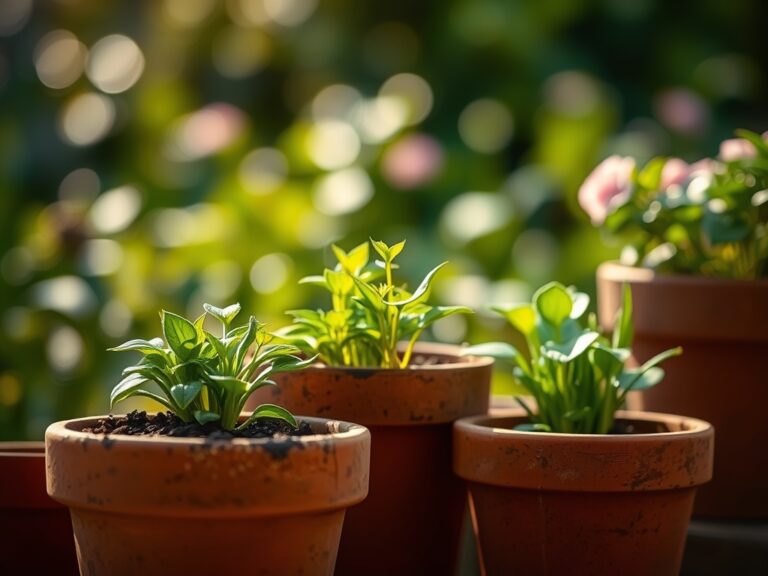
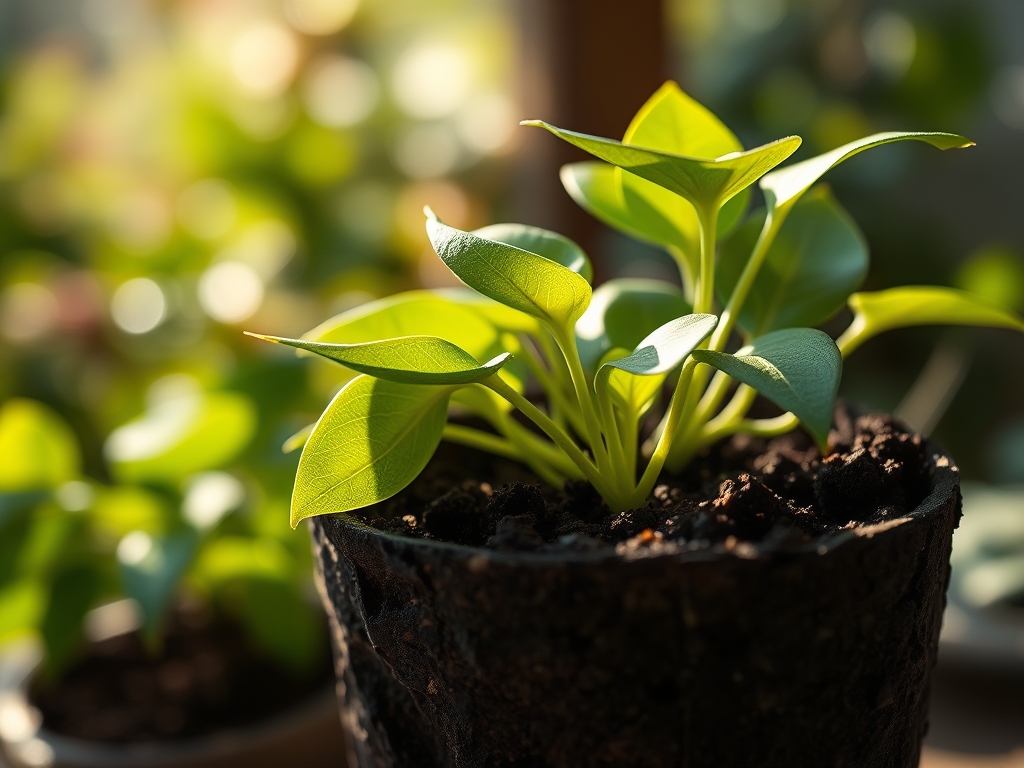
Damp earth carries a sharp, metallic scent of geosmin when the rhizosphere is disturbed. A healthy Epipremnum aureum exhibits high turgor pressure; its leaves feel firm and leather-like rather than flaccid. When the root mass begins to circle the interior of the pot, it restricts nutrient uptake and leads to stunted internodal spacing. Mastering the steps for repotting a pothos ensures the plant maintains its vegetative vigor and prevents premature leaf senescence. This process is not merely a change of scenery for the plant; it is a critical intervention to refresh the Cation Exchange Capacity (CEC) of the growing medium. Without periodic substrate replacement, the soil structure collapses, leading to anaerobic conditions and root necrosis. You must approach this task with the precision of a surgeon. The goal is to transition the plant into a larger vessel while minimizing transplant shock and maximizing the surface area for new root hairs to explore. Observe the root structure in the step-by-step photos below to identify the signs of a pot-bound specimen requiring immediate mechanical intervention.
Materials:
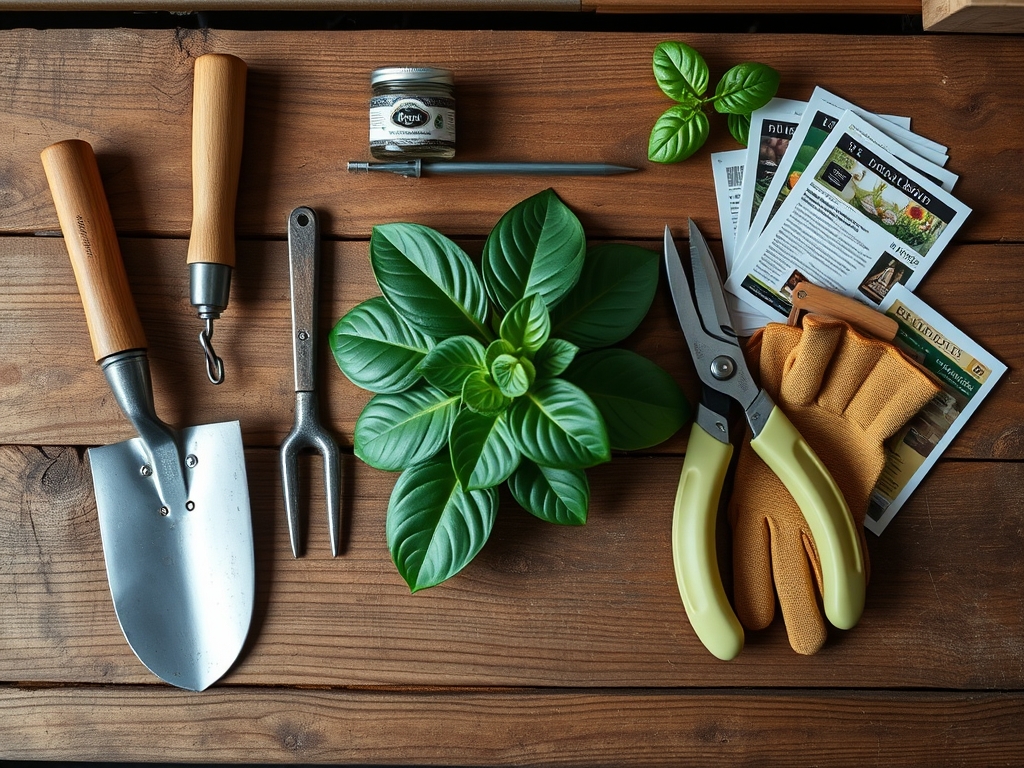
The substrate must be a friable loam with a high percentage of organic matter to facilitate drainage while retaining essential ions. Target a soil pH between 6.1 and 6.5. This slightly acidic range optimizes the availability of micronutrients like iron and manganese.
Your potting mix should be a custom blend: two parts peat moss or coconut coir, one part perlite, and one part pine bark. For nutrition, incorporate a slow-release fertilizer with an NPK ratio of 10-10-10 or 20-20-20. Nitrogen (N) drives the vegetative growth of the vines; Phosphorus (P) supports the cellular energy transfer required for root expansion; Potassium (K) regulates stomatal conductance and overall osmotic pressure. Ensure the new container is only 2 inches wider in diameter than the current one to prevent perched water tables, which occur when excess soil remains saturated for too long.
Timing:
While pothos are typically kept indoors, their biological clock remains tethered to the photoperiod. In Hardiness Zones 10 through 12, these plants can survive outdoors year-round, but for most indoor growers, the ideal window for repotting is late March through early May. This coincides with the transition from the dormant winter phase to the active vegetative stage.
During this period, increasing light levels trigger the production of auxins at the apical meristems. These hormones signal the plant to initiate new cellular division. Repotting during the "Biological Clock" peak ensures the plant has the metabolic momentum to repair roots damaged during the move. Avoid repotting during the winter solstice when the plant is in a state of semi-dormancy; the reduced metabolic rate during low-light months slows recovery and increases the risk of fungal pathogens in the rhizosphere.
Phases:

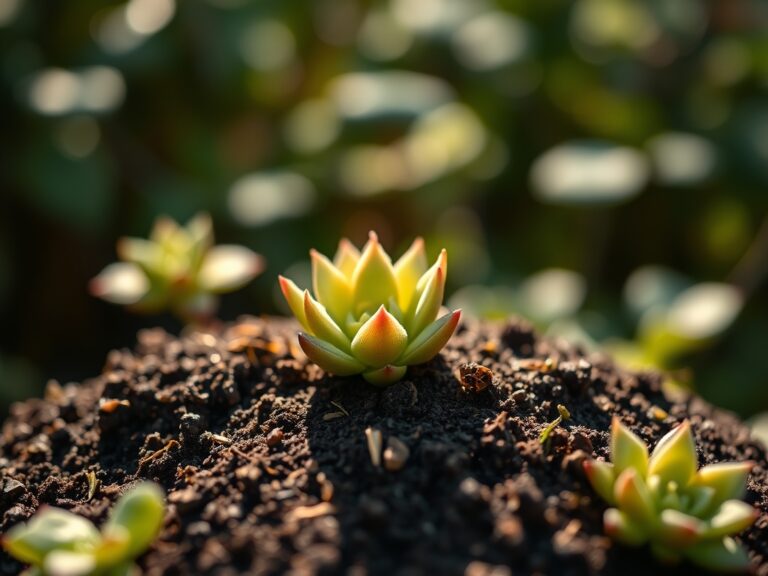
Sowing the Foundation
Begin by hydrating the plant 24 hours prior to the move. This ensures the cells are at maximum turgidity. Use a hori-hori knife to slide around the inner perimeter of the pot, severing any roots that have fused to the clay or plastic. Gently invert the plant, supporting the main stem base with your fingers.
Pro-Tip: Proper hydration before repotting prevents plasmolysis, where the cell membrane shrinks away from the cell wall due to water loss. High turgor pressure makes the root tissues more resilient to mechanical handling.
Transplanting and Root Pruning
Examine the root ball. If the roots are "girdling" (circling the pot), use bypass pruners to make three or four vertical cuts into the root mass. This mechanical disruption breaks apical dominance in the roots and stimulates the growth of lateral feeder roots. Place a layer of fresh substrate in the bottom of the new pot, ensuring the plant sits at the same depth as it did previously.
Pro-Tip: Stimulating lateral root growth utilizes thigmotropism. By physically contacting and pruning the roots, you trigger a hormonal response that redirects energy from elongated "searcher" roots to dense, nutrient-absorbing root hairs.
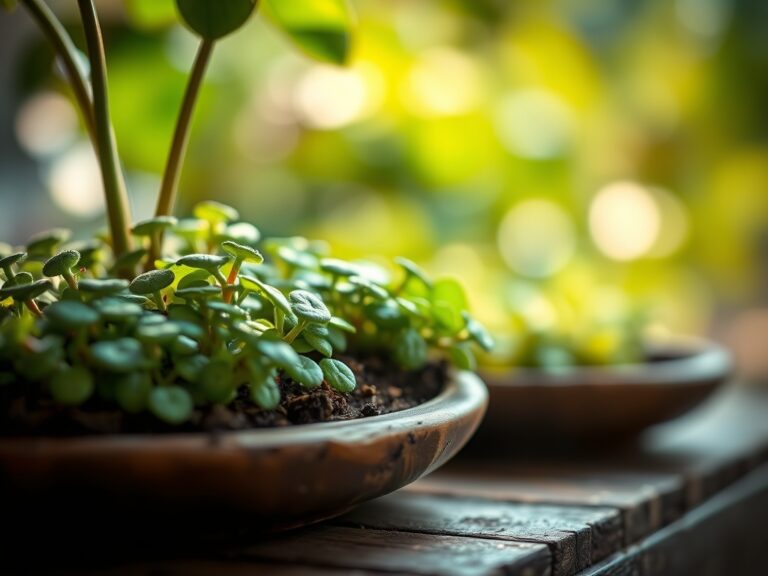
Establishing the Vine
Fill the gaps with the friable loam, tamping down lightly to eliminate large air pockets without compacting the soil. Compaction reduces the pore space, which must remain at approximately 50 percent (half air, half water) for optimal gas exchange. Water the plant until the effluent runs clear from the drainage holes.
Pro-Tip: Immediate watering after transplanting facilitates capillary action. It settles the soil particles against the roots, ensuring immediate contact between the root epidermis and the soil solution, which is vital for the re-establishment of the mycorrhizal symbiosis if using inoculated mixes.
The Clinic:
Physiological disorders in pothos often stem from moisture imbalances or chemical toxicities.
- Symptom: Interveinal Chlorosis.
- Solution: This indicates a Nitrogen deficiency or a pH imbalance locking out Iron. Fix-It: Apply a chelated iron supplement and check that the pH has not drifted above 7.0.
- Symptom: Leaf Tip Necrosis (Browning).
- Solution: This is often caused by the accumulation of fluoride or salts from tap water. Fix-It: Flush the substrate with distilled or deionized water equal to three times the volume of the pot to leach out excess solutes.
- Symptom: Epinasty (Downward curling leaves).
- Solution: This is a classic sign of overwatering and impending root rot (Phytophthora). Fix-It: Increase the perlite content in the mix to improve macropore aeration and reduce watering frequency.
Maintenance:
Post-repotting maintenance requires precision. Use a soil moisture meter to ensure the substrate is dry to a depth of 2 inches before adding more water. Generally, pothos require 1.5 inches of water per week during the growing season, delivered directly to the soil surface to avoid wetting the foliage, which can invite fungal spores.
Prune the vines using bypass pruners sterilized with 70 percent isopropyl alcohol. Make cuts just above a node to encourage branching. This removal of the terminal bud suppresses apical dominance, allowing lateral buds to break and creating a fuller, more robust plant. Monitor the light levels; while pothos tolerate low light, they thrive at 150 to 250 foot-candles.
The Yield:
For those propagating pothos for "yield" (new clones), timing is essential. Harvest cuttings during the peak vegetative state in summer. Each cutting must contain at least one node and two leaves. Use a sharp blade to ensure a clean cut that doesn't crush the vascular cambium.
To maintain "day-one" freshness for cuttings, immediately submerge the nodes in water or a moist propagation medium. This prevents an embolism (air bubble) from forming in the xylem, which would block water transport and lead to the rapid wilting of the cutting.
FAQ:
How do I know when to start the steps for repotting a pothos?
Check the drainage holes. If roots are protruding or the plant requires water more than twice a week, the root-to-soil ratio is imbalanced. This indicates the plant has exhausted its current volume of substrate and needs more space.
What is the best soil for pothos?
Use a well-aerated, peat-based mix with a pH of 6.1 to 6.5. Ensure it contains perlite or bark to maintain a high Cation Exchange Capacity and prevent soil compaction, which leads to anaerobic root conditions.
Should I fertilize immediately after repotting?
No. Wait 4 to 6 weeks before applying liquid fertilizer. Most high-quality potting mixes contain a "starter charge" of nutrients. Adding more immediately can cause osmotic stress and burn the sensitive, newly forming root hairs.
How much larger should the new pot be?
Select a container 2 inches larger in diameter than the previous one. A pot that is too large holds excessive moisture in the "dead zone" where roots haven't reached, significantly increasing the risk of root rot and fungal pathogens.