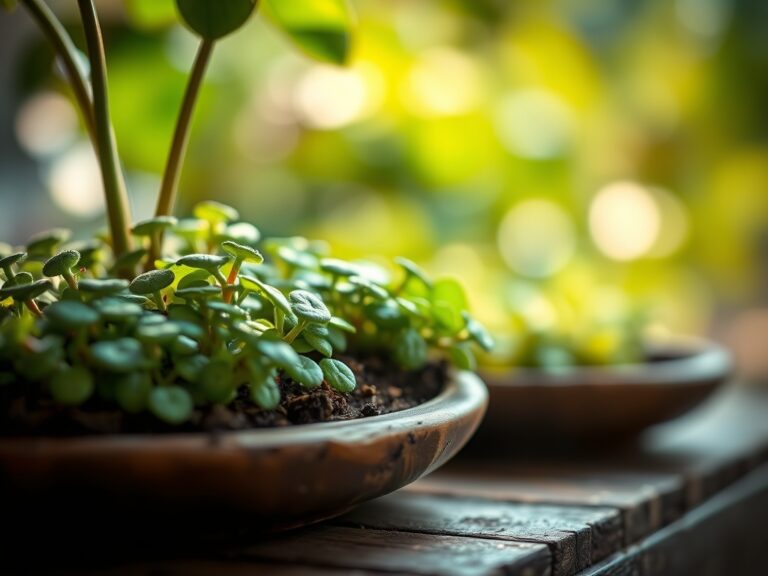
9 Best Plant Pots with Integrated Drainage for Houseplants
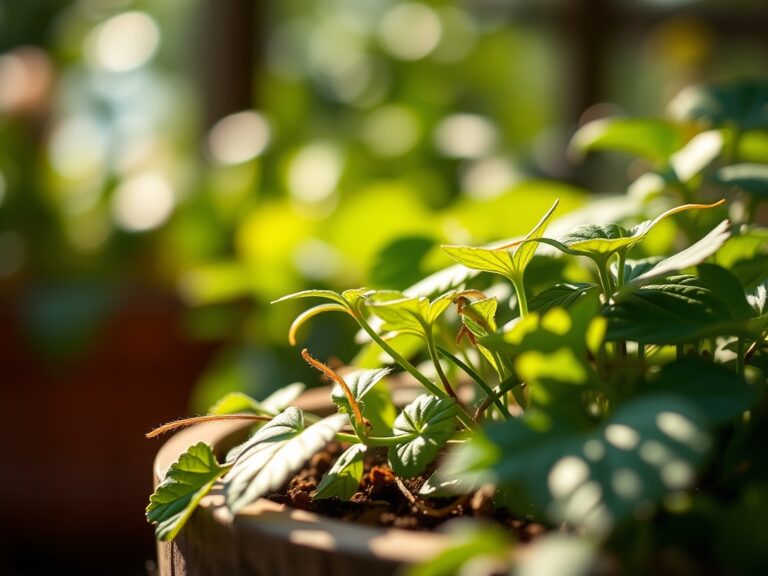
Overwatered houseplants rot because most growers select decorative containers that trap water against roots. The difference between thriving foliage and root rot often reduces to a single design feature: integrated drainage. Best plant pots for drainage separate excess moisture from the root zone, replicating the oxygen-rich conditions of forest floors where epiphytes and terrestrial species evolved. Terracotta, self-watering reservoirs, and double-walled planters with weep holes each solve the drainage equation differently, but all prevent anaerobic conditions that suffocate feeder roots and encourage Pythium.
Materials
Substrate selection aligns with pot design. Unglazed terracotta demands faster-draining mixes because clay walls wick moisture outward. Blend 40% pine bark fines, 30% perlite, 20% peat or coco coir, and 10% worm castings. This mix holds a cation exchange capacity near 12 meq/100g and maintains air-filled porosity above 15% even after irrigation.
Plastic pots with elevated drainage grids tolerate heavier mixes. Use 50% peat, 25% perlage, and 25% compost. Amend with a 4-4-4 organic meal at 1 tablespoon per gallon of mix to supply slow-release nitrogen, phosphorus, and potassium. The near-neutral pH of 6.2 to 6.8 suits aroids, ferns, and most tropical foliage.
Ceramic glazed pots with bottom trays require intermediate porosity. Add rice hulls or pumice at 15% to 20% volume to prevent compaction. For acid-loving genera like Gardenia and Fittonia, incorporate sphagnum peat and sulfur to lower pH to 5.5. Test with a digital meter monthly during establishment.
Self-watering planters separate media from a reservoir. Fill the basin with rainwater or reverse-osmosis water to avoid salt buildup. Use a moisture meter to confirm the top 2 inches dry between refills. This method stabilizes auxin distribution in stem tissue and reduces transplant shock.
Timing
Indoor transplanting does not follow frost dates, but seasonal light rhythms govern root activity. Transplant from March through June in USDA Hardiness Zones 3 through 11 when day length exceeds 12 hours. Extended photoperiods trigger cytokinin synthesis, accelerating lateral root formation.
Avoid repotting from November through February unless supplemental grow lights provide 14 hours of 200 to 400 footcandles. Low-light stress during short days inhibits mycorrhizal colonization and prolongs establishment. If relocation is necessary in winter, hold ambient temperature above 65 degrees Fahrenheit and postpone fertilization for 6 weeks.
Check root development through drainage holes. White or pale yellow root tips indicate active growth, the optimal window for potting up. Brown, circling roots signal delayed transplant. Prune circling tissue with sterilized pruning shears at a 45-degree angle to stimulate branching.
Phases
Sowing: Direct-sow seeds into 3-inch pots with at least four 0.25-inch drainage holes. Cover seed with a layer of vermiculite equal to twice the seed diameter. Vermiculite maintains 200% to 300% water-holding capacity while permitting gas exchange. Bottom-water by placing pots in a tray filled to 0.5 inches. Remove trays after 10 minutes to prevent salt accumulation.
Pro-Tip: Dust seed with Rhizophagus irregularis spores at 100 propagules per gram of mix. Mycorrhizal fungi colonize emerging radicles within 7 days, extending phosphorus uptake radius by 10-fold.
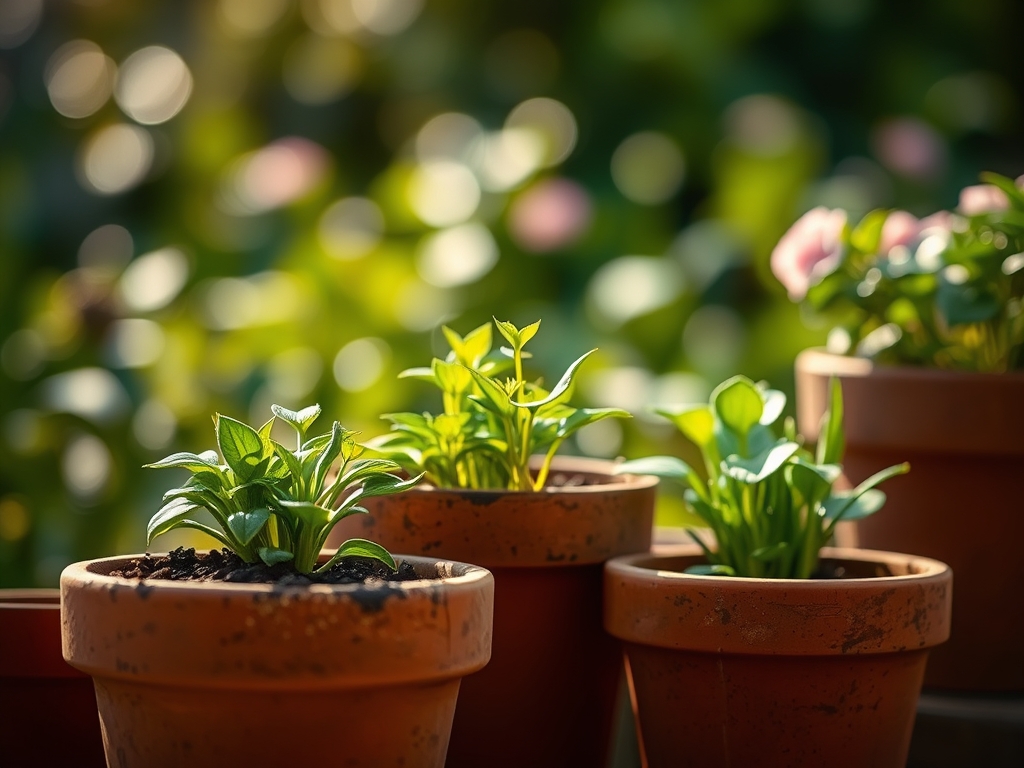
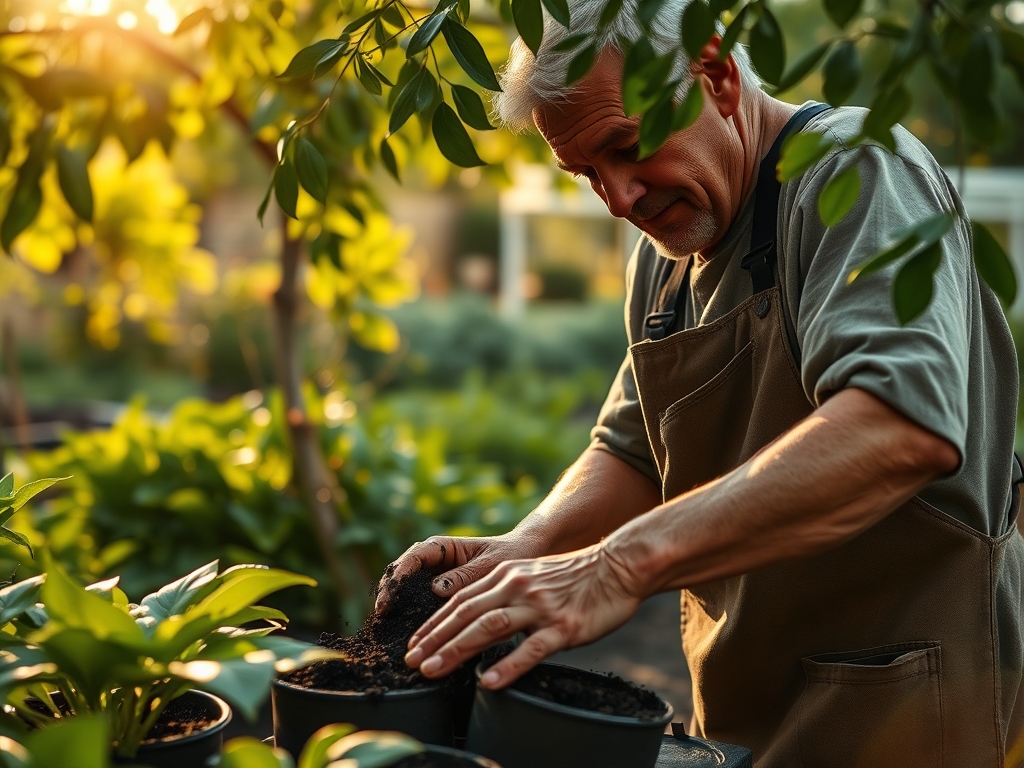
Transplanting: Select pots 2 inches wider than the root ball. Place 1 inch of drainage aggregate (lava rock or broken terracotta shards) at the base. Center the plant so the root crown sits 0.5 inches below the rim. Backfill with pre-moistened mix, tamping gently every 2 inches to eliminate air pockets. Water until runoff appears in the saucer, then discard excess within 15 minutes.
Pro-Tip: Prune damaged roots at a 60-degree angle to maximize callus surface area. Dip cut ends in rooting hormone powder (0.1% indole-3-butyric acid) to accelerate wound healing.
Establishing: Monitor substrate moisture with a tensiometer or moisture meter. Allow the top 2 inches to dry for most species, or the top 1 inch for ferns and calatheas. Roots explore new substrate within 14 to 21 days if drainage removes excess water within 30 seconds of irrigation.
Pro-Tip: Introduce beneficial nematodes (Steinernema feltiae) at 5 million per pot after 3 weeks. These predators suppress fungus gnat larvae in the drainage zone.
Troubleshooting
Symptom: Yellow lower leaves, mushy stem base, foul odor.
Solution: Root rot from poor drainage or compacted substrate. Unpot the plant, remove brown mushy roots, repot into fresh mix with added perlite, and reduce watering frequency by 30%.
Symptom: White crust on soil surface and pot rim.
Solution: Salt accumulation from overfertilization or tap water high in dissolved solids. Leach pots with distilled water at three times the container volume. Switch to rainwater or reduce fertilizer concentration to one-quarter label rate.
Symptom: Wilting despite moist substrate.
Solution: Oxygen deprivation at roots. Drill additional 0.5-inch drainage holes in pot sides, 1 inch above the base. Aerate substrate by inserting a chopstick to 3 inches depth every 2 weeks.
Symptom: Rapid drying, daily watering required.
Solution: Root-bound condition or pot too porous. Inspect roots; if circling occupies more than 70% of root ball volume, transplant to a container 3 inches larger. For terracotta, line interior with landscape fabric to slow evaporation.
Symptom: Algae film on substrate or pot exterior.
Solution: Excessive moisture and light exposure. Move pot from direct sun. Top-dress with 0.5 inches of fine orchid bark to block light. Reduce irrigation volume by 20%.
Maintenance
Water when the top 2 inches of substrate feel dry to the touch. Deliver 1 inch of water per irrigation, measured by collecting runoff in a graduated cylinder. Aim for 20% to 30% leachate to flush accumulated salts.
Fertilize every 4 weeks from March through September with a balanced liquid formula at half strength (e.g., 10-10-10 diluted to 5-5-5). Withhold fertilizer from October through February unless artificial lighting extends the photoperiod past 14 hours.
Rotate pots 90 degrees weekly to equalize light exposure and prevent phototropic lean. Inspect drainage holes monthly for root emergence. Prune protruding roots or pot up when roots occupy more than 60% of visible hole area.
Flush pots every 3 months by running lukewarm water through substrate for 5 minutes. This leaching removes residual salts that interfere with nutrient uptake and cation exchange capacity.
FAQ
What material offers the best drainage for succulents?
Unglazed terracotta combined with a 70% mineral substrate (pumice, coarse sand, and perlite) prevents water retention that causes stem rot in Crassulaceae and Cactaceae.
How many drainage holes does a 10-inch pot need?
At minimum, five 0.5-inch holes spaced evenly across the base. Add side holes 1 inch above the bottom for species requiring high oxygen at roots, such as orchids.
Can I use pots without drainage holes?
Only with a false bottom built from 2 inches of lava rock and a layer of horticultural charcoal. Risk remains high; true drainage holes remain superior for long-term health.
How do self-watering pots prevent overwatering?
A reservoir supplies moisture via capillary action through a wicking column. Roots access water as needed while excess drains away from the main root zone, reducing anaerobic conditions.
Should I place gravel in the bottom of pots?
No. Gravel creates a perched water table and raises the saturated zone closer to roots. A single large drainage hole outperforms any gravel layer for moisture management.