8 Steps to Prepare a Home Perimeter for a New Wall
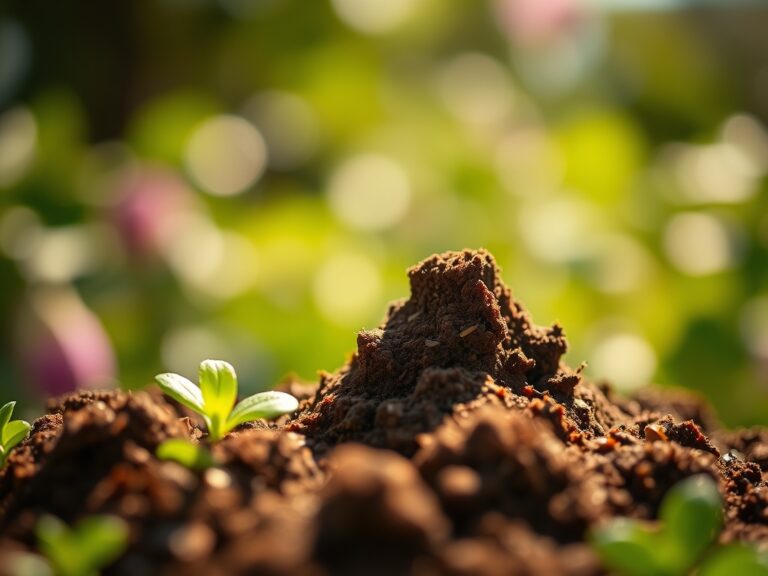
The smell of damp earth after a deep tilling reveals the true health of the rhizosphere; it is a metallic, musky scent that signals active microbial life. When the turgor pressure of a healthy leaf is high, the foliage feels rigid and cool to the touch. Mastering how to prepare a garden for a wall requires more than moving dirt. It demands a precise understanding of soil mechanics and plant physiology to ensure the new structure does not compromise the root systems of existing perennials.
Excavating near a foundation or garden border triggers immediate stress responses in plants. The physical disruption of the soil profile alters the Cation Exchange Capacity (CEC) by exposing buried minerals to oxygen. To succeed, you must manage the moisture levels and nutrient density of the site weeks before the first stone is laid. A failure to stabilize the soil can lead to structural shifting or localized anaerobic conditions that rot root tissue. This guide provides the technical framework to transition your landscape from a soft garden bed to a reinforced perimeter capable of supporting masonry or timber.
Materials:
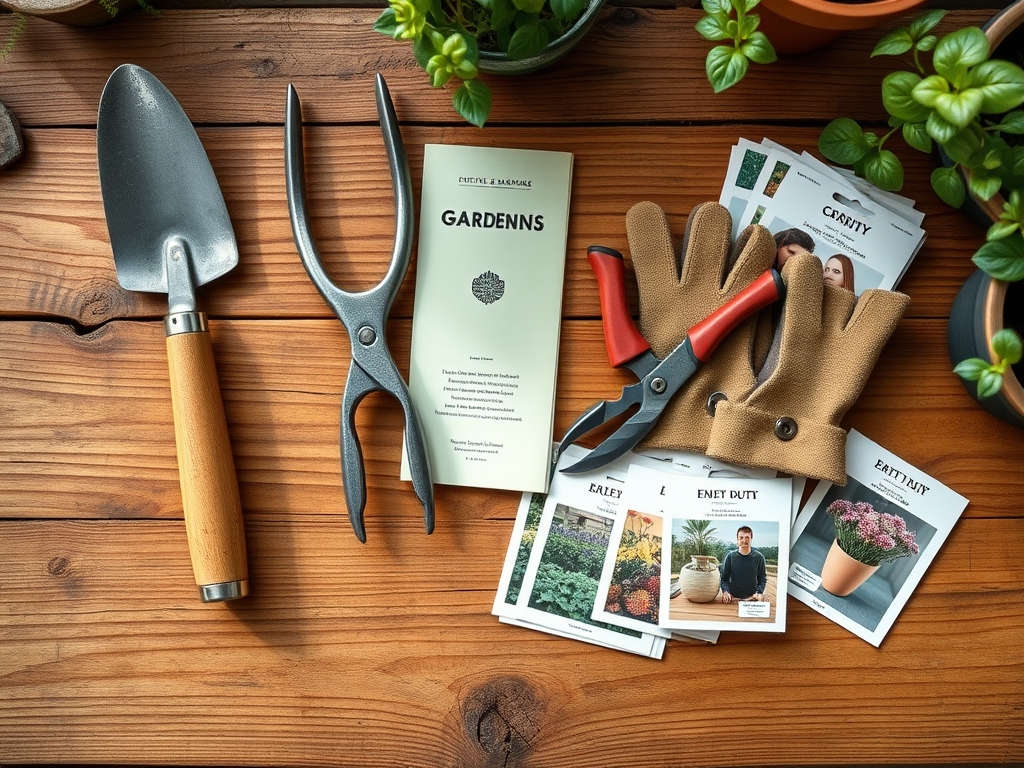
Preparing the site requires a specific substrate profile. You are aiming for a **friable loam** that maintains its structure under compression. The soil pH should be stabilized between **6.2 and 6.8** to ensure maximum nutrient bioavailability.
For the surrounding vegetation, integrate a slow-release fertilizer with an NPK ratio of 5-10-10. The lower Nitrogen (N) percentage prevents excessive vegetative growth that would be difficult to manage during construction, while higher Phosphorus (P) and Potassium (K) levels encourage lignification of the stems and robust root expansion. You will also need course-grade perlite or sharp sand to improve drainage at the base of the wall. High-density polyethylene (HDPE) root barriers are necessary if you are planting within 24 inches of the new structure to prevent root-driven heaving.
Timing:
The biological clock of your garden dictates the success of this project. In Hardiness Zones 5 through 7, the ideal window for site preparation is late autumn or early spring, specifically 4 to 6 weeks before the first or last frost. During these windows, plants are either entering or exiting dormancy, meaning their metabolic rates are low and their demand for water is reduced.
The transition from the vegetative stage to the reproductive stage is a period of high energy expenditure. Never begin heavy excavation during the peak of the photoperiod in mid-summer. High temperatures increase the rate of transpiration; if the root zone is disturbed when the plant is under maximum heat stress, the loss of turgor will lead to permanent wilting point (PWP) and eventual senescence. Aim for soil temperatures between 50 and 60 degrees Fahrenheit to ensure the microbial community remains active enough to repair damaged root hairs.
Phases:
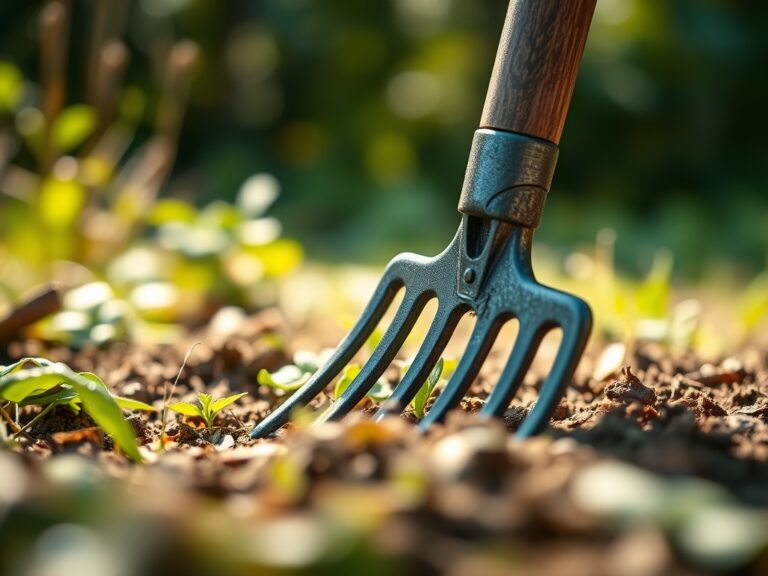
Sowing and Soil Stabilization
Before the wall is built, sow a cover crop of annual ryegrass if the site will sit empty for more than two weeks. This prevents erosion and maintains the soil structure. Ensure the soil is amended with organic matter to achieve a CEC of at least 15 to 25 meq/100g.
Pro-Tip: Mycorrhizal symbiosis is essential here. By inoculating the soil with beneficial fungi, you extend the reach of the root systems, allowing them to scavenge for Phosphorus that is otherwise immobile in the soil.
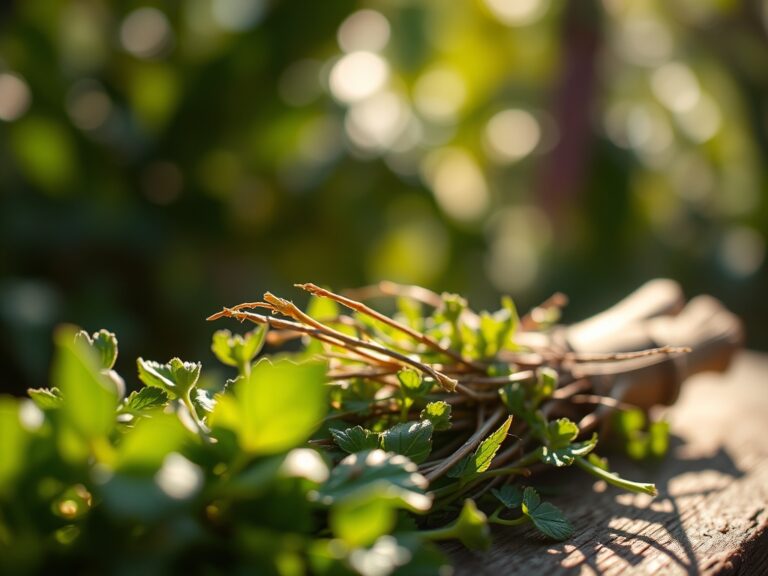
Transplanting and Root Pruning
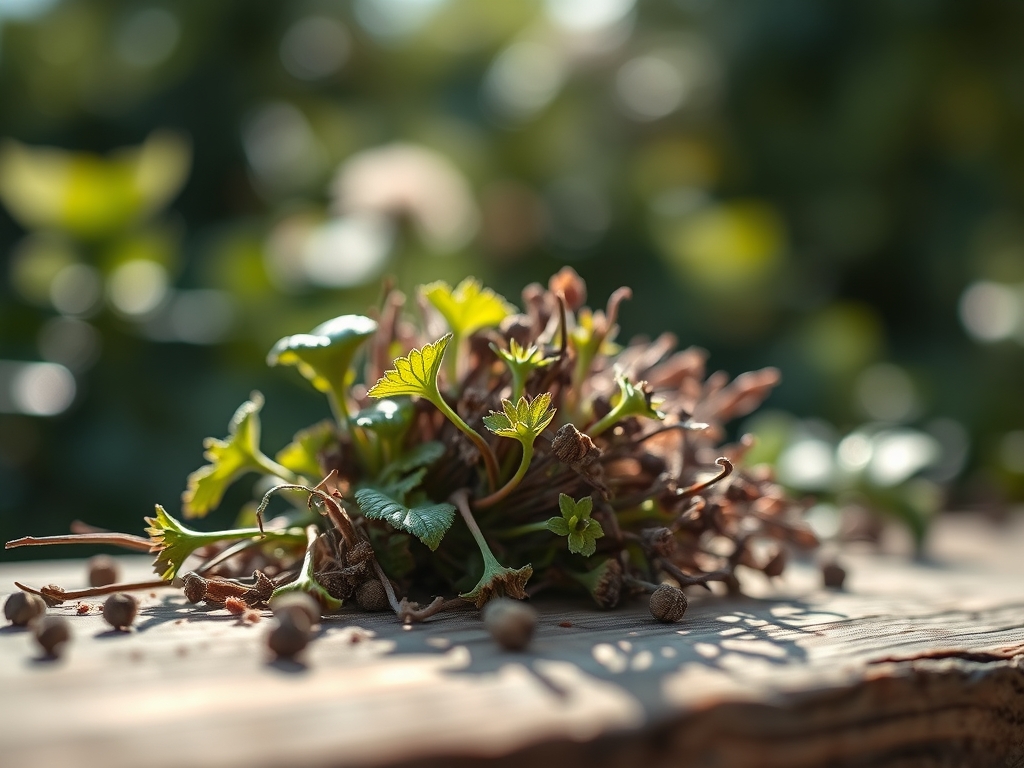
If existing shrubs are in the way, they must be moved. Use a sharp spade to cut a circle around the drip line 30 days before the move. This stimulates the growth of fine feeder roots within the root ball, increasing the chances of survival.
Pro-Tip: This process utilizes the principle of auxin suppression. By cutting the long lateral roots, you remove the source of apical dominance in the root system, forcing the plant to produce a dense cluster of fibrous roots near the crown.
Establishing the New Perimeter
Once the wall is in place, backfill with a mixture of 60% native soil and 40% compost. Compress the soil in 4-inch lifts to prevent future settling, which can tear the roots of newly installed plants.
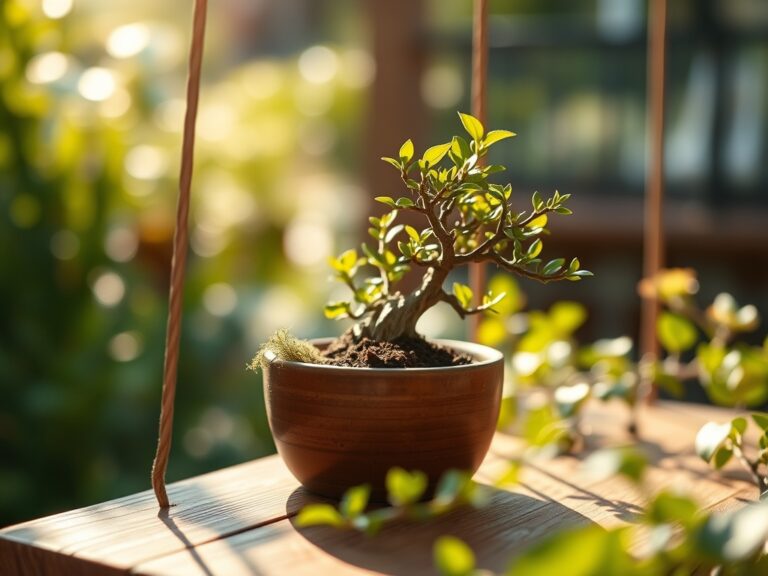
Pro-Tip: Monitor for phototropism. A new wall creates a microclimate with distinct shade patterns. Plants will physically lean toward the light source; ensure you select species with a light saturation point that matches the new exposure.
The Clinic:
Physiological disorders often appear within 14 days of soil disturbance. Monitor your plants for these specific symptoms:
- Symptom: Interveinal Chlorosis. The leaves turn yellow while the veins remain green.
Solution: This indicates a Manganese or Iron deficiency caused by a pH spike. Apply a chelated micronutrient drench to lower the pH and restore nutrient uptake. - Symptom: Leaf Scorch. The margins of the leaves turn brown and brittle.
Solution: This is a sign of localized drought stress due to root loss. Increase irrigation frequency but decrease volume to keep the remaining root zone hydrated. - Symptom: Nitrogen Chlorosis. The oldest leaves turn pale green or yellow uniformly.
Fix-It: Apply a quick-release 20-0-0 liquid fertilizer. The wall construction may have caused "nitrogen tie-up" as microbes work to break down fresh organic matter in the disturbed soil.
Maintenance:
Post-construction maintenance is a game of precision. Use a soil moisture meter daily for the first month. The goal is to maintain 1.5 inches of water per week delivered directly at the drip line. Avoid overhead watering, which can lead to fungal pathogens on stressed foliage.
Keep a hori-hori knife on hand to remove weeds that compete for nutrients in the newly disturbed soil. Use bypass pruners to remove any branches that show signs of dieback; this reduces the plant's overall transpiration demand. Check the wall's weep holes regularly to ensure that water is not pooling behind the structure, as this creates a "bathtub effect" that can lead to root rot.
The Yield:
If your wall garden includes flowering perennials or edibles, timing the harvest is critical for plant health. Harvest flowers when the buds are in the "tight-fisted" stage, just as the color becomes visible. This preserves the plant's carbohydrate reserves. For "day-one" freshness, submerge the cut stems in 110-degree Fahrenheit water immediately after cutting. This heat treatment breaks air bubbles in the xylem, allowing for maximum water uptake and preventing premature wilting.
FAQ:
How deep should I dig the trench for a garden wall?
Excavate a trench 6 to 12 inches deep, depending on the wall height. Ensure the base is twice as wide as the wall material. Fill with 4 inches of compacted crushed stone to provide a stable, well-draining foundation.
Can I build a wall over existing tree roots?
Avoid cutting roots larger than 2 inches in diameter. If roots are unavoidable, bridge over them with lintels or use a dry-stack method. Covering roots with more than 4 inches of soil can suffocate the tree by blocking oxygen.
What is the best soil for backfilling a wall?
Use a well-draining mix of crushed stone for the first 12 inches directly behind the wall. Fill the remaining space with a 60/40 blend of screened topsoil and organic compost to support plant growth while ensuring proper hydrostatic drainage.
How do I prevent the wall from leaning over time?
Install a perforated drain pipe at the base of the wall, sloped to an exit point. Use "deadman" anchors every 8 to 10 feet for timber walls. Proper compaction of backfill in 4-inch layers prevents soil settling and outward pressure.