9 Steps to Prepare for a Home Garden Accent Light
Crushing a handful of friable loam reveals the metallic scent of geosmin and the structural integrity of a healthy rhizosphere. When the cellular turgor of a leaf is at its peak, the plant stands rigid; this is the ideal moment to assess the spatial dynamics of your landscape. Learning how to prepare a garden for a light requires more than aesthetic placement. It demands a technical understanding of how artificial photoperiods interact with plant physiology. You are not just installing a fixture; you are altering the circadian rhythms of your botanical specimens. Proper preparation ensures that trenching for conduit does not sever critical lateral roots or disrupt the delicate mycorrhizal networks that facilitate nutrient uptake. Every shovel stroke must be calculated to preserve soil structure while positioning the light source to highlight architectural features without inducing heat stress or interrupting the dark cycle necessary for certain short day species. Success depends on the intersection of electrical safety and horticultural health, starting with the chemical composition of the substrate where your hardware will reside.
Materials:
The foundation of a successful installation begins with soil stability and nutrient density. You must ensure the area can support both the physical weight of the fixtures and the recovery of the plants after the soil is disturbed. Target a **pH range of 6.2 to 6.8** to optimize the Cation Exchange Capacity (CEC), allowing for the efficient movement of ions like calcium and magnesium.
For the surrounding vegetation, apply a balanced granular fertilizer with an NPK ratio of 10-10-10 two weeks prior to installation. This provides a reservoir of nitrogen for vegetative recovery and phosphorus for root repair. The substrate must be a friable loam, consisting of roughly 40% sand, 40% silt, and 20% clay. This specific texture ensures adequate drainage around electrical housing while maintaining enough moisture to prevent the soil from collapsing during trenching. Use a soil moisture meter to verify that the ground is at 25% to 30% capacity before digging; bone-dry soil crumbles, while saturated clay will compact, suffocating the aerobic bacteria essential for root health.
Timing:
Installation windows are dictated by the frost line and the biological clock of your specific cultivars. In Hardiness Zones 5 through 7, the ideal window is late spring after the final frost or early autumn before the ground freezes. Performing electrical work during the transition from vegetative growth to reproductive stages (flowering) is risky. During the reproductive phase, plants divert energy from root repair to seed production, making them less resilient to the root pruning that often occurs during trenching.
Observe the photoperiod requirements of your garden. If you are installing lights near short-day plants (those requiring long periods of darkness to bloom), you must ensure the light spectrum and duration do not interfere with their hormonal signaling. Aim for installation during the "dormant" or "semi-dormant" hours of the early morning, when transpiration rates are lowest and the plant is under minimal environmental stress.
Phases:

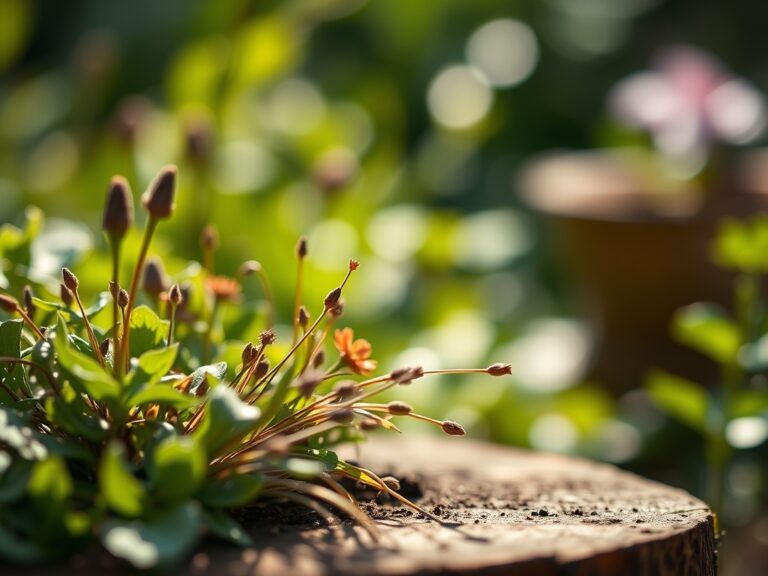
Sowing and Site Mapping
Before the first trench is dug, map the root zones of established perennials. Use a hori-hori knife to probe the soil and locate major lateral roots. Avoid placing heavy fixtures directly over the drip line of trees, as this is where the most active moisture-seeking root hairs reside.
Pro-Tip: Respecting the rhizosphere prevents auxin suppression. When roots are severed, the plant’s production of auxins decreases, which can lead to stunted apical growth as the plant struggles to re-establish its hormonal balance.
Transplanting and Rerouting
If a plant is directly in the path of the conduit, it must be moved with a root ball at least 12 inches in diameter for every inch of stem caliper. Replant at the same depth to avoid stem rot. Ensure the new hole is twice as wide as the root ball to encourage horizontal expansion.
Pro-Tip: Incorporate mycorrhizal fungi inoculants during the move. This mycorrhizal symbiosis expands the surface area of the roots, allowing the transplanted specimen to recover water and minerals more efficiently after the shock of relocation.
Establishing and Anchoring
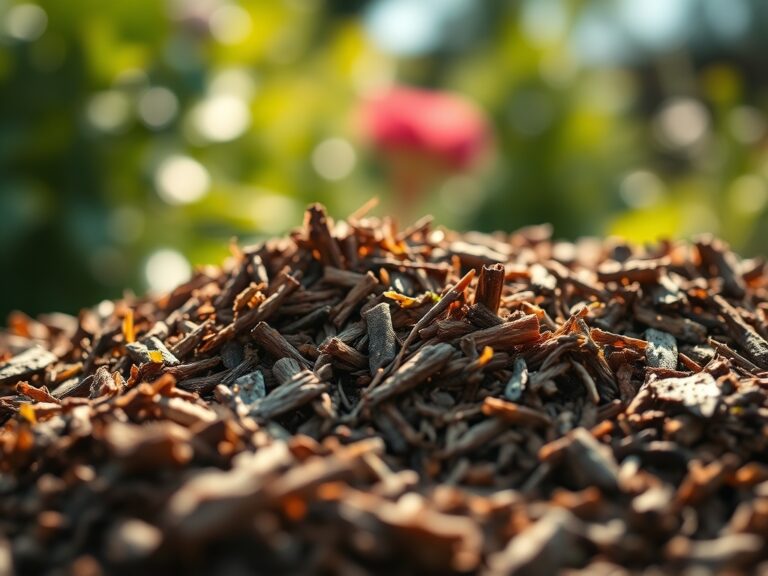
Once the light is installed, backfill the trench with the original soil, tamping lightly to remove large air pockets without causing heavy compaction. Apply 2 inches of organic mulch over the disturbed area to regulate soil temperature and prevent moisture loss.
Pro-Tip: Monitor for phototropism. Plants will naturally lean toward a light source. If your accent light is too intense or poorly positioned, the plant may grow asymmetrically, weakening its structural integrity over time.
The Clinic:
Physiological disorders can manifest shortly after the soil is disturbed or the light environment is altered. Use this diagnostic guide to troubleshoot issues.
- Symptom: Interveinal chlorosis (yellowing between leaf veins) on new growth.
- Solution: This indicates an Iron deficiency, often caused by a pH spike after disturbing the soil. Apply a chelated iron drench to lower the localized pH and restore nutrient mobility.
- Symptom: Marginal leaf burn or necrosis.
- Solution: This is likely Potassium deficiency or salt accumulation from improper drainage in the trench. Flush the area with 1 inch of water to leach excess salts and apply a high-K fertilizer.
- Symptom: Rapid wilting despite moist soil.
- Solution: This suggests Root Rot (Phytophthora) caused by soil compaction during the light installation. Use a garden fork to aerate the soil around the fixture to restore oxygen flow to the roots.
- Symptom: Spindly, elongated stems (etiolation).
- Solution: The plant is receiving insufficient natural light during the day or is being "tricked" by the accent light. Adjust the fixture's Kelvin rating or reduce its "on" time to allow for a proper dark cycle.
Maintenance:
Post-installation care requires a rigorous schedule. Provide 1.5 inches of water per week at the drip line, measured with a rain gauge. This ensures that the water reaches the deep roots rather than just the surface of the disturbed trench. Use bypass pruners to remove any foliage that begins to touch the light fixture; this prevents heat damage to the leaf tissue and reduces the risk of fire.
Check the integrity of the soil around the light base every month. If the soil has settled, add more friable loam to maintain a level grade. This prevents water from pooling around the electrical components, which could lead to anaerobic conditions and root death. Use a soil moisture meter at a depth of 6 inches to ensure the core of the root zone remains hydrated during the first full growing season after installation.
The Yield:
For gardens featuring edible herbs or flowers under accent lights, harvest timing is critical. Harvest in the early morning when turgor pressure is at its highest. This ensures the cell walls are fully hydrated, providing a crisp texture and maximum essential oil concentration.
When cutting flowers for display, use a sharp, sterilized blade to make a 45-degree angle cut. Immediately submerge the stems in 100-degree Fahrenheit water to remove air bubbles from the xylem. This technique, known as pulsing, extends the post-harvest life of the bloom by ensuring uninterrupted water transport. For herbs, never harvest more than 30% of the foliage at once, as the plant needs the remaining leaf surface area for photosynthesis to recover from the stress of the artificial light environment.
FAQ:
How deep should I dig the trench for garden light wires?
Dig a trench at least 6 inches deep for low-voltage landscape lighting. For line-voltage (120V), code typically requires 18 inches of depth or the use of a conduit to protect the wires from garden tools like a hori-hori knife.
Can artificial lights hurt my plants at night?
Yes, if the light is too bright or the wrong spectrum, it can disrupt phytochrome signaling. This interferes with the plant's ability to track seasons, potentially delaying flowering or preventing dormancy, which leads to winter kill in colder zones.
What is the best soil for filling around a new light?
Use a friable loam with a pH of 6.5. Avoid heavy clay, which can trap water around the fixture, or pure sand, which drains too quickly. A balanced mix supports root regrowth and provides physical stability for the light stake.
How do I prevent root damage when installing lights?
Identify the drip line of your plants and keep trenches as far from the trunk as possible. If you must cut a root, make a clean cut with bypass pruners rather than tearing it with a shovel to prevent pathogens from entering.