9 Steps to Prepare for a Comprehensive Tool Care Month
The scent of decomposing organic matter and the cooling soil temperature signal a shift in the physiological state of the garden. As plants enter senescence, the gardener must transition from active cultivation to structural maintenance. Learning how to prepare a garden for a tool care month requires stabilizing the rhizosphere and ensuring all perennial stock is dormant before the heavy work of sharpening and sterilization begins. High turgor pressure in stems must be managed through deep hydration before the first hard freeze.
Materials:
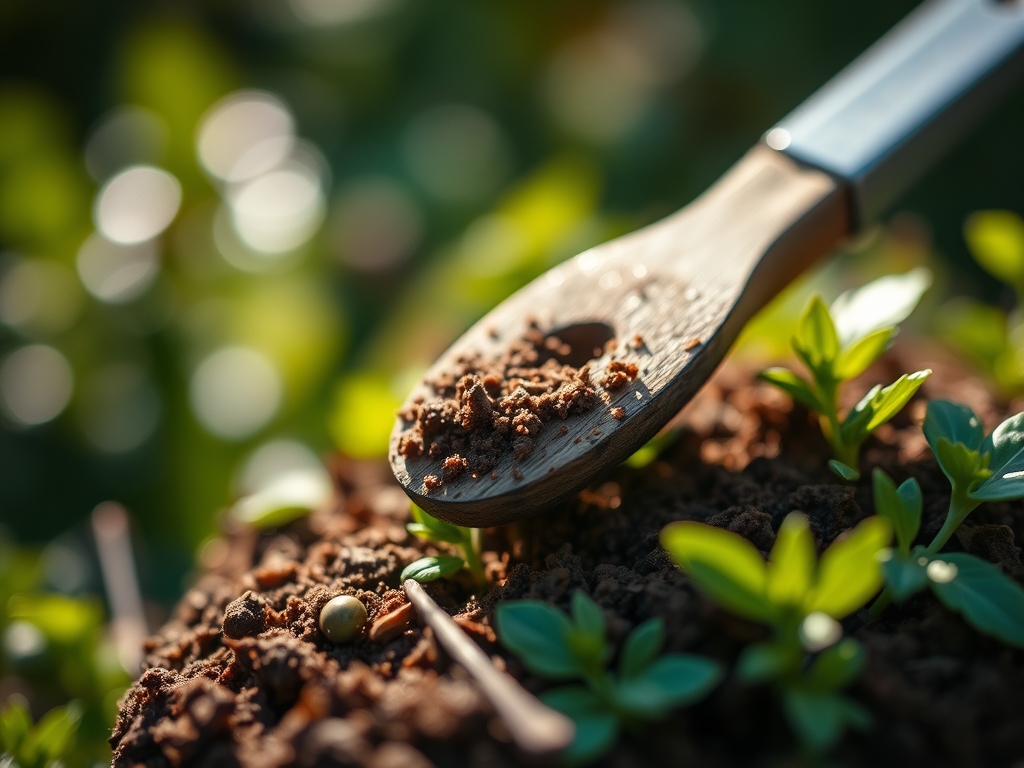
Before focusing on the workbench, the substrate must be stabilized. Ideal garden soil is a **friable loam** consisting of roughly **40% sand, 40% silt, and 20% clay**. This texture ensures a high Cation Exchange Capacity (CEC), allowing the soil to retain essential nutrients during the winter leaching period.
Target a soil pH between 6.2 and 6.8 for most temperate crops. If testing reveals a nitrogen deficiency, apply a slow release 10-0-0 organic meal to support root respiration without triggering new vegetative growth. For established perennials, a 0-10-10 NPK ratio promotes cellular strength and cold hardiness. Avoid high nitrogen inputs late in the season; this prevents the development of succulent, frost-tender tissue that attracts pathogens.
Timing:
The window for tool care month aligns with the transition from the vegetative stage to dormancy. In Hardiness Zones 5 through 7, this typically occurs between late October and November. The biological clock of the plant is governed by the photoperiod; as daylight hours drop below 10 to 12 hours, auxin production shifts from the apical meristem to the root system.
Execute your final garden cleanup 14 days before the first projected frost. This allows the plant to seal vascular tissues at pruning sites. If you operate in Zones 8 or 9, the window shifts to January when the lowest metabolic activity occurs. Monitoring soil temperatures is critical; once the ground reaches a consistent 40 degrees Fahrenheit, microbial activity slows, and the garden is officially ready for the gardener to step away and focus on tool restoration.
Phases:

Sowing
During the preparation phase, sow cover crops like winter rye or crimson clover. These species fix nitrogen and prevent soil erosion while you are busy in the shed. Ensure seed-to-soil contact is firm to facilitate imbibition.
Pro-Tip: Cover crops utilize mycorrhizal symbiosis to maintain a living bridge of fungal hyphae in the soil. This prevents the extinction of beneficial microbes during the fallow months.
Transplanting
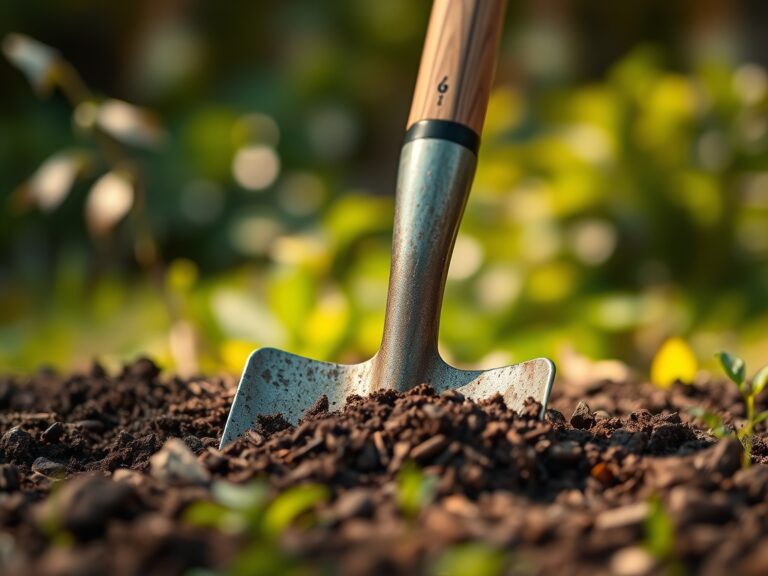
Move any woody perennials that have outgrown their current site once they have dropped 75% of their foliage. Dig a hole twice as wide as the root ball but no deeper. This prevents the settling of the crown, which can lead to anaerobic conditions and root rot.
Pro-Tip: Use the auxin suppression principle by pruning the lead taproot of containerized plants. This stimulates lateral root branching, resulting in a more robust root architecture by spring.
Establishing
Mulch all bare soil with 3 inches of arborist wood chips. This insulation layer maintains a stable temperature in the upper 6 inches of the soil profile, protecting the delicate root hairs from "heaving" caused by freeze-thaw cycles.
Pro-Tip: Mulching exploits thermal mass physics to keep the rhizosphere several degrees warmer than the ambient air. This extends the window for beneficial bacterial decomposition of organic matter.
The Clinic:
Physiological disorders often manifest as the season wanes. Identifying these ensures you are not carrying pathogens into your tool care month.
- Nitrogen Chlorosis: Symptoms include a uniform yellowing of older, lower leaves. Fix-It: Apply a foliar spray of liquid kelp or a side-dressing of blood meal to restore chlorophyll production.
- Blossom End Rot: This is a calcium transport issue, not a soil deficiency. Fix-It: Maintain consistent soil moisture levels to ensure the plant can transpire and move calcium to the fruit.
- Interveinal Chlorosis: Yellowing between leaf veins while veins remain green, indicating magnesium or iron deficiency. Fix-It: Apply Epsom salts (magnesium sulfate) at a rate of 1 tablespoon per gallon of water.
- Leaf Scorch: Brown, crispy margins on foliage caused by rapid transpiration. Fix-It: Increase irrigation at the drip line and provide temporary shade to reduce the vapor pressure deficit.
Maintenance:
A dormant garden still requires precision. Provide 1.5 inches of water per week at the drip line if rainfall is insufficient. Use a soil moisture meter to verify that the moisture has penetrated at least 8 inches deep.
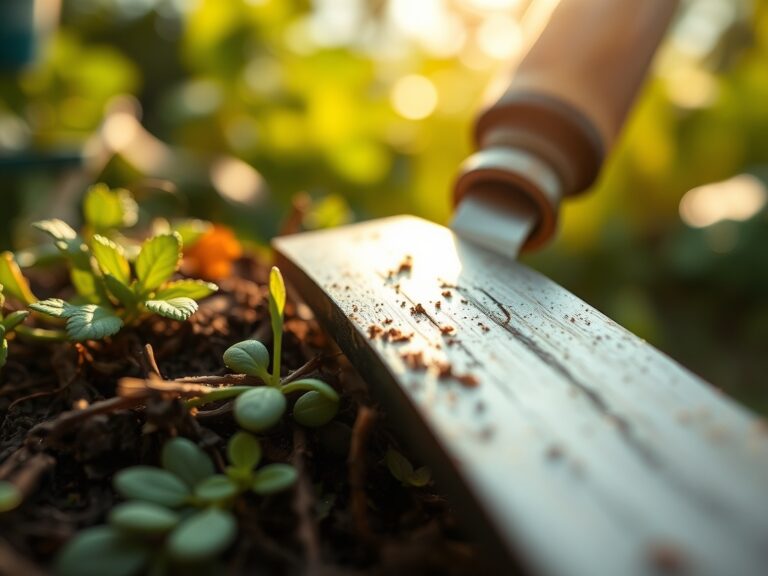
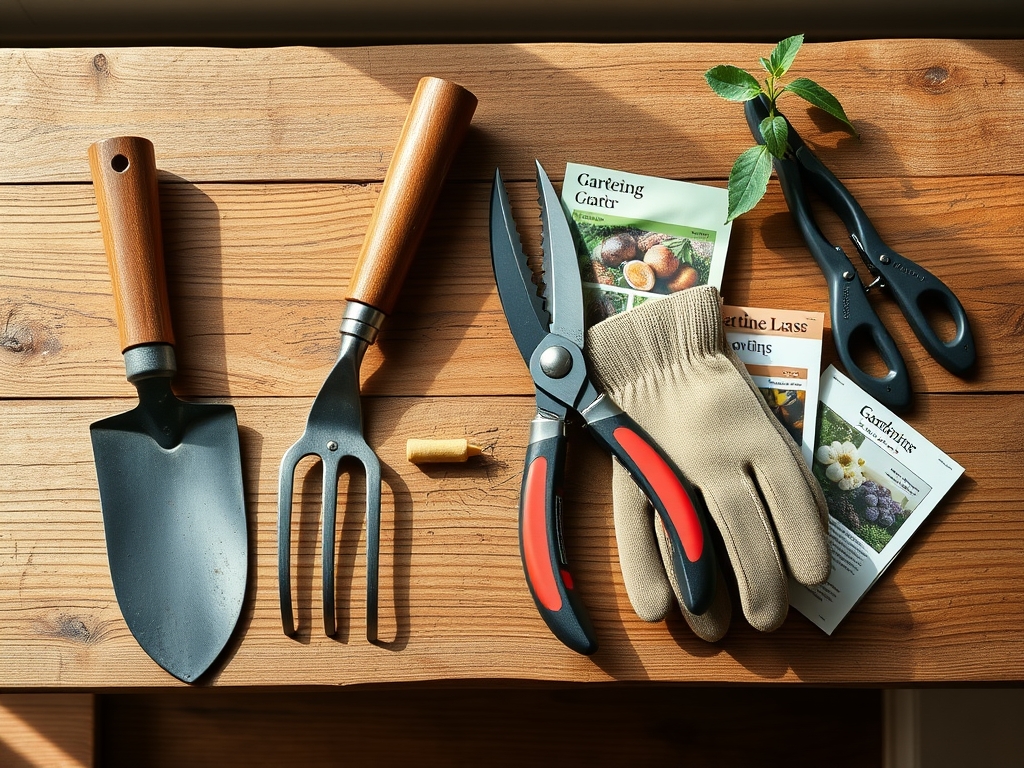
When performing the final seasonal cuts, use a hori-hori knife to slice through compacted root mats and bypass pruners for clean, surgical cuts on stems. Avoid anvil pruners on live tissue as they crush the vascular cambium. Once the garden is stabilized, clean these tools with 70% isopropyl alcohol to prevent the cross-contamination of fungal spores before the deep-cleaning phase begins.
The Yield:
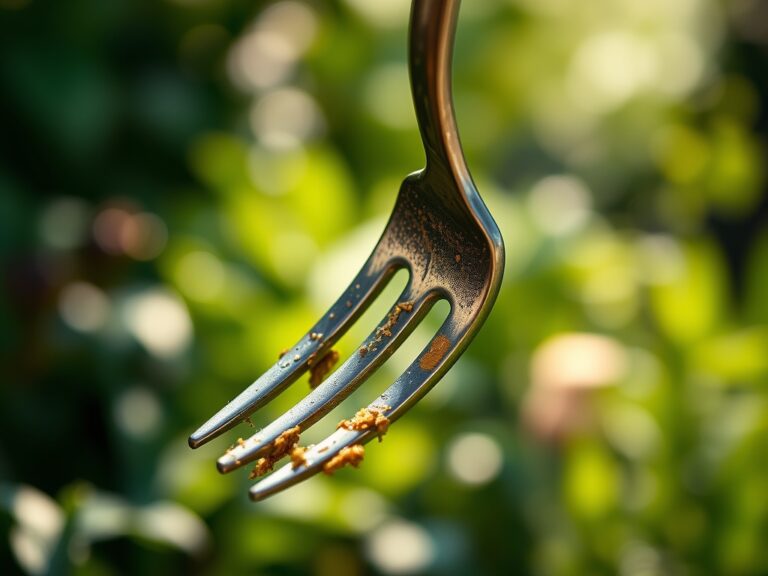
Harvesting for storage requires timing based on the sugar-to-starch conversion. For root crops, a light frost can increase the brix (sugar) content. Harvest when the dew point is low to prevent fungal issues. Use a garden fork to lift crops gently; any mechanical damage to the skin will lead to rapid senescence in storage. To maintain "day-one" freshness, hydro-cool leafy greens in 40-degree water immediately after harvest to remove field heat and lock in turgor.
FAQ:
How do I clean tools before storage?
Scrub all metal surfaces with a wire brush to remove oxidized soil. Submerge the blades in a 10% bleach solution for 30 seconds to neutralize pathogens. Dry immediately and apply a thin coat of mineral oil to prevent rust.
What is the best way to sharpen bypass pruners?
Use a diamond whetstone at a 20-degree angle. Follow the factory bevel on the cutting blade only. Do not sharpen the flat bypass side; doing so creates a gap that will tear plant tissue rather than slicing it cleanly.
Can I leave tools outside during tool care month?
No. Exposure to UV radiation and moisture cycles causes wooden handles to crack and steel to pit. Store all equipment in a low-humidity environment. Use a silica gel desiccant in your tool chest to further reduce moisture levels.
Why is soil testing important before tool care?
Soil testing identifies nutrient imbalances that require time to correct. Amending soil in the fall allows lime or sulfur to react chemically with the substrate for 3 to 6 months, ensuring the pH is optimal for the spring surge.