7 Steps to Prepare a Level Home Garden Shed Foundation
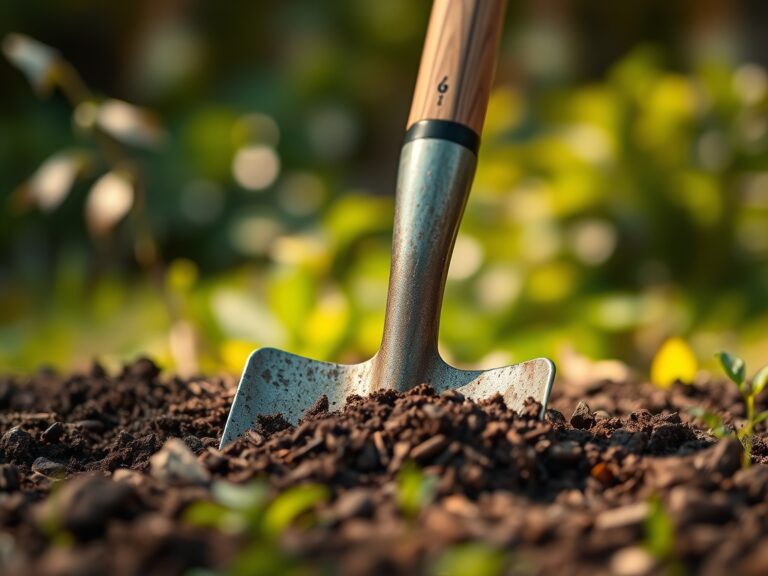
The scent of damp, disturbed earth signals the beginning of any structural intervention in the landscape. When you slice through the turf, you disrupt the delicate turgor pressure of grass blades and sever the intricate fungal networks of the upper rhizosphere. Stability is the primary objective. A shed placed on uneven, shifting soil will eventually suffer from frame torque; doors will bind and the structural integrity of the roof will fail. Learning how to prepare a site for a garden shed requires an understanding of soil mechanics and drainage. You must transform a living, breathing biological layer into a compacted, inert platform capable of supporting several thousand pounds. This process begins by stripping the organic horizon to reach the mineral subsoil. Proper site preparation ensures that moisture does not wick upward into the floor joists, preventing the onset of fungal decay and wood rot. By following a rigorous scientific approach to grading and compaction, you create a permanent anchor for your garden infrastructure that resists the seasonal heave of the frost line.
Materials:
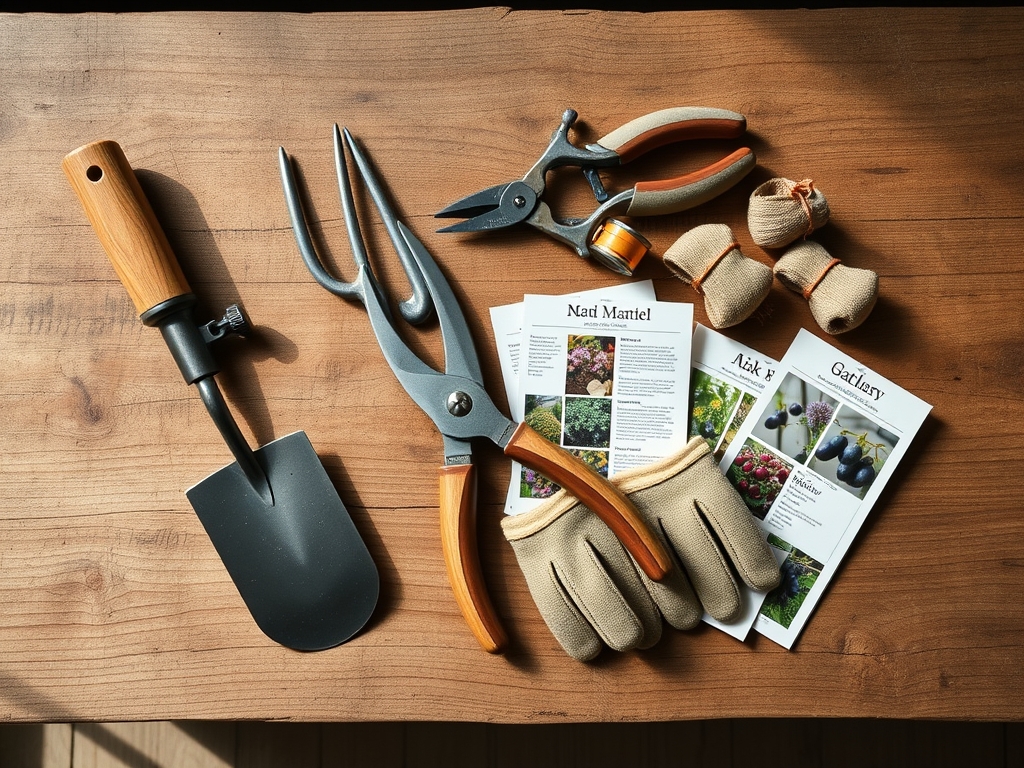
Site preparation requires specific substrates to manage drainage and load bearing. The ideal native soil for surrounding the site is a **friable loam** with a **pH between 6.0 and 7.0**. This acidity level ensures that any peripheral plantings maintain optimal nutrient uptake. For the foundation itself, you require **crushed limestone (3/4-inch minus)** or **angular gravel**. Unlike rounded pea gravel, angular stone locks together under pressure to increase the Cation Exchange Capacity (CEC) of the surrounding area indirectly by preventing runoff of mineral-rich silt.
If you plan to landscape the perimeter, incorporate a balanced fertilizer with an NPK ratio of 10-10-10 to support root re-establishment. For heavy clay soils with low porosity, add gypsum to improve flocculation. The base layer must consist of 4 to 6 inches of compacted aggregate. You will also need pressure-treated 4×4 skids or concrete deck blocks, a laser level for precision, and a plate compactor to achieve a minimum 95 percent Proctor density.
Timing:
In Hardiness Zones 3 through 7, site preparation must occur after the spring thaw but before the peak heat of the summer solstice. Excavating frozen soil is impossible and damages the soil structure by creating massive clods that prevent uniform compaction. The "Biological Clock" of the garden dictates that you should complete heavy construction during the transition from the vegetative to the reproductive stages of local flora. This usually falls between late April and early June.
Working during this window allows the soil moisture content to be at its "plastic limit," where it is moist enough to compact but dry enough to avoid "pumping" (the movement of water to the surface under pressure). In Zones 8 through 11, avoid the monsoon or hurricane seasons, as excessive precipitation will liquefy the subgrade and cause the foundation to sink. Aim for a period when the soil temperature is consistently above 55 degrees Fahrenheit.
Phases:

Sowing the Perimeter
Before the shed arrives, establish a "splash zone" of hardy groundcover or gravel to prevent soil erosion. If planting, sow seeds at a depth of 0.25 inches. Maintain consistent moisture to ensure the seeds do not undergo desiccation.
Pro-Tip: Utilize mycorrhizal inoculants during sowing. This encourages mycorrhizal symbiosis, where fungi extend the root system's reach, increasing phosphorus uptake and drought resistance for the plants surrounding your new structure.
Transplanting and Grading
Excavate the site to a depth of 6 inches. Remove all organic matter, including roots and sod. Use a transit level to ensure the subgrade has a 1 percent slope away from the center to prevent hydrostatic pressure buildup under the floor.
Pro-Tip: When moving peripheral plants, minimize light exposure to the roots to prevent auxin suppression. Auxins are hormones that drive root elongation; keeping roots dark and moist during the transition ensures the plant returns to its vegetative growth phase quickly.
Establishing the Base
Infill the excavation with your angular aggregate in 2-inch lifts. Run a plate compactor over each lift. This mechanical pressure forces the air out of the soil pores, creating a stable "raft" for the shed.
Pro-Tip: Compacted soil limits phototropism in weeds by creating a dense physical barrier that prevents buried seeds from reaching the surface. A well-compacted base acts as a mechanical weed suppressant without the need for chemical intervention.
The Clinic:
Physiological disorders in the surrounding landscape often occur after the soil is disturbed for a shed foundation.
- Symptom: Leaf Wilting despite wet soil.
- Solution: This indicates root asphyxiation caused by soil compaction beyond the shed's footprint. Use a broadfork to aerate the soil 12 inches deep around the perimeter.
- Symptom: Yellowing of new growth (Interveinal Chlorosis).
- Solution: High pH from limestone runoff can lock up iron. Apply chelated iron or elemental sulfur to lower the pH to 6.5.
- Symptom: Stunted growth and purple leaf undersides.
- Solution: Phosphorus deficiency. Incorporate bone meal or a high-phosphate fertilizer into the top 4 inches of the soil.
Fix-It: For Nitrogen chlorosis (general paling of older leaves), apply a quick-release urea-based fertilizer at a rate of 1 pound of nitrogen per 1,000 square feet.
Maintenance:
Once the shed is set, monitor the "drip line" where rain falls from the roof. This area receives concentrated hydraulic energy. Apply 1.5 inches of water per week to the surrounding vegetation using a soaker hose to maintain soil turgor. Use a soil moisture meter twice weekly to ensure the root zone stays between 20 and 40 percent volumetric water content.
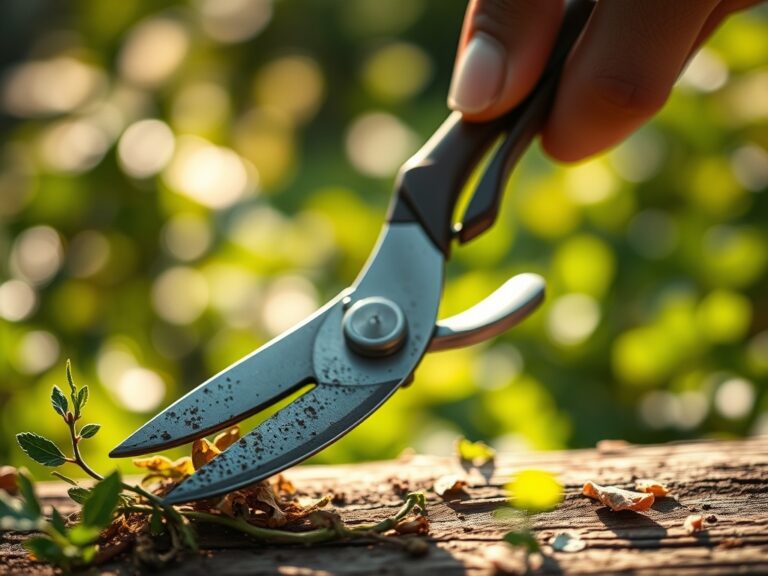
For edge maintenance, use a hori-hori knife to sever any invasive rhizomes attempting to creep under the foundation. Prune overhanging branches with bypass pruners to maintain a 2-foot clearance around the shed; this prevents moisture traps and allows for adequate airflow, reducing the risk of powdery mildew on the shed walls.
The Yield:
If your shed is flanked by a cutting garden or edible crops, timing the harvest is critical. Harvest leafy greens when the dew is still present to ensure maximum cell turgidity. For flowers, cut stems at a 45-degree angle using sterilized snips. Immediately plunge the stems into 110-degree Fahrenheit water to break air bubbles in the xylem. This post-harvest handling ensures "day-one" freshness by maintaining the plant's internal hydraulic system long after it has been separated from the rhizosphere.
FAQ:
How deep should I dig for a shed base?
Excavate to a depth of 6 inches. This allows for a 4-inch compacted gravel base and 2 inches of headspace to keep the shed floor joists away from ground moisture and prevent fungal decay.
Can I build a shed on top of grass?
No. Organic matter decomposes, leading to uneven settling and structural failure. You must strip the sod and reach the mineral subsoil to provide a stable, non-shifting foundation for the weight of the structure.
What is the best gravel for a shed foundation?
Use 3/4-inch crushed angular limestone. The jagged edges lock together under compaction, creating a solid surface that drains well while resisting the lateral movement common with rounded stones like pea gravel.
How do I prevent weeds under my shed?
Install a heavy-duty geotextile fabric between the soil and the gravel. This creates a physical barrier that prevents weed emergence and keeps the gravel from sinking into the native soil over time.