9 Steps to Prepare a Simple DIY Small-Space Plant Shelf
The scent of humid earth and the crisp snap of a leaf under high turgor pressure define the success of an indoor ecosystem. Success in small-space gardening is not a matter of luck; it is a calculation of light intensity and nutrient availability. When you learn how to prepare a DIY plant shelf, you are constructing a controlled environment designed to maximize photosynthetic efficiency within a limited footprint. This process requires a fundamental understanding of vertical space management and the physiological needs of your specific cultivars. By elevating your collection, you optimize airflow and prevent the stagnant pockets of CO2 that often plague floor-level containers. A properly engineered shelf serves as the structural backbone for a thriving rhizosphere.
Materials:
The substrate is the most critical component of your shelf system. You require a friable loam that maintains a **Cation Exchange Capacity (CEC)** high enough to hold essential nutrients without causing root rot. For most tropicals and small edibles, aim for a **pH level between 5.8 and 6.5**.
Your nutrient kit should include:
- Nitrogen (N): A 10-5-5 ratio for vegetative growth and chlorophyll production.
- Phosphorus (P): A 5-10-5 ratio to stimulate root elongation and primordia development.
- Potassium (K): A 5-5-10 ratio to regulate osmotic pressure and stomatal conductance.
- Structural Components: Untreated cedar or powder-coated steel shelving to resist the high humidity levels required for transpiration.
- Lighting: Full-spectrum LED arrays providing a Photosynthetic Photon Flux Density (PPFD) of 200 to 400 micromoles for low-to-mid light species.
Timing:
Timing your shelf setup depends on your local Hardiness Zone if the shelf is near a window or in a three-season room. In Zones 5 through 7, the transition from vegetative to reproductive stages is heavily influenced by the shortening photoperiod of autumn. If you are starting seeds on your shelf, initiate the process 6 to 8 weeks before the last frost date for your specific latitude.
The biological clock of the plant is governed by phytochrome receptors. When you transition plants to a shelf, you must maintain a consistent day-night cycle. Most indoor species require a 12 to 14 hour photoperiod to prevent early senescence, which is the programmed aging and death of plant tissues.
Phases:
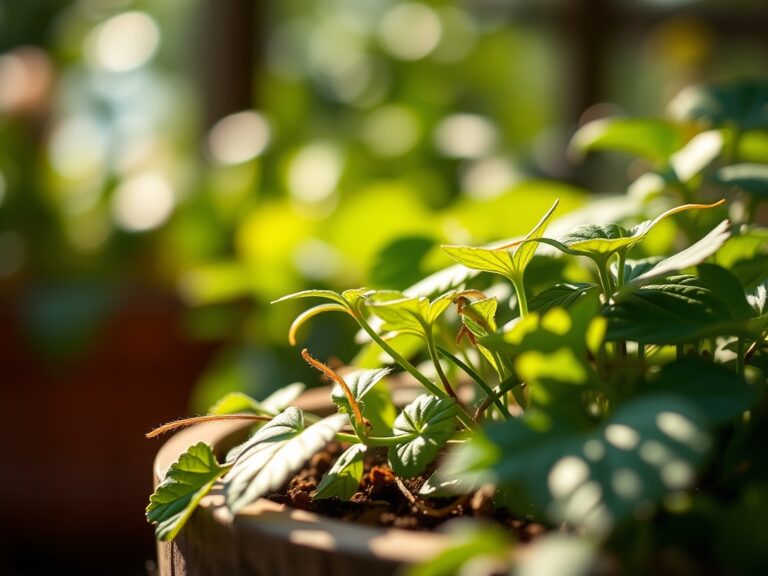
Sowing and Germination
Place your seed trays on the warmest, highest shelf to utilize rising ambient heat. Maintain a consistent substrate temperature of 70 to 75 degrees Fahrenheit. Cover with a humidity dome to ensure the seed coat softens sufficiently for the radicle to emerge.
Pro-Tip: Monitor for phototropism, where the seedling leans toward the light. This is caused by auxin migrating to the shaded side of the stem, triggering cell elongation. Rotate your trays 180 degrees every 24 hours to ensure straight, structural stems.
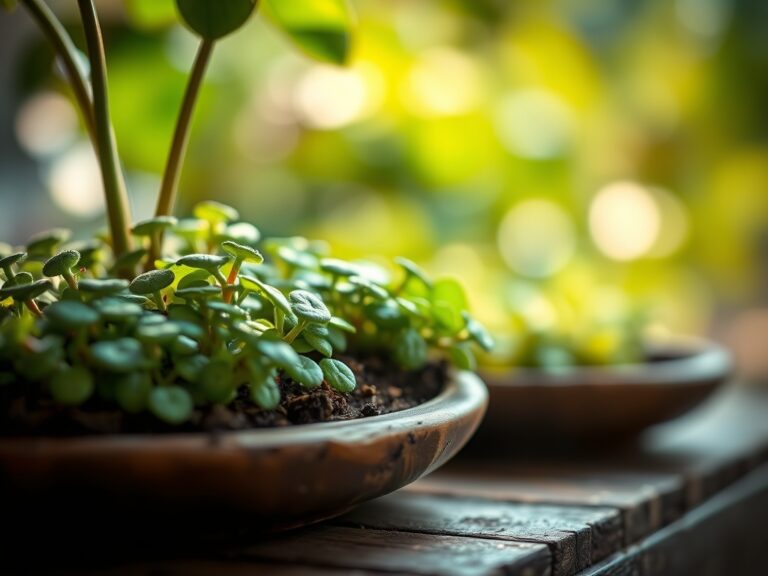
Transplanting
Once the first set of true leaves appears, move the seedlings into individual containers with high-porosity potting mix. Ensure the new containers have adequate drainage holes to prevent anaerobic conditions in the root zone.
Pro-Tip: Inoculate the soil with mycorrhizal fungi. This symbiotic relationship extends the root system's reach, allowing for better uptake of immobile nutrients like phosphorus through a network of hyphae.
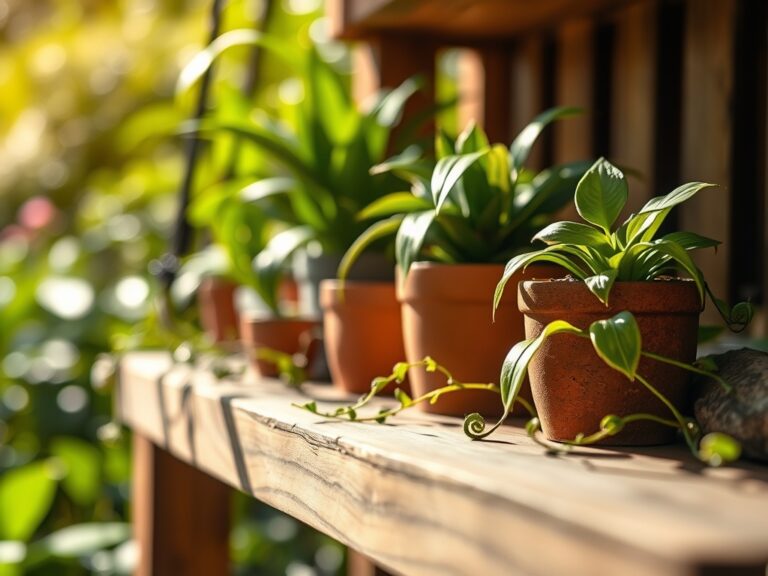
Establishing the Canopy
As the plants grow, adjust the height of your light fixtures to maintain a distance of 6 to 12 inches from the top of the foliage. This prevents leaf scorch while ensuring enough light reaches the lower petioles.
Pro-Tip: Practice apical bud pinching to suppress auxin dominance. By removing the leading tip, you encourage lateral branching, resulting in a bushier, more compact plant that fits the vertical constraints of a shelf system.
The Clinic:
Physiological disorders often manifest as visual cues on the foliage. Identifying these early prevents systemic failure of your shelf ecosystem.
- Symptom: Interveinal chlorosis on new growth.
Solution: This indicates an Iron (Fe) deficiency, often caused by a pH that is too high. Lower the pH to 6.0 using a sulfur-based acidifier. - Symptom: Yellowing of older, lower leaves (Nitrogen chlorosis).
Solution: Nitrogen is a mobile nutrient; the plant is scavenging it from old growth to support new leaves. Apply a high-N liquid fertilizer (10-2-2). - Symptom: Edema (small bumps or blisters on the underside of leaves).
Solution: This occurs when the plant takes up water faster than it can transpire. Increase airflow with a small oscillating fan and reduce watering frequency. - Symptom: Tip burn on succulents or sensitive greens.
Solution: This is often a sign of boron toxicity or salt accumulation. Flush the substrate with distilled water until the Electrical Conductivity (EC) of the runoff drops.
Maintenance:
Consistency is the hallmark of a master horticulturist. Use a soil moisture meter to ensure you are not overwatering. Most shelf-bound plants require approximately 1.5 inches of water per week, delivered directly to the substrate at the drip line to keep the foliage dry.
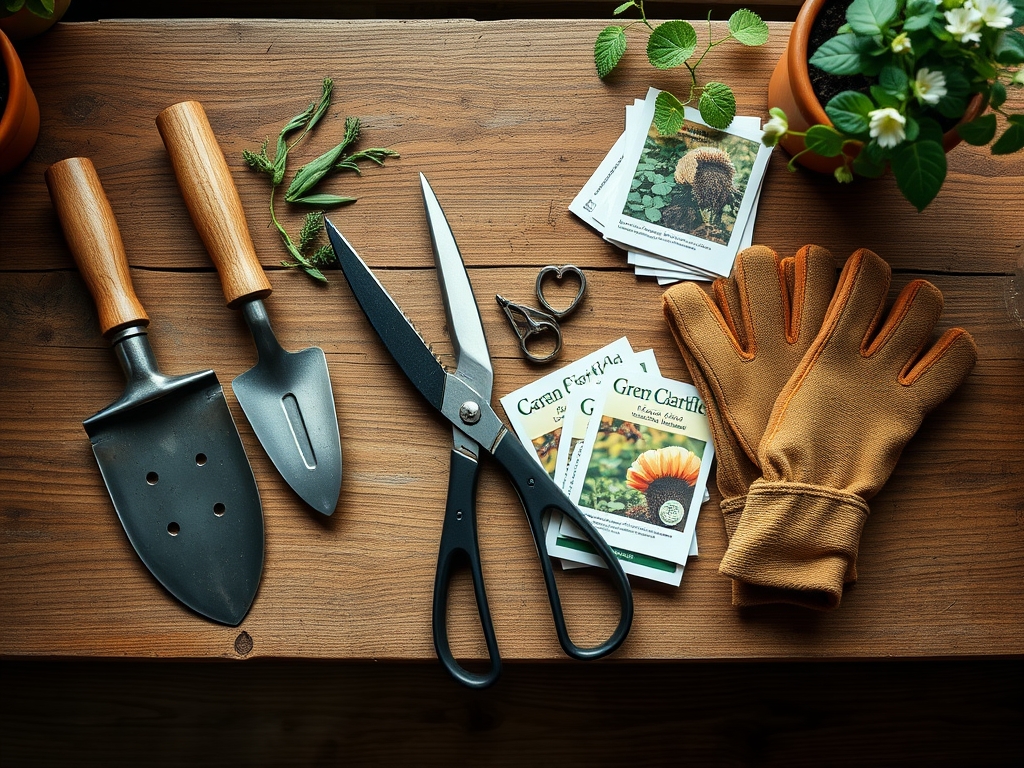
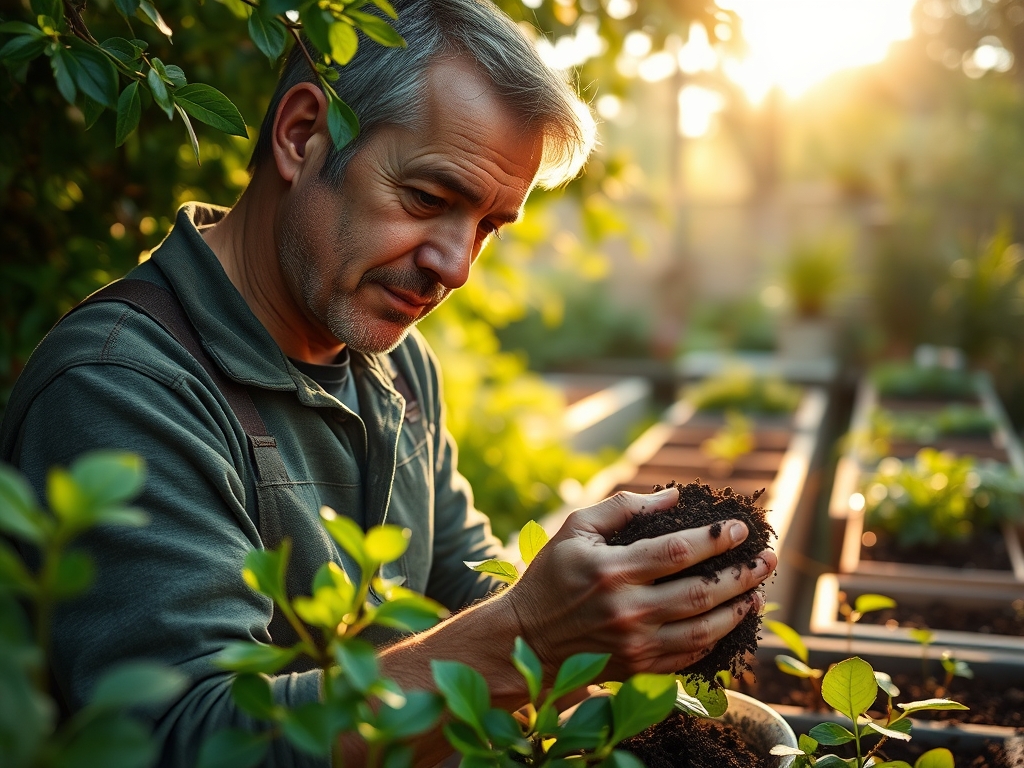
Keep a hori-hori knife for precision weeding or soil aeration and a pair of bypass pruners for removing necrotic tissue. Sanitize your tools with 70 percent isopropyl alcohol between plants to prevent the mechanical transmission of pathogens. Observe the root structure in the step-by-step photos to ensure the root ball is not becoming pot-bound, which restricts nutrient transport.
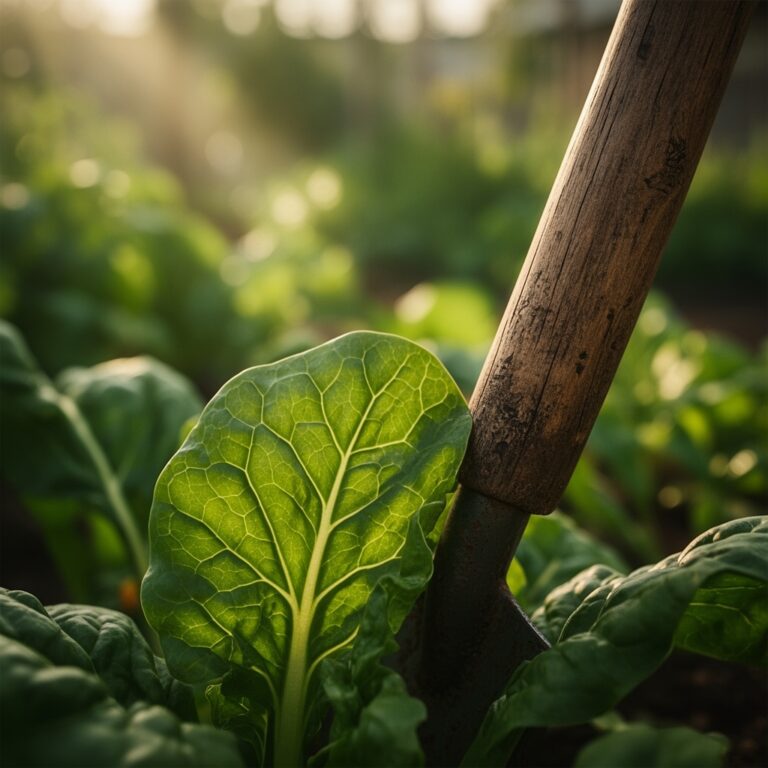
The Yield:
If you are growing herbs or microgreens on your DIY shelf, harvest timing is paramount. For herbs like basil or cilantro, harvest in the early morning when the essential oil concentration is at its peak. Use sharp shears to make a clean cut above a node to encourage regrowth.
For "day-one" freshness, immediately plunge the cut stems into cold water or wrap them in a damp paper towel and refrigerate at 40 degrees Fahrenheit. This slows the respiration rate and maintains the turgor pressure of the cells, preventing wilting and preserving the flavor profile.
FAQ:
How do I prevent my DIY shelf from tipping?
Ensure the center of gravity remains low by placing the heaviest pots on the bottom shelf. Use wall anchors to secure the frame to studs, especially if the height exceeds 48 inches.
What is the best light for a small shelf?
Full-spectrum LED shop lights or specialized horticultural bars are ideal. Look for a Color Rendering Index (CRI) above 90 and a color temperature of 5000K to 6500K to mimic natural daylight.
How often should I fertilize shelf plants?
During the active growing season, apply a balanced water-soluble fertilizer every 14 to 21 days. During the winter dormancy period, reduce this to once every 6 to 8 weeks to prevent salt buildup.
Can I use regular garden soil on my shelf?
No. Garden soil is too dense and may contain pathogens or pests. It lacks the porosity and aeration required for container drainage. Always use a sterilized, peat or coco-coir based potting medium.
How do I manage humidity on a wooden shelf?
Place plastic drainage trays under every pot to prevent water contact with the wood. Use a waterproof sealant on the shelves and maintain a relative humidity of 40 to 60 percent for optimal plant health.