8 Best Plant Saucers to Prevent Indoor Water Damage
Crushed perlite and the scent of damp peat signify a healthy rhizosphere; however, that same moisture becomes a structural liability once it exits the drainage hole. Maintaining high turgor pressure in a Monstera deliciosa or a Ficus lyrata requires a saturation-to-dryness cycle that often puts hardwood flooring and porous masonry at risk. Finding the best plant saucers for indoor use is not merely an aesthetic choice; it is a technical requirement for moisture management. A single overflow can trigger localized wood rot or fungal colonization within floor joists. The objective is to contain the effluent, which often carries dissolved mineral salts and organic acids, without suffocating the root system. Effective saucers provide a barrier that prevents capillary action from drawing moisture into the flooring. High-quality containment ensures that the 10 to 15 percent of water intended for leaching salts does not become a permanent stain. Precision in selecting these vessels allows the horticulturist to maintain a clean, controlled environment while supporting the physiological needs of the plant.
Materials:
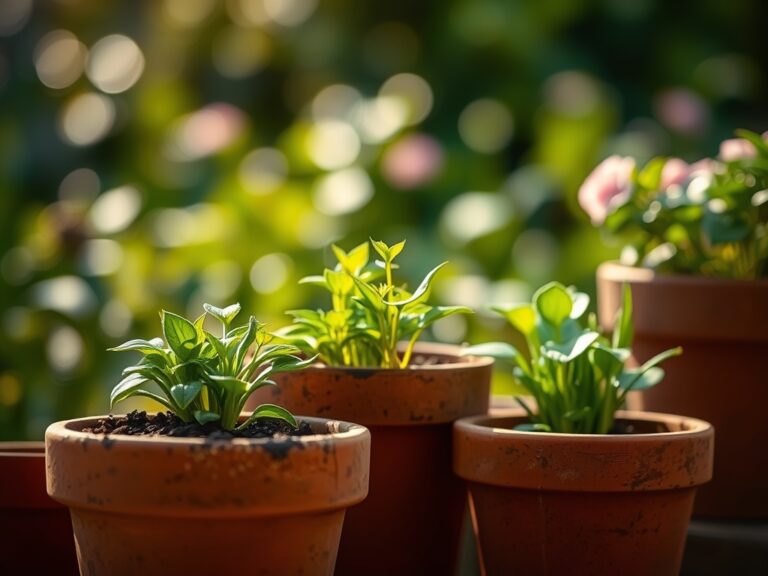
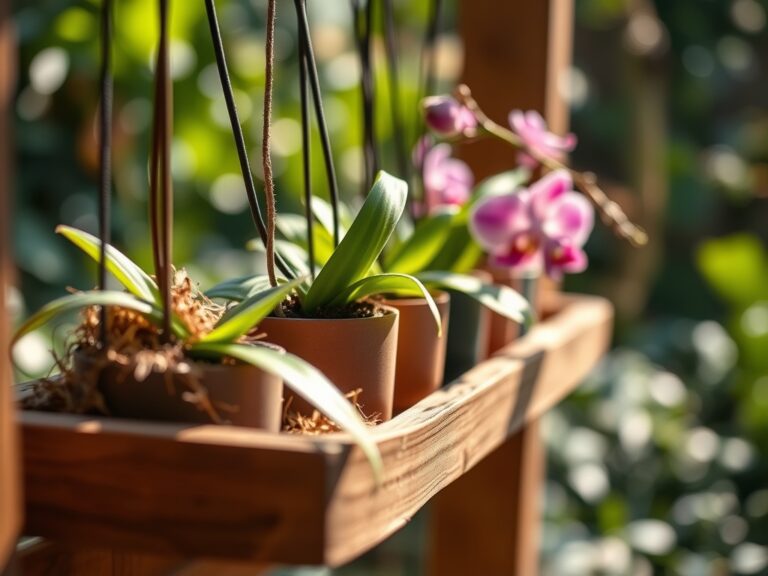
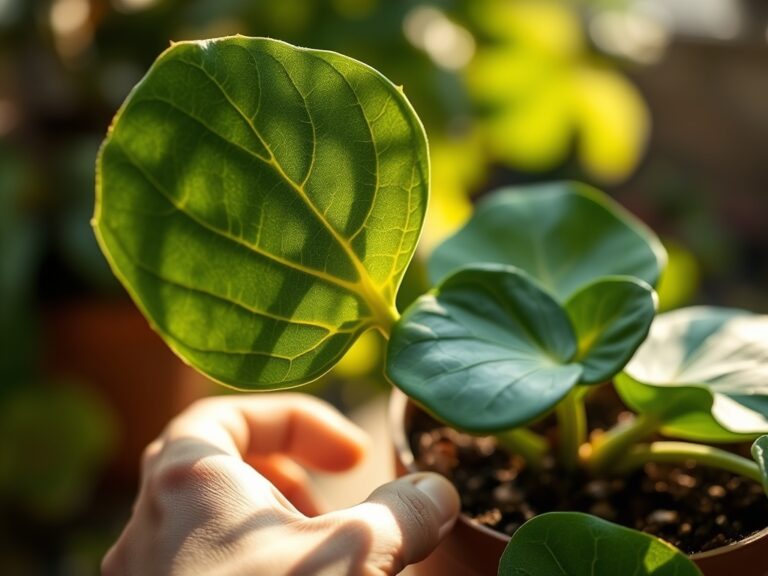
Indoor plant health begins with the substrate. A friable loam with a **pH range of 6.0 to 7.0** is ideal for most tropical species. This texture ensures adequate pore space for gas exchange. The nutrient profile should be balanced with an NPK ratio of **10-10-10** for general maintenance or **5-10-5** for flowering specimens to support phosphorus-heavy reproductive cycles. Soil with a high Cation Exchange Capacity (CEC) will retain essential ions like potassium (K+) and magnesium (Mg2+), preventing them from leaching into the saucer too rapidly. When selecting saucers, consider the material interaction with the pot. Terracotta saucers are porous and will “sweat” moisture onto surfaces unless they are glazed on the interior. Heavy-duty polycarbonate or deep-welled ceramic with a non-porous finish are superior for long-term protection. The saucer must be at least **2 inches wider** than the base of the pot to catch peripheral runoff and allow for evaporation.
Timing:
Successful indoor gardening ignores the external weather but adheres strictly to the biological clock and light availability. In Hardiness Zones 5 through 7, the transition from the vegetative stage to dormancy or slowed growth occurs as the photoperiod shortens in October. During this phase, transpiration rates drop by as much as 40 percent. Watering frequency must be adjusted to prevent anaerobic conditions in the root zone. The "Biological Clock" dictates that nitrogen-heavy fertilizers should be withheld starting six weeks before the first local frost date to prevent soft, succulent growth that is susceptible to indoor drafts and low humidity. Monitoring the soil moisture meter is critical during this transition. If the saucer remains full for more than 30 minutes after watering, the plant is at risk of root senescence due to lack of oxygen in the lower third of the root ball.
Phases:
Sowing and Seedling Development
When starting seeds indoors, use shallow trays with clear domes to maintain 85 percent relative humidity. Use a sterile, soilless medium to prevent damping-off. Ensure the heat mat is set to 70 to 75 degrees Fahrenheit to optimize germination enzymes.
Pro-Tip: Maintain consistent moisture to support turgor. The biological why involves Imbibition, where the seed coat absorbs water to activate metabolic processes; without a saucer to catch excess, the heat mat could short-circuit.
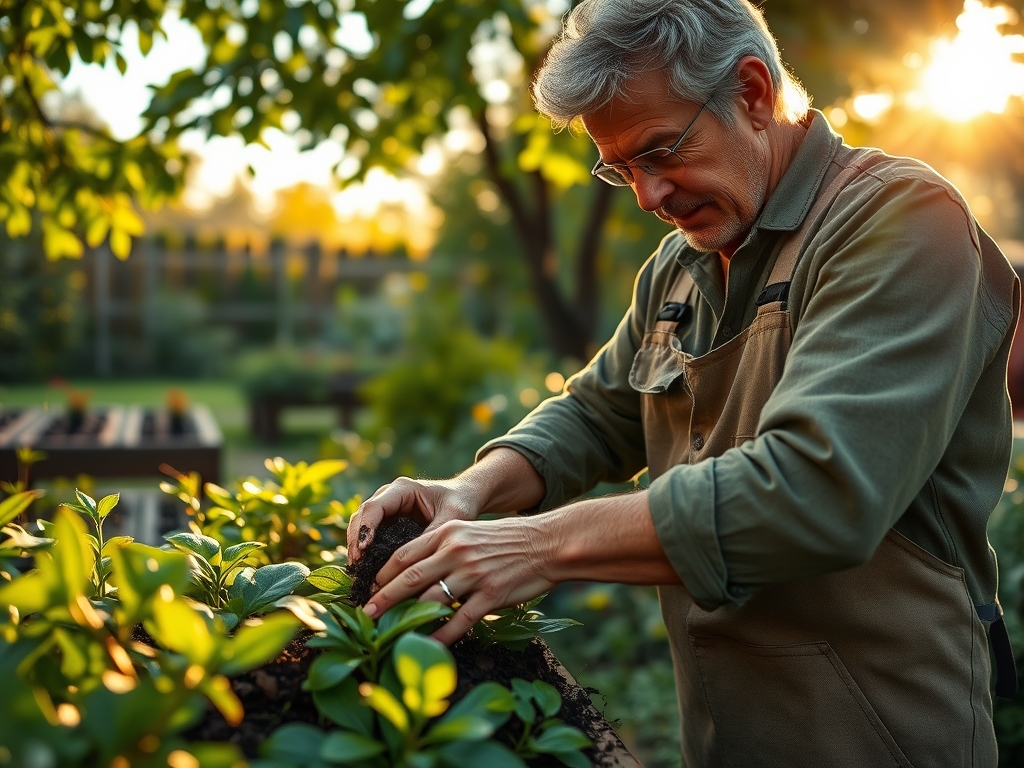
Transplanting to Permanent Vessels
Move specimens when the root tips begin to circle the nursery pot. Use a hori-hori knife to gently tease out the root mass. Place the pot on a heavy-duty vinyl saucer to protect the floor during the initial heavy watering required to settle the soil.
Pro-Tip: Avoid "over-potting" into a vessel more than 2 inches larger in diameter. The biological why is to prevent Perched Water Tables, where excess soil remains saturated because the small root system cannot utilize the water volume, leading to hypoxia.
Establishing and Maturation
Once established, the plant enters a steady state of biomass production. Use a soil moisture meter to verify that the top 2 inches of soil are dry before the next irrigation cycle. Ensure the saucer is cleaned monthly to remove salt crusts (efflorescence).
Pro-Tip: Elevate the pot slightly within the saucer using pot feet or river stones. The biological why is to encourage Air Pruning; this prevents roots from sitting in stagnant water and promotes a more fibrous, efficient root architecture.
The Clinic:
Physiological disorders often manifest through foliage changes.
- Symptom: Edema (Small bumps or blisters on leaf undersides). Solution: Reduce watering frequency and improve air circulation. This is caused by cells bursting from excessive water pressure.
- Symptom: Tip Burn (Necrosis at the leaf apex). Solution: Flush the soil with distilled water to remove salt buildup. This indicates high electrical conductivity (EC) in the rhizosphere.
- Symptom: Interveinal Chlorosis (Yellowing between green veins). Solution: Apply a chelated iron supplement. This is a common micronutrient deficiency when soil pH rises above 7.5.
Fix-It for Nitrogen Chlorosis: If lower leaves turn uniformly pale yellow, the plant is scavenging nitrogen for new growth. Apply a liquid fertilizer with an NPK of 20-10-10 at half strength to restore chlorophyll production.
Maintenance:
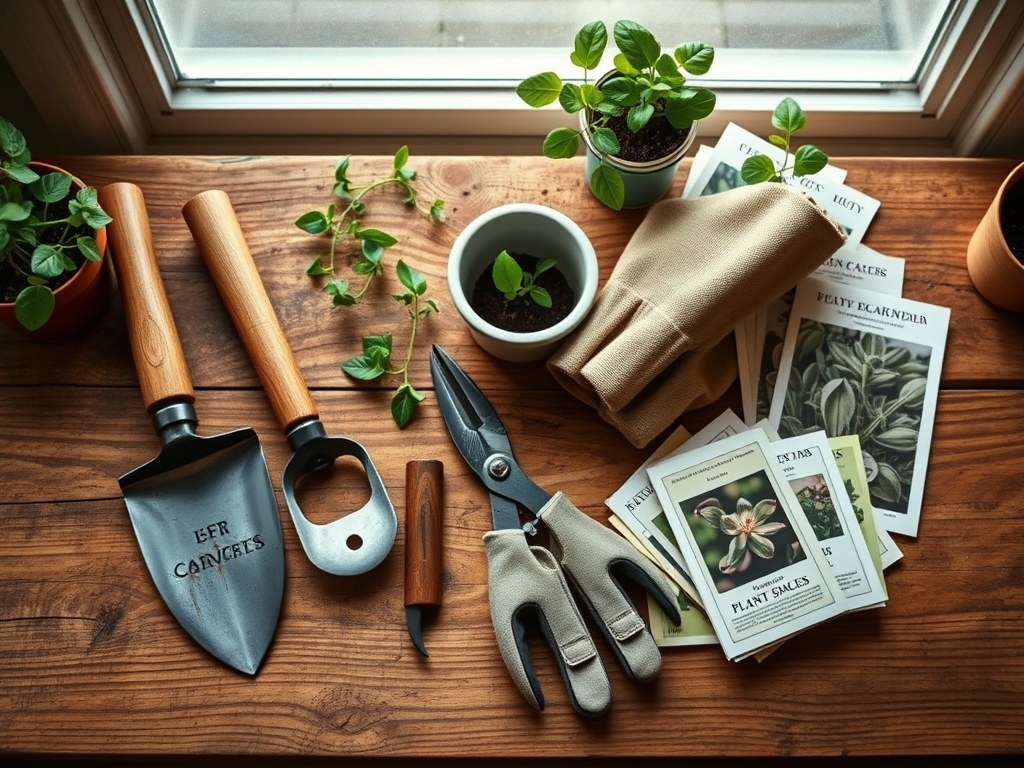
Precision maintenance prevents the need for drastic interventions. Use bypass pruners to remove any senescent or necrotic tissue, which reduces the "sink" for the plant's energy. Most indoor tropicals require approximately 1 to 1.5 inches of water per week, delivered at the drip line rather than the base of the stem to prevent crown rot. Use a soil moisture meter daily during the first month of any seasonal change. If the meter reads in the "Wet" zone for more than three days, the drainage is insufficient. Clean your saucers with a 10 percent bleach solution twice a year to kill any pathogens or algae that may have colonized the standing water.
The Yield:
For indoor herbs or fruiting plants like calamondin oranges, timing the harvest is essential for flavor and nutrient density. Harvest leafy greens in the early morning when turgor pressure is at its peak; this ensures the leaves are crisp. Use sharp snips to make clean cuts at a 45-degree angle above a node to encourage branching. Post-harvest, submerge herbs in 40-degree Fahrenheit water for ten minutes to remove field heat and maintain "day-one" freshness. For fruiting plants, wait until the fruit detaches with a slight tug, indicating that the abscission zone has fully formed.
FAQ:
Which saucer material is best for preventing floor damage?
Heavy-duty plastic or glazed ceramic saucers are superior. Unlike unglazed terracotta, these materials are non-porous. They prevent moisture from seeping through the bottom and causing rot or mold on hardwood, carpet, or laminate surfaces.
How much larger should a saucer be than the pot?
The saucer should be approximately 2 to 3 inches wider than the base of the pot. This provides a sufficient margin to catch overflow and allows for better air circulation around the drainage holes.
Should I leave standing water in the saucer?
No. Standing water should be removed after 20 minutes. Prolonged saturation leads to root rot and fungus gnat infestations. Use a turkey baster or sponge to remove excess liquid if the pot is too heavy to lift.
How do I prevent salt buildup in my plant saucers?
Flush the soil with clear water once every three months and wipe the saucer clean. White crusty deposits are mineral salts. If left, they can be reabsorbed by the plant, causing leaf tip burn and nutrient imbalances.