9 Best Plant Labels to Organize Indoor Collections
The scent of damp peat moss and the tactile resistance of high turgor pressure in a Monstera leaf define the precision of a controlled indoor environment. Without a rigorous tracking system, a collection of rare cultivars quickly descends into taxonomic chaos. Identifying the best plant labels for indoor use is not merely an aesthetic choice; it is a fundamental requirement for managing specific irrigation schedules and nutrient applications. Proper labeling prevents the catastrophic error of applying a high-nitrogen fertilizer to a specimen entering dormancy or over-saturating a succulent that requires a dry dormancy period. A professional indoor garden relies on data integrity. Labels serve as the physical hard drive for your botanical database, recording the date of the last repotting, the specific substrate composition, and the genetic lineage of the specimen. In a space where humidity is artificial and light is measured in micromoles, clear documentation ensures that every physiological need is met with surgical accuracy.
Materials:
Indoor plant labels must interact with a variety of growing media, most commonly a **friable loam** or a soilless mix of coconut coir and perlite. The chemical environment of the substrate dictates label durability. For plants requiring an acidic environment, such as *Gardenia jasminoides* with a **pH of 5.0 to 5.8**, plastic or copper labels are preferred over wood, which decomposes rapidly in high-moisture, low-pH conditions.
When selecting labels, consider the Cation Exchange Capacity (CEC) of your soil. High-CEC soils, rich in organic matter or clay, hold onto nutrients like ammonium and potassium more tightly. Labels in these pots are subject to higher salt concentrations from fertilizer buildup. If you are using a balanced 10-10-10 NPK ratio for general foliage or a high-phosphorus 10-30-20 ratio for flowering tropicals, the label material must be non-reactive. Aluminum and zinc-coated steel provide the highest resistance to the corrosive nature of concentrated mineral salts found in synthetic fertilizers.
Timing:
Indoor gardening bypasses traditional Hardiness Zones, yet it remains slave to the Biological Clock of the plant. Even in a climate-controlled room, plants respond to the subtle shift in photoperiod as external seasons change. The transition from the vegetative stage to the reproductive or dormant stage is often triggered by the reduction of daylight hours.
For indoor enthusiasts, the "frost-date window" is replaced by the heating season. When indoor humidity drops below 30 percent due to forced-air heating, transpiration rates skyrocket. Labels should be updated during the spring equinox, marking the start of the primary growth phase. This is when the plant’s metabolic rate increases, requiring a shift from maintenance watering to active fertilization. Documenting these phase shifts on your labels allows for precise adjustments in light intensity and nutrient density.
Phases:

Sowing
During the germination phase, use small T-type plastic tags that do not shade the emerging cotyledons. Maintain a substrate temperature of 70 to 75 degrees Fahrenheit to ensure enzymatic activity within the seed coat.
Pro-Tip: Proper labeling during sowing prevents the disruption of phototropism. If you know the specific species, you can orient the label to avoid casting shadows on seedlings that require high light intensity to prevent leggy, weak stems.
Transplanting
When moving a plant to a larger vessel, the label must record the change in soil volume. This is critical for calculating the 1.5 inches of water typically required for larger pots. Use a soil moisture meter to verify that the moisture has reached the lower third of the root ball.
Pro-Tip: Documenting the transplant date is vital for monitoring mycorrhizal symbiosis. It takes approximately 21 to 28 days for beneficial fungi to establish a relationship with the root system; knowing this timeline prevents premature fertilization that could shock the developing colony.
Establishing
Once a plant is established, transition to permanent metal or thick acrylic labels. These should be placed at the edge of the pot to avoid damaging the rhizosphere, the high-activity zone of soil surrounding the roots.
Pro-Tip: Stable labeling helps manage auxin suppression. By noting the "front" of the plant on the label, you can rotate the pot 90 degrees weekly to ensure even distribution of growth hormones, preventing the plant from leaning toward the light source.
The Clinic:
Physiological disorders often mimic nutrient deficiencies. Accurate labeling allows you to cross-reference symptoms with your feeding log.
- Symptom: Interveinal chlorosis on new growth.
Solution: This indicates an Iron deficiency, often caused by a pH above 7.0. Fix-It: Apply chelated iron and adjust the water pH to 6.2. - Symptom: Necrotic leaf margins and "tip burn."
Solution: This is often a sign of Salt Accumulation. Fix-It: Flush the substrate with distilled water until the Electrical Conductivity (EC) of the runoff drops below 1.5 mS/cm. - Symptom: Lower leaf yellowing (Chlorosis).
Solution: Nitrogen deficiency. Fix-It: Apply a high-nitrogen fertilizer with a 3-1-2 ratio to restore chlorophyll production. - Symptom: Edema (water-soaked bumps on leaf undersides).
Solution: Excessive turgor pressure from over-irrigation in low light. Fix-It: Increase airflow and reduce watering frequency.
Maintenance:
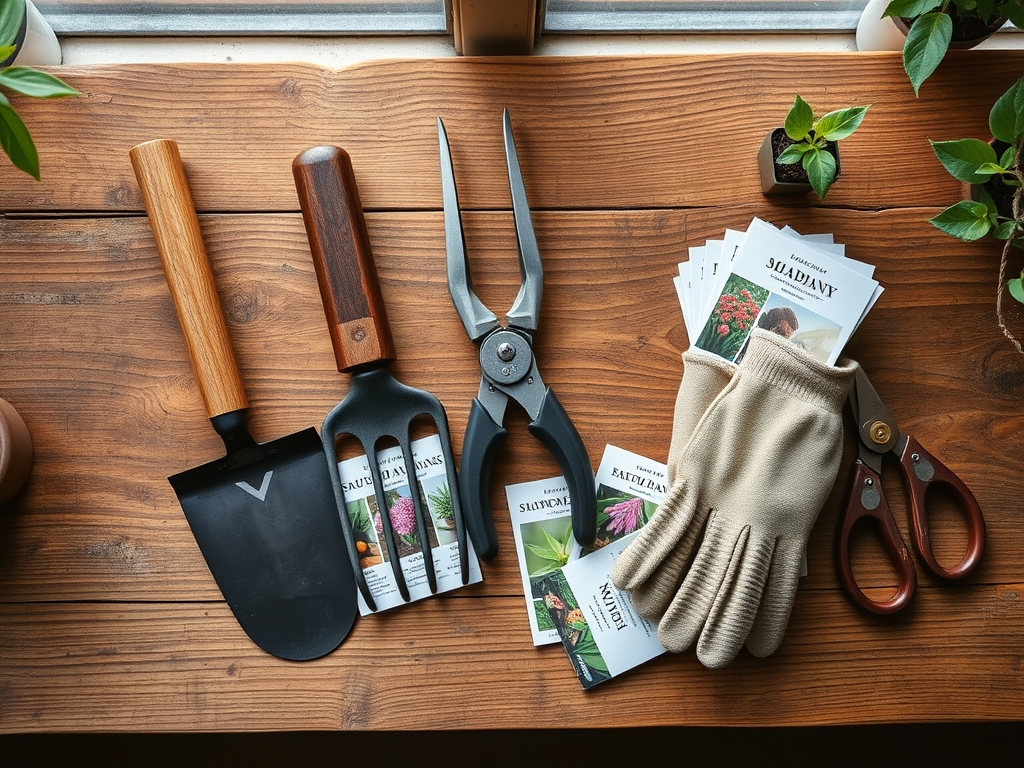
Precision maintenance requires the right tools and a data-driven approach. Use a hori-hori knife to clear any surface mineral crusting that might obscure your labels. For woody indoor plants like Ficus lyrata, use bypass pruners to remove senescent foliage, and record the date of major pruning on the back of the label.
Watering should be calculated based on the pot's surface area. For a standard 10-inch pot, apply approximately 0.5 liters of water when the top 2 inches of soil feel dry to the touch. Ensure the water temperature is between 65 and 75 degrees Fahrenheit to avoid root shock. If your labels show signs of fading from UV exposure under grow lights, switch to an industrial-grade paint pen or an etched metal system to ensure long-term legibility.
The Yield:
For indoor herbs or edible flowers like Viola, harvesting timing is dictated by essential oil concentration. Harvest in the morning after the grow lights have been on for one hour, but before the heat of the day peaks. Use sharp micro-snips to avoid tearing the vascular tissue. Post-harvest, place stems immediately in 40-degree Fahrenheit water to maintain turgor and preserve "day-one" freshness. For non-edibles, "yield" refers to the successful propagation of cuttings. Label each cutting with the date and the concentration of Indole-3-butyric acid (IBA) rooting hormone used.
FAQ:
What are the best plant labels for indoor use in high humidity?
Acrylic or anodized aluminum labels are superior. They resist oxidation and fungal growth in environments with 60 percent or higher relative humidity. Avoid wood or untreated paper, which harbor botrytis and other pathogens in stagnant air.
How do I prevent my plant labels from fading under LED grow lights?
Use carbon-based permanent markers or mechanical engraving. UV rays from high-output LEDs degrade standard ink pigments. Labels etched into zinc or copper provide a permanent record that remains legible for the entire lifespan of the plant.
Can I use copper labels for all indoor plants?
Copper is highly durable but can react with very acidic soils (pH below 4.5). For most indoor tropicals kept at a pH of 5.5 to 7.0, copper is safe and provides a natural antimicrobial surface.
Where should I place the label to avoid root damage?
Insert the label at the inner perimeter of the pot, at least 2 inches away from the main stem. This protects the primary taproot and the delicate root hairs responsible for the majority of nutrient uptake in the rhizosphere.