9 Steps to Prepare for a New Home Garden Pond Site
The smell of damp earth and the tactile resistance of a high-turgor leaf signify a healthy ecosystem; however, installing a water feature requires more than aesthetic intuition. To understand how to prepare a garden for a pond, a land manager must first evaluate the local hydrology and soil stability. This process begins with a rigorous assessment of the site topography and the underlying soil structure to prevent future subsidence or anaerobic stagnation. Successful pond integration demands a calculated manipulation of the rhizosphere and the physical landscape to ensure long term ecological balance.
Materials:
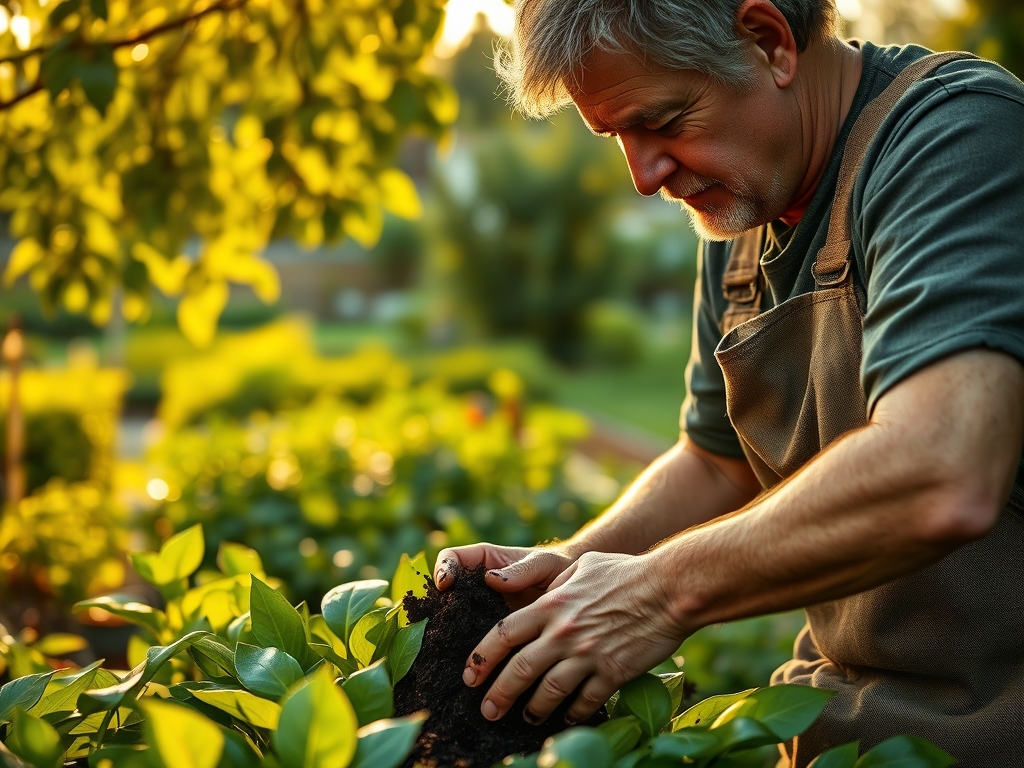
Selecting the correct substrate is the foundation of pond health. For the surrounding terrestrial zone, aim for a **friable loam** with a **Cation Exchange Capacity (CEC) between 15 and 25 meq/100g**. This ensures the soil can hold and exchange essential nutrients with marginal plants.
The soil pH should be maintained between 6.5 and 7.2 to prevent heavy metal toxicity in the water column. When prepping the perimeter, incorporate organic matter to achieve an NPK ratio of 5-10-5. High nitrogen levels (the first number) must be avoided near the water line to prevent eutrophication and subsequent algal blooms. Use a bentonite clay liner if the soil is overly sandy; sandy soils lack the structural integrity to support the weight of 62.4 pounds per cubic foot of water.
Timing:
The biological clock for pond installation is dictated by your USDA Hardiness Zone. In Zones 4 through 6, site excavation should occur immediately after the final spring frost when the soil moisture levels allow for clean slicing without compaction. In Zones 7 through 10, autumn is the preferred window to allow the microbial community to stabilize before the intense heat of summer.
The transition from vegetative to reproductive stages in aquatic flora is triggered by the photoperiod. Aim to have the pond filled and dechlorinated at least 21 days before the local "biological spring," which is when soil temperatures consistently reach 55 degrees Fahrenheit. This lead time allows for the establishment of nitrifying bacteria (Nitrosomonas and Nitrobacter) which are essential for the nitrogen cycle.
Phases:
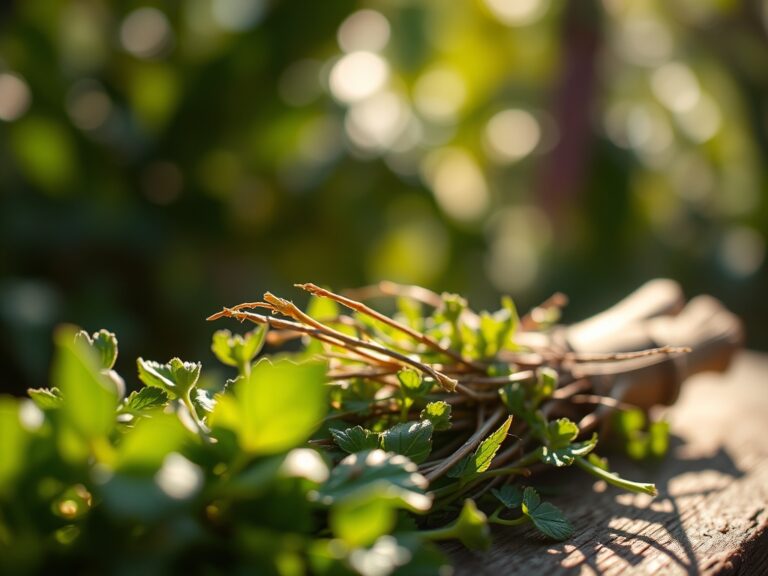
Sowing the Perimeter
Establish a vegetative buffer using native grasses or sedges. These plants act as a biological filter, capturing sediment and excess nutrients before they enter the pond. Ensure the seeds are in direct contact with the soil at a depth of 0.25 inches.
Pro-Tip: Utilize mycorrhizal symbiosis by inoculating the soil with fungal spores. This biological partnership extends the root system's reach, increasing phosphorus uptake and stabilizing the pond bank against erosion.
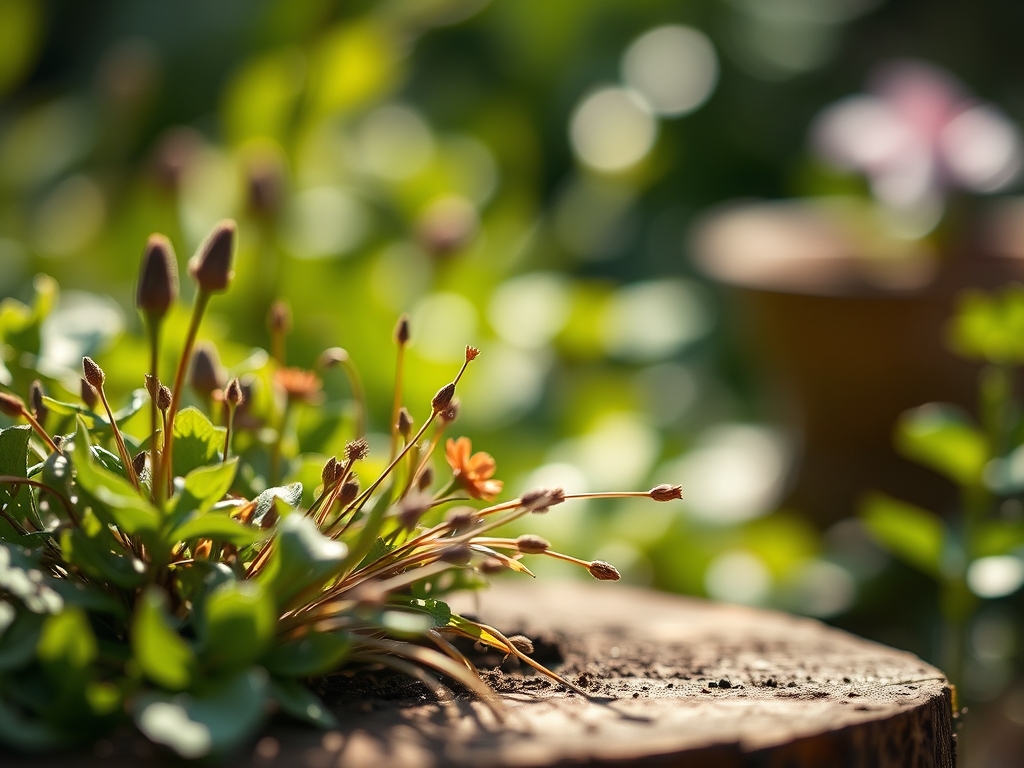
Transplanting Marginal Plants
When moving plants into the "shelf" zones of the pond, ensure the crown is at the specific depth required by the species; usually 2 to 6 inches below the water surface. Use heavy clay loam in planting baskets to prevent the media from floating away.
Pro-Tip: Minimize transplant shock by maintaining high turgor pressure in the plants prior to the move. Submerge the pots in a transitional bucket for 30 minutes to equalize temperatures and prevent cellular collapse.
Establishing the Ecosystem
The final phase involves the introduction of submerged oxygenators. These plants compete with algae for nutrients and provide surface area for beneficial biofilms. Maintain a planting density of one bunch per 2 square feet of surface area.
Pro-Tip: Control auxin suppression by pruning the terminal buds of aggressive marginal plants. This encourages lateral branching and a denser habit, which provides better shade and temperature regulation for the water.
The Clinic:
Physiological disorders in a new pond environment often stem from water chemistry imbalances or poor soil preparation.
- Symptom: Interveinal chlorosis (yellowing leaves with green veins) in marginal plants.
Solution: This indicates an Iron deficiency, often caused by a pH level above 7.5. Lower the pH using sulfur or peat moss to increase bioavailability. - Symptom: Stunted growth and purple tinting on the underside of leaves.
Solution: This is a classic Phosphorus deficiency. Check water temperatures; if the water is below 50 degrees Fahrenheit, the plant cannot metabolize phosphorus effectively. - Symptom: Rapid leaf senescence and "slimy" stems.
Solution: This suggests anaerobic conditions at the root zone. Increase water circulation or reduce the planting depth to improve oxygen exchange.
Fix-It Section: For Nitrogen chlorosis (general paling of the entire leaf), apply a slow release aquatic fertilizer tab directly into the root ball. Do not broadcast fertilizer into the water.
Maintenance:
Precision is required to maintain the stasis of a garden pond. Use a soil moisture meter to monitor the surrounding banks; they should remain at 60 percent saturation to support the buffer zone. If supplemental irrigation is needed for perimeter plants, apply 1.5 inches of water per week at the drip line.
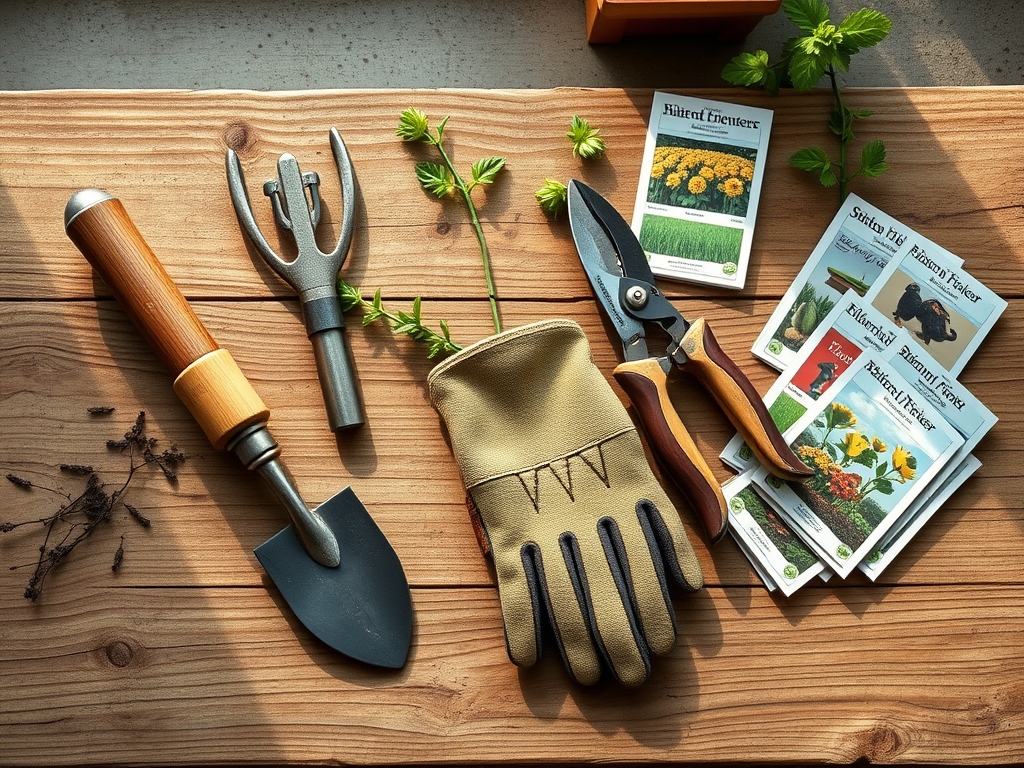
Use a hori-hori knife for dividing overgrown rhizomatous plants every three years to prevent overcrowding. For seasonal cleanup, utilize bypass pruners to remove spent foliage before it falls into the water and contributes to the organic load. Monitor water evaporation; if the level drops more than 2 inches per week, check the liner for mechanical punctures or capillary wicking from overgrown terrestrial roots.
The Yield:
For those growing aquatic edibles like watercress or lotus, harvest timing is critical. Harvest watercress when the stems reach 6 inches in length but before the plant enters its reproductive flowering stage. Cut the stems at a 45 degree angle using sharpened shears.
To maintain "day-one" freshness for harvested aquatic greens, immediately submerge the cut ends in 40 degree Fahrenheit water and store in a high-humidity environment. This prevents the rapid loss of turgor pressure and slows the rate of respiration, extending the shelf life of the produce.
FAQ:
How deep should I dig a garden pond?
Excavate to a minimum depth of 24 to 36 inches. This depth prevents the water from overheating in summer and ensures a frost-free zone at the bottom for overwintering organisms in colder climates.
What is the best soil for pond plants?
Use a heavy, calcined clay or a specialized aquatic compost. Avoid standard potting mixes containing perlite or peat moss, as these materials will float and cause significant water clarity issues and nutrient spikes.
How do I stop my pond from leaking?
Ensure the liner is protected by a 400gsm geotextile underlayment. If a leak is suspected, allow the water level to drop and stabilize; the puncture will be located at the new water line along the perimeter.
How much sun does a pond need?
A pond requires 5 to 7 hours of direct sunlight for optimal plant photosynthesis. However, excessive exposure can lead to high water temperatures and oxygen depletion; use floating plants to cover 50 percent of the surface.