6 Steps to Install a Functional Home Garden Screen
The scent of damp, disturbed earth signals the start of a structural landscape shift. When a leaf maintains high turgor pressure, it stands rigid against the wind; a functional garden screen must emulate this biological resilience through proper engineering and species selection. Following the correct steps for installing a garden screen ensures your barrier functions as a living lung for the property rather than a static wall. Success requires calculating wind loads against the tensile strength of your chosen botanical or timber substrate.
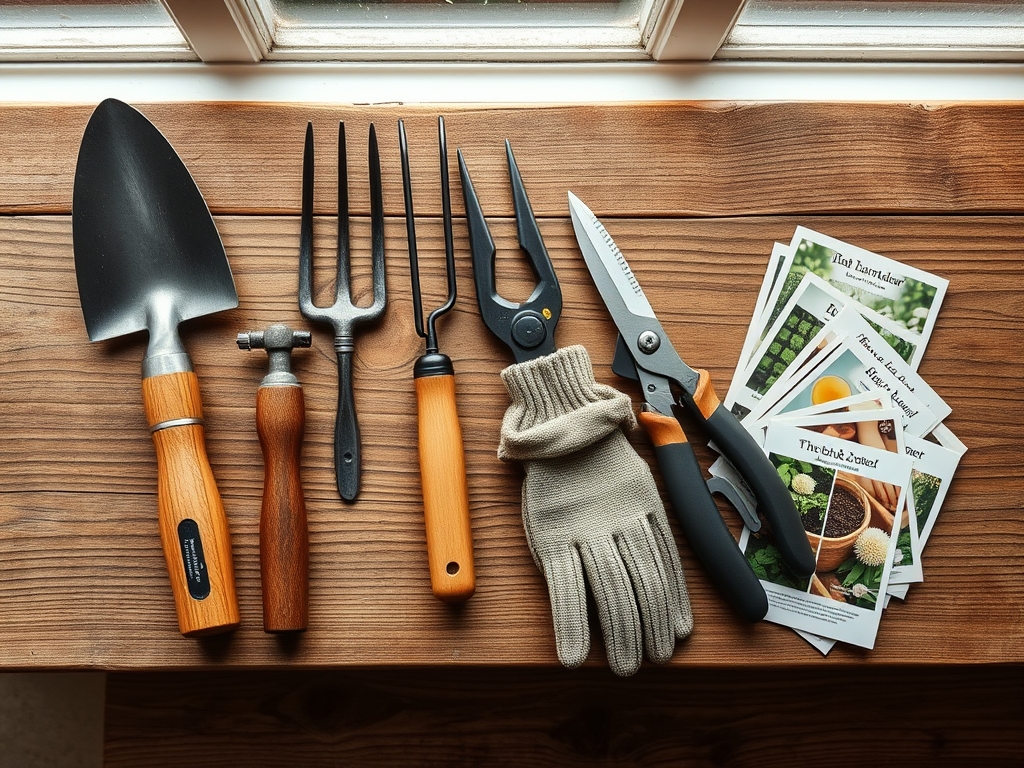
Materials:
A functional screen begins in the rhizosphere. You must prepare a friable loam substrate characterized by 40 percent sand, 40 percent silt, and 20 percent clay. This balance ensures a high Cation Exchange Capacity (CEC), allowing the soil to hold and release essential nutrients to the root system.
The soil pH must be calibrated between 6.0 and 7.0 for most screening species like Thuja occidentalis or Taxus. Before installation, incorporate a slow-release fertilizer with an NPK ratio of 10-10-10 into the top 6 inches of the planting trench. This provides the phosphorus necessary for initial root development and the nitrogen required for rapid vegetative growth. If using timber posts for a hardscape screen, utilize pressure-treated 4×4 lumber rated for ground contact to prevent fungal decay and structural failure.
Timing:
Installation windows are dictated by the USDA Hardiness Zones. For Zones 5 through 7, the primary window opens in early autumn or late spring when soil temperatures remain between 50 and 65 degrees Fahrenheit. This temperature range promotes root respiration without the metabolic stress of high-heat transpiration.
The biological clock of the plant is paramount. You must install the screen during the transition from the dormant stage to the early vegetative stage. Avoid planting during the reproductive stage (flowering) as the plant diverts energy toward seed production rather than root establishment. In Zones 8 and 9, winter installation is preferred to allow the root system to colonize the soil before the photoperiod extends and heat-induced senescence becomes a risk.
Phases:

Sowing and Site Preparation
Clear all competing vegetation within a 36-inch wide swath. Excavate a trench twice as wide as the root balls of your intended screen plants. For hardscape screens, dig post holes to a depth of one-third the total height of the post to ensure leverage against lateral wind pressure.
Pro-Tip: Incorporate mycorrhizal fungi inoculants into the backfill. This biological symbiosis expands the root surface area by up to 1,000 times, significantly increasing the plant's ability to uptake phosphorus and water.
Transplanting
Position the plants so the root flare is exactly level with the soil surface. Planting too deep causes stem suffocation; planting too shallow leads to desiccation. Space the specimens based on their mature width to ensure air circulation, which prevents the buildup of fungal pathogens in the interior canopy.
Pro-Tip: Orient the most foliage-heavy side of the plant toward the primary light source. This utilizes phototropism to encourage even growth and prevents the "leggy" appearance caused by auxin accumulation on the shaded side of the stem.
Establishing
Backfill the trench with the amended friable loam and tamp down firmly to remove air pockets. Apply a 3-inch layer of organic mulch, keeping it 2 inches away from the trunk base. Saturate the area immediately to settle the soil and eliminate large voids that can freeze and heave in winter.
Pro-Tip: Avoid heavy pruning in the first year. Maintaining maximum leaf surface area ensures the plant can produce enough carbohydrates through photosynthesis to fuel the expansion of the root system into the native soil.
The Clinic:
Physiological disorders often mimic disease but are usually environmental. Monitor your screen for these specific indicators:
- Nitrogen Chlorosis: Symptoms include a uniform yellowing of older, lower leaves while the veins remain slightly green. The fix is an immediate application of water-soluble 20-20-20 fertilizer to restore chlorophyll production.
- Iron Deficiency: New growth appears pale yellow or white while veins remain dark green. This occurs when pH exceeds 7.5. Lower the pH by applying elemental sulfur or chelated iron.
- Leaf Scorch: Brown, brittle margins on leaves indicate excessive transpiration. Increase irrigation frequency and apply an anti-desiccant spray to the foliage.
- Root Hypoxia: Wilting leaves despite wet soil indicate a lack of oxygen in the root zone. Improve drainage by incorporating coarse organic matter or installing a French drain.
Maintenance:
A garden screen requires disciplined hydraulic management. Provide 1.5 inches of water per week delivered at the drip line via a soaker hose or drip irrigation system. Use a soil moisture meter to verify that moisture has penetrated to a depth of 8 inches before re-watering.
Pruning should be performed with sharp bypass pruners to ensure clean vascular cuts that heal quickly. For structural adjustments, use a hori-hori knife to sever circling roots that may girdle the main trunk. Annual maintenance includes a top-dressing of compost to maintain the Cation Exchange Capacity and provide a steady supply of micronutrients.
The Yield:
If your screen consists of flowering species like Forsythia or edible hedges like Prunus virginiana, harvest timing is critical. For flowers, harvest in the early morning when turgor pressure is highest. Use a sharp knife to make a 45-degree cut and immediately submerge the stems in 100-degree Fahrenheit water to maximize hydraulic uptake. For berries, wait for the brix level (sugar content) to peak, usually indicated by a deep, uniform color and a slight softening of the fruit wall. Handle all harvests with minimal friction to preserve the protective waxy cuticle.
FAQ:
What is the best soil for a garden screen?
A well-draining friable loam with a pH of 6.0 to 7.0 is ideal. Ensure the soil has a high Cation Exchange Capacity to retain nutrients like nitrogen and potassium for sustained vertical growth.
How deep should I plant screening shrubs?
Excavate the hole to the depth of the root ball and twice as wide. The root flare must remain at or slightly above the soil surface to prevent trunk rot and ensure proper gas exchange.
How much water does a new garden screen need?
Deliver 1.5 inches of water per week directly to the root zone. Use a soil moisture meter to ensure the water reaches a depth of 8 to 12 inches to encourage deep root penetration.
When is the best time to prune a living screen?
Prune in late winter or early spring before the first flush of growth. This timing allows the plant to direct its spring energy surge toward healing cuts and producing new, dense foliage.
How do I fix yellowing leaves on my screen?
Yellowing usually indicates nitrogen deficiency or high pH. Test the soil pH first; if it is within the 6.0 to 7.0 range, apply a high-nitrogen fertilizer to restore green pigment and photosynthetic efficiency.