7 Steps to Install a Decorative Home Garden Gate
The scent of damp, disturbed earth signals the start of a structural intervention in the landscape. When the turgor pressure of your perimeter hedging is at its peak, the installation of a portal becomes a necessity for both aesthetics and access. Mastering the steps for installing a garden gate requires more than basic carpentry; it demands an understanding of the site's topography and the biological requirements of the surrounding flora. A gate is a fixed point in a shifting biological system, requiring precision to ensure it does not interfere with the rhizosphere of adjacent specimens.
Materials:

Before setting posts, evaluate the soil composition. The ideal substrate is a **friable loam** with a Cation Exchange Capacity (CEC) between **15 and 25 meq/100g**. This ensures the soil can hold the necessary minerals for the plants that will eventually flank the gate. If your soil is sandy, the post footings must be deeper to compensate for lower structural stability. Maintain a soil pH between **6.0 and 7.0** to prevent nutrient lockout for nearby ornamentals. For the surrounding vegetation, apply a granular fertilizer with an NPK ratio of **10-10-10** to support root recovery after the soil is compacted during construction. Use pressure-treated timber or powder-coated steel to resist the high humidity levels found in dense garden microclimates.
Timing:
Installation should occur during the dormant season or early spring to minimize stress on the vascular systems of nearby perennials. In Hardiness Zones 5 through 7, the window opens once the ground thaws but before the first flush of spring growth. This timing respects the biological clock of the garden; you must complete heavy foot traffic and soil displacement before plants transition from their vegetative stage to their reproductive stage. Avoid installation during peak summer when high transpiration rates make plants susceptible to root shock from soil disturbance.
Phases:

Sowing the Foundation
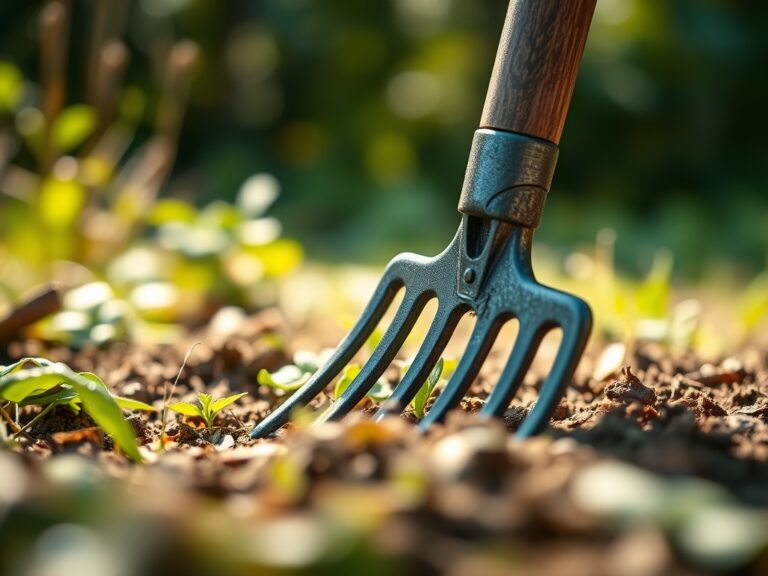
The first of the steps for installing a garden gate is the excavation of post holes. Dig to a depth of at least 30 inches, or below the frost line in your specific zone, to prevent heaving. The diameter should be three times the width of the post. Ensure the bottom of the hole is packed with 4 inches of crushed stone to facilitate drainage and prevent anaerobic conditions that lead to fungal rot.
Pro-Tip: When backfilling with concrete, taper the top away from the post. This prevents water pooling, which protects the wood from basidiomycetes (wood-decay fungi) that thrive in excessive moisture.
Transplanting the Structure
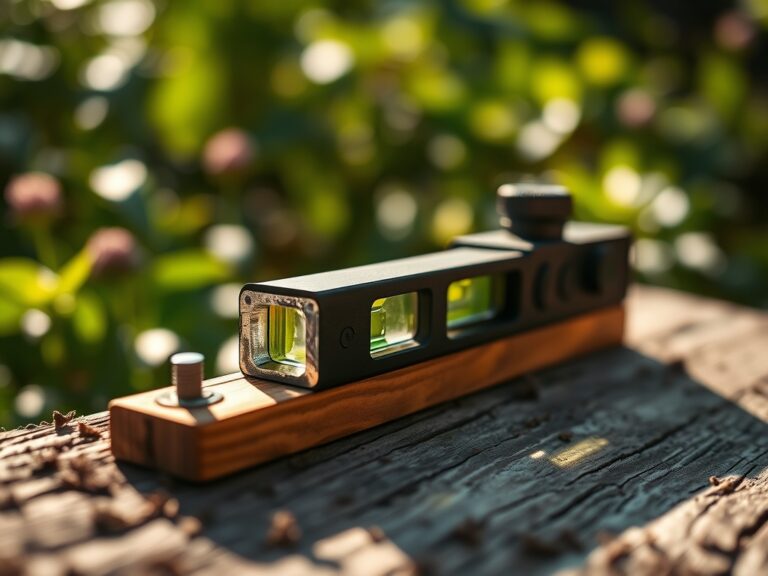
Once the posts are cured for 48 to 72 hours, hang the gate frame. Use a level to ensure the horizontal rails are perfectly plumb. A gate that is out of alignment will put uneven torque on the hardware, eventually leading to structural failure. Leave a 2-inch clearance at the bottom to allow for mulch application and to prevent the gate from dragging on the soil surface during periods of high soil moisture.
Pro-Tip: Use stainless steel hardware to prevent heavy metal leaching into the soil. Excessive zinc or copper runoff can disrupt the mycorrhizal symbiosis in the soil, hindering the nutrient uptake of nearby plants.
Establishing the Border
With the gate hung, reintegrate the surrounding flora. If you removed sod or perennials, replant them at their original soil depth. Apply a 3-inch layer of organic mulch around the base of the posts, keeping it 2 inches away from the wood itself. This suppresses weeds and maintains consistent soil temperature for the root zones of flanking plants.
Pro-Tip: If planting climbers like Clematis near the gate, provide a separate trellis. This prevents the plant from using its thigmotropism (touch sensitivity) to latch onto the moving gate parts, which can lead to mechanical damage of the plant's stems.
The Clinic:
Physiological disorders in the garden often manifest after structural changes. Monitor nearby plants for these symptoms:
- Symptom: Yellowing of older leaves while veins remain green.
Solution: This indicates Magnesium deficiency. Apply Epsom salts at a rate of 1 tablespoon per gallon of water to restore chlorophyll production. - Symptom: Stunted growth and dark blue-green foliage.
Solution: This is a sign of Phosphorus deficiency, often caused by soil compaction during gate installation. Aerate the soil with a garden fork and apply bone meal. - Symptom: Interveinal chlorosis on new growth.
Solution: Iron chlorosis is common if the concrete used for posts has leached lime into the soil, raising the pH. Apply chelated iron to lower the pH locally.
Fix-It for Nitrogen Chlorosis: If plants show a uniform pale green color, they lack Nitrogen. Use a high-nitrogen liquid feed (NPK 20-10-10) to quickly boost vegetative vigor.
Maintenance:
A garden gate requires seasonal calibration. Check the hinges every six months for signs of oxidation. Lubricate moving parts with a silicone-based spray that will not leach petroleum distillates into the rhizosphere. For the surrounding plants, ensure they receive 1.5 inches of water per week at the drip line, verified by a soil moisture meter. Use a hori-hori knife to remove any deep-rooted weeds that emerge near the post footings, as their root systems can compete for nutrients. Prune any overhanging branches with bypass pruners to maintain a 12-inch clearance from the gate, preventing mechanical abrasion during wind events.
The Yield:
If your gate serves as the entrance to a cutting garden or orchard, timing the harvest is critical for post-harvest longevity. Harvest flowers like Zinnias or Roses in the early morning when turgor pressure is highest. Use sharp snips to make a clean cut above a node to encourage further axillary bud development. For fruit, wait for the peak of sugar accumulation, usually indicated by a change in ground color. Immediate cooling after harvest slows the rate of senescence, preserving the cellular integrity and flavor of the yield for "day-one" freshness.
FAQ:
How deep should gate posts be buried?
Posts must be buried at least 30 inches deep or below the local frost line. This prevents soil heaving during freeze-thaw cycles and provides the necessary leverage to support the weight of the gate without sagging over time.
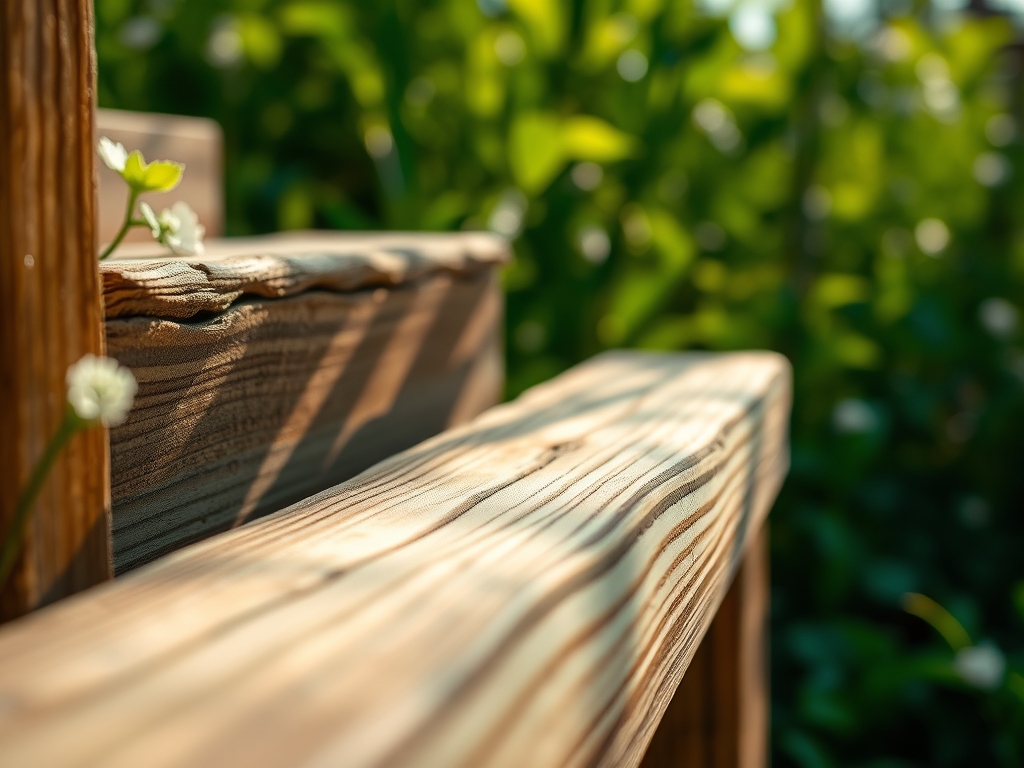
What is the best wood for a garden gate?
Western Red Cedar and Redwood are superior choices due to their natural resistance to decay and insects. These species contain tannins and oils that protect the wood fibers even in high-moisture garden environments without requiring heavy chemical treatments.
Can I install a gate near large tree roots?
Avoid cutting roots larger than 2 inches in diameter, as these are structural. If roots are encountered, shift the gate location. Cutting major roots can lead to moisture stress and reduce the tree's ability to anchor itself.
How do I prevent my garden gate from sagging?
Install a diagonal cross-brace running from the bottom hinge corner to the top latch corner. This transfers the weight of the gate to the hinges using compression and tension, maintaining the geometric integrity of the frame against gravity.