7 Steps to Build a Classic Home Garden Patio
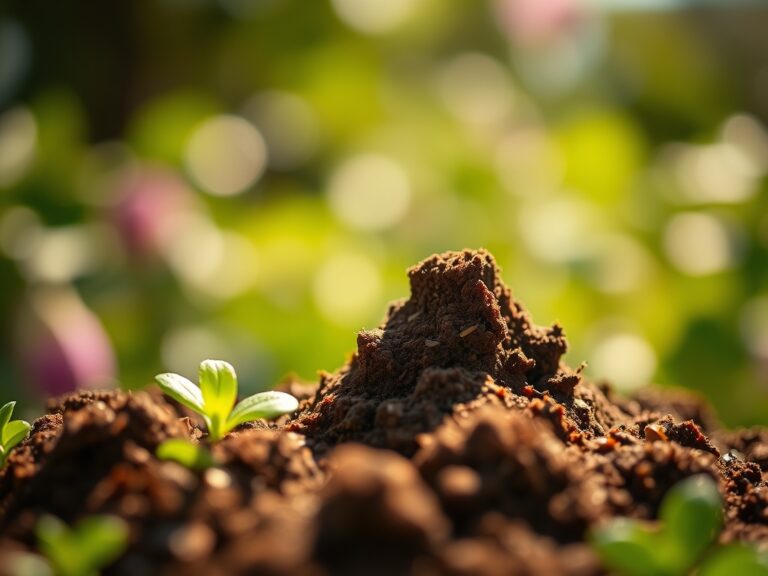
The scent of damp, disturbed earth signals the start of any structural intervention in the landscape. When you break the surface tension of a compacted lawn, you expose the rhizosphere, a complex network of fungal hyphae and bacterial colonies that dictate the health of your future perimeter plantings. Success requires more than aesthetic placement; it demands an understanding of soil physics and load-bearing capacity. Following the correct steps for building a garden patio ensures that the finished stone surface does not interfere with the turgor pressure of surrounding flora or the drainage patterns of the local topography. This process is a mechanical and biological integration. You are not just laying stone; you are managing water runoff and soil gas exchange across a fixed surface area. Every square foot of pavers represents a change in the thermal mass of the garden, affecting the microclimate of the root zones immediately adjacent to the installation. Precision in the excavation and base layers prevents long term structural failure and plant stress.
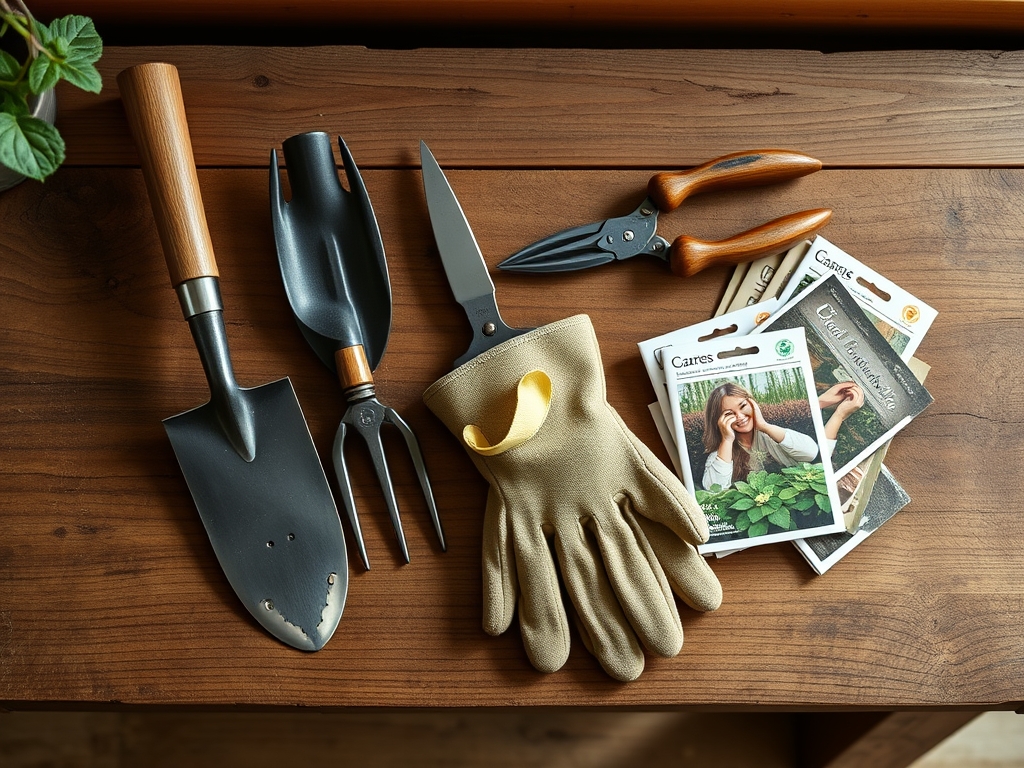
Materials:
The foundation of a patio begins with the substrate. For the surrounding garden beds, you must achieve a **friable loam** with a **Cation Exchange Capacity (CEC) above 15**. This ensures the soil can hold onto essential nutrients like ammonium and potassium. The ideal soil pH for a mixed patio border is **6.2 to 6.8**, which optimizes the bioavailability of phosphorus.
When preparing the planting pockets, incorporate a slow release fertilizer with an NPK ratio of 5-10-5. The higher phosphorus content supports robust root development, which is critical near hardscaping where soil volume is limited. For the patio base itself, use ASTM D2940 graded crushed stone. This material provides the necessary void space for drainage while maintaining a high compaction rating. Avoid using high-sodium sand for leveling, as sodium ions can displace calcium in the soil, leading to a breakdown of soil structure and reduced hydraulic conductivity in the adjacent planting zones.
Timing:
Timing is dictated by the USDA Hardiness Zones and the local frost-free window. In Zones 5 through 7, excavation should begin at least six weeks before the first hard frost or immediately after the spring thaw once the soil moisture levels allow for compaction without glazing. Soil should never be worked when it is saturated; doing so collapses the macropores, leading to anaerobic conditions that kill beneficial aerobic bacteria.
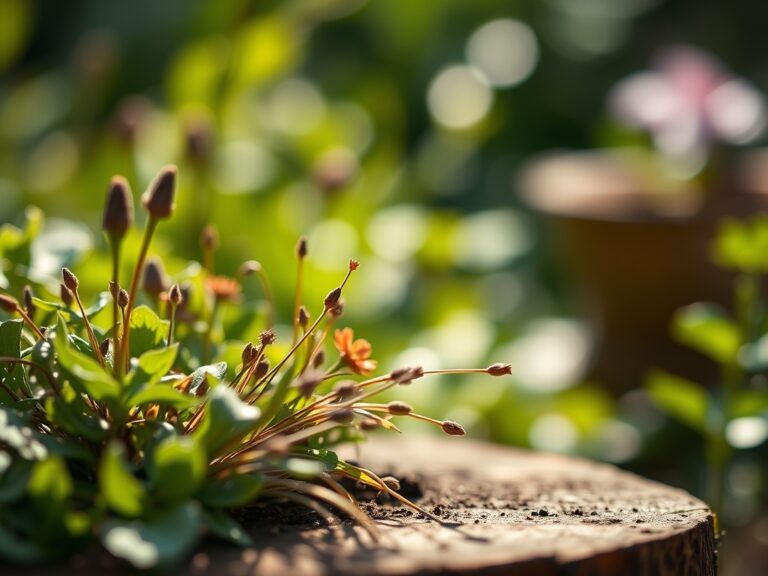
The "Biological Clock" of your garden determines when to integrate plants around the new stone. Most woody perennials transition from vegetative growth to senescence as day lengths shorten. For optimal establishment, install perimeter plants during the "shoulder seasons" of autumn or early spring. This allows the root systems to expand through mycorrhizal symbiosis before the high evapotranspiration demands of summer or the metabolic dormancy of winter.
Phases:

Sowing and Site Prep
Excavate the patio area to a depth of 8 to 10 inches. This depth allows for 6 inches of compacted aggregate, 1 inch of bedding sand, and the thickness of the paver. Ensure a 2 percent slope away from any permanent structures to prevent water pooling.
Pro-Tip: Proper grading prevents localized soil saturation. If the soil remains anaerobic for more than 48 hours, it triggers root hypoxia, where cells cannot perform aerobic respiration, leading to the death of the root cortex.
Transplanting the Border
When placing plants along the patio edge, dig holes twice as wide as the root ball but no deeper. Use a hori-hori knife to tease out any circling roots. This prevents the plant from becoming "pot-bound" within the native soil.
Pro-Tip: Teasing the roots breaks apical dominance in the root tips, stimulating the production of lateral roots through auxin suppression. This results in a more expansive and stable root architecture.
Establishing the Microclimate
Once the pavers are set and the plants are in the ground, apply a 2-inch layer of organic mulch. This regulates the soil temperature, which can fluctuate wildly near heat-absorbing stone surfaces.
Pro-Tip: Mulching encourages mycorrhizal symbiosis, where fungi extend the reach of the plant's root system. This biological partnership increases the plant's ability to uptake water and minerals in the restricted spaces next to the patio.
The Clinic:
Physiological disorders often manifest shortly after construction due to soil compaction or pH shifts.
- Symptom: Interveinal Chlorosis. New leaves appear yellow while veins remain green.
- Solution: This is often a sign of Iron deficiency caused by high pH. Test the soil; if it is above 7.5, apply sulfur to lower the pH and increase iron solubility.
- Symptom: Marginal Leaf Burn. Edges of leaves turn brown and crispy.
- Solution: This indicates salt accumulation or moisture stress. Flush the area with 1 inch of water to leach excess salts away from the root zone.
- Symptom: Nitrogen Chlorosis. Older leaves turn a uniform pale yellow.
- Fix-It: Apply a high-nitrogen supplement with an NPK of 21-0-0 (Ammonium Sulfate) to quickly restore chlorophyll production.
- Symptom: Epinasty. Leaves curl or twist downward.
- Solution: Check for soil compaction or poor drainage. Use a soil moisture meter to ensure the area is not waterlogged, which prevents oxygen from reaching the roots.
Maintenance:
A garden patio requires rigorous moisture management. Plants at the edge of stone surfaces experience higher temperatures due to reflected heat. Apply 1.5 inches of water per week at the drip line, rather than at the base of the stem. Use a soil moisture meter to verify that the moisture has penetrated at least 6 inches deep.
For pruning, use bypass pruners to make clean cuts at a 45 degree angle just above a lateral bud. This encourages outward growth and prevents the "leggy" appearance that occurs when plants reach for light, a phenomenon known as phototropism. Keep the stone joints clear of organic debris to prevent the growth of liverworts or mosses, which can trap moisture against the stone and lead to freeze-thaw cracking in colder climates.
The Yield:
If your patio border includes flowering perennials like Lavandula or Echinacea, harvest during the "cool of the morning" when turgor pressure is at its peak. Use sharp shears to cut stems just as the first few florets open. For "day-one" freshness, immediately plunge the stems into 40 degree Fahrenheit water. This rapid cooling slows the metabolic rate and delays senescence, ensuring the blooms remain turgid and vibrant for a longer duration.
FAQ:
How deep should I dig for a patio?
Excavate to a depth of 8 to 12 inches. This accommodates a 6-inch compacted stone base, 1 inch of leveling sand, and the paver thickness. Proper depth ensures structural integrity and prevents frost heaving in cold climates.
What is the best sand for pavers?
Use washed concrete sand or polymeric sand for the joints. Avoid fine masonry sand, as it lacks the angularity needed for interlocking. Polymeric sand contains additives that harden when wet, preventing weed growth and erosion.
How do I stop weeds between stones?
Maintain a tight joint with polymeric sand and ensure the base is properly compacted. Weeds often germinate in accumulated organic matter on top of the sand. Regular sweeping and occasional pressure washing prevent the buildup of growth medium.
Can I build a patio over tree roots?
Avoid placing a patio over more than 20 percent of a tree's root zone. Capping the soil prevents gas exchange and water infiltration. If necessary, use "floating" deck systems or permeable pavers to maintain the health of the rhizosphere.