6 Steps to Prepare a Secure Home Garden Statue Site
The scent of decomposing organic matter and the distinct metallic tang of wet minerals signal a garden ready for structural integration. When the turgor pressure of your surrounding perennials is at its peak, the soil provides the necessary resistance for heavy installations. Understanding how to prepare a site for a garden statue requires more than aesthetic placement; it demands a deep comprehension of soil mechanics and load-bearing capacity. You must calculate the weight of the ornament against the shear strength of the substrate to prevent sinking or tilting during seasonal freeze-thaw cycles. A successful installation anchors the piece within the rhizosphere without compromising the gas exchange required by nearby root systems. Neglecting the compaction levels or the drainage rate of the chosen spot will lead to structural failure or the drowning of adjacent flora. Precision in site preparation ensures that the statue remains a permanent fixture of the landscape rather than a victim of soil subsidence.
Materials:
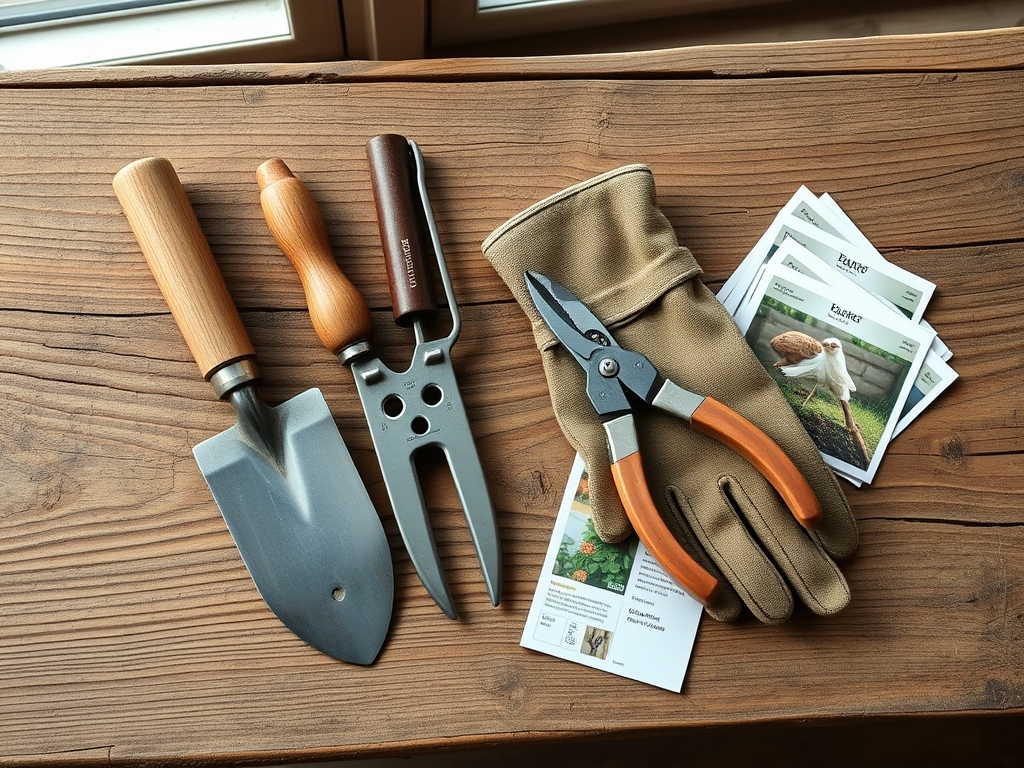
The ideal substrate for a garden statue site is a **friable loam** with a **soil pH between 6.0 and 7.0**. This acidity range prevents the rapid chemical weathering of stone or concrete pedestals. Before excavation, analyze the nutrient profile of the surrounding area. A balanced **NPK ratio of 10-10-10** ensures that the plants framing your statue maintain structural integrity. If you are placing the statue near heavy feeders, ensure the **Cation Exchange Capacity (CEC)** is above **15 meq/100g** to facilitate nutrient retention. You will need **three-quarter-inch crushed angular stone** for the base layer to facilitate drainage, and **polymeric sand** to lock the leveling pavers in place. Avoid high-clay soils with low porosity, as these hold excessive moisture and increase the risk of frost heave.
Timing:
Installation should occur during the dormant season or early spring when the "Biological Clock" of the garden is in a transitional state. In Hardiness Zones 4 through 7, the ideal window is 14 to 21 days after the last hard frost but before the spring flush of vegetative growth. This timing allows you to manipulate the soil without damaging emerging shoots or disrupting the peak auxin production of the plants. Installing during the reproductive stage of nearby perennials can cause unnecessary stress and lead to premature senescence. Monitor the soil temperature; it should be at least 50 degrees Fahrenheit (10 degrees Celsius) at a 4-inch depth to ensure the ground is no longer frozen and is workable for compaction.
Phases:
Sowing the Foundation
Excavate a hole 6 inches wider than the base of the statue and 8 to 12 inches deep. Remove all organic debris and roots to prevent future settling as material decomposes. Line the bottom with a geotextile fabric to separate the subsoil from your drainage gravel. Fill with 4 inches of crushed stone and compact it using a hand tamper until the surface is immobile.
Pro-Tip: Proper compaction prevents the disruption of mycorrhizal symbiosis in the surrounding area. By creating a stable, localized footprint, you prevent the soil from shifting and tearing the delicate fungal hyphae that provide nutrients to neighboring plants.
Transplanting and Leveling
Place a thick concrete paver or a poured concrete pad over the compacted stone. Use a 4-foot level to ensure the surface is perfectly horizontal across both axes. If the site is on a slope, you must install a small retaining lip on the upslope side to divert runoff. This prevents hydrostatic pressure from building up behind the statue base.
Pro-Tip: Maintaining a level surface prevents phototropism issues in surrounding low-profile groundcovers. When a statue leans, it can create uneven shade patterns, forcing plants to expend excess energy stretching toward light, which weakens their cellular structure.
Establishing the Perimeter
Backfill the edges of the site with a mix of the native soil and 20 percent organic compost. Firm the soil by hand to remove large air pockets but do not over-compact the planting zone. Re-introduce mulch to a depth of 2 inches, keeping it 3 inches away from the statue base to prevent moisture-induced degradation of the material.
Pro-Tip: Avoid covering the statue base with mulch to prevent adventitious root growth. When roots grow into the mulch layer above the soil line, they become susceptible to desiccation and temperature fluctuations, compromising the plant's overall health.
The Clinic:
Statue placement can impact the physiological health of the surrounding garden. Observe these symptoms to diagnose issues:
-
Symptom: Interveinal Chlorosis. Yellowing leaves with green veins on nearby plants.
Solution: This indicates a pH imbalance, likely caused by lime leaching from a concrete statue base. Apply elemental sulfur to lower the pH.
Fix-It: Add a chelated iron supplement to the soil to restore chlorophyll production immediately. -
Symptom: Marginal Leaf Scorch. Browning of leaf edges on plants down-slope from the statue.
Solution: This suggests "salt" buildup or runoff from cleaning agents used on the statue.
Fix-It: Flush the area with 3 inches of water to leach the excess solutes out of the root zone. -
Symptom: Stunted Growth and Wilting. Despite adequate watering.
Solution: Soil compaction from the installation process has reduced oxygen availability in the rhizosphere.
Fix-It: Use a soil aerator tool to create 6-inch deep holes around the perimeter of the statue site to restore gas exchange.
Maintenance:
Post-installation care requires technical precision. Monitor the site with a soil moisture meter twice weekly. The area around the statue base typically requires 1.5 inches of water per week delivered at the drip line of surrounding plants. Use a hori-hori knife to remove any weeds that germinate in the gravel transition zone; this tool allows you to extract the entire taproot without disturbing the leveled base. Every autumn, use bypass pruners to clear any overhanging branches that may drop acidic leaf litter or sap onto the statue surface. Check the level of the statue annually to ensure that no subsidence has occurred.
The Yield:
While a statue does not produce a crop, the "yield" is the health of the botanical frame. To maximize the visual impact of flowering plants near the site, deadhead spent blooms immediately. This redirects the plant's energy from seed production back into vegetative vigor. For "day-one" freshness in the surrounding foliage, spray the leaves with a gentle stream of water early in the morning to remove dust and maintain high stomatal conductance. This ensures the plants remain turgid and vibrant against the static backdrop of the stone.
FAQ:
How deep should I dig for a heavy statue?
Excavate at least 8 to 12 inches. This allows for a 4 to 6-inch compacted gravel base and a sturdy paver. Deep foundations prevent the statue from leaning due to soil compression or frost heave.
Can I place a statue directly on the grass?
No. Direct contact causes the grass to die from lack of light and oxygen. The weight will also cause the statue to sink unevenly as the organic matter underneath decomposes, leading to potential breakage.
What is the best soil for the surrounding area?
Use a friable loam with a pH of 6.5. This ensures optimal nutrient availability and drainage. Avoid heavy clay, which retains too much water and can damage the statue base during freezing temperatures.
How do I prevent the statue from tipping?
Ensure the base is 2 inches wider than the statue's footprint. Use a level to verify the site is flat. For top-heavy items, use stainless steel anchors or a specialized masonry adhesive to secure the piece to the pedestal.