8 Ways to Prepare a DIY Natural Material Plant Label
The smell of damp, anaerobic decomposition signals a nitrogen imbalance, but the crisp turgor of a healthy leaf indicates a root system in perfect equilibrium with its rhizosphere. In a high-density botanical collection, memory fails where documentation succeeds. Learning how to prepare a DIY plant label is a fundamental requirement for the systematic management of cultivars; it prevents the accidental cross-pollination of heirloom varieties and ensures precise nutrient application based on specific species requirements. Professional horticultural management demands durable, legible, and chemically inert identification systems.
Materials:
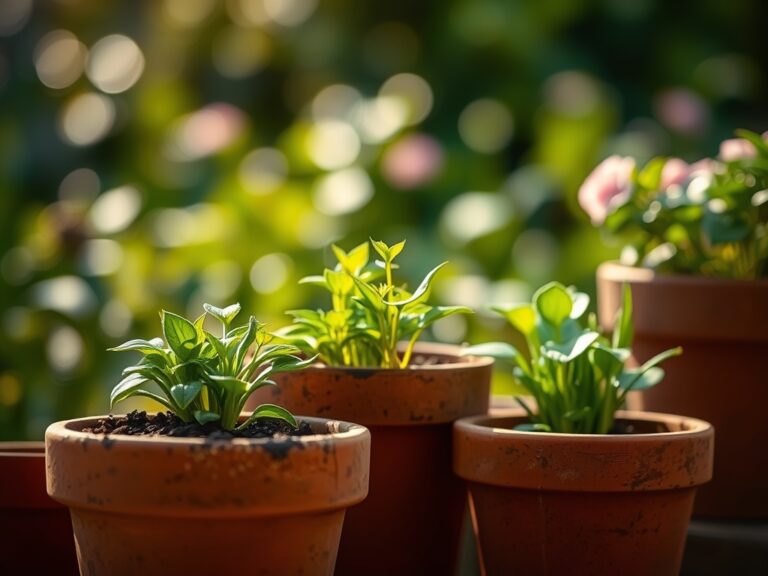
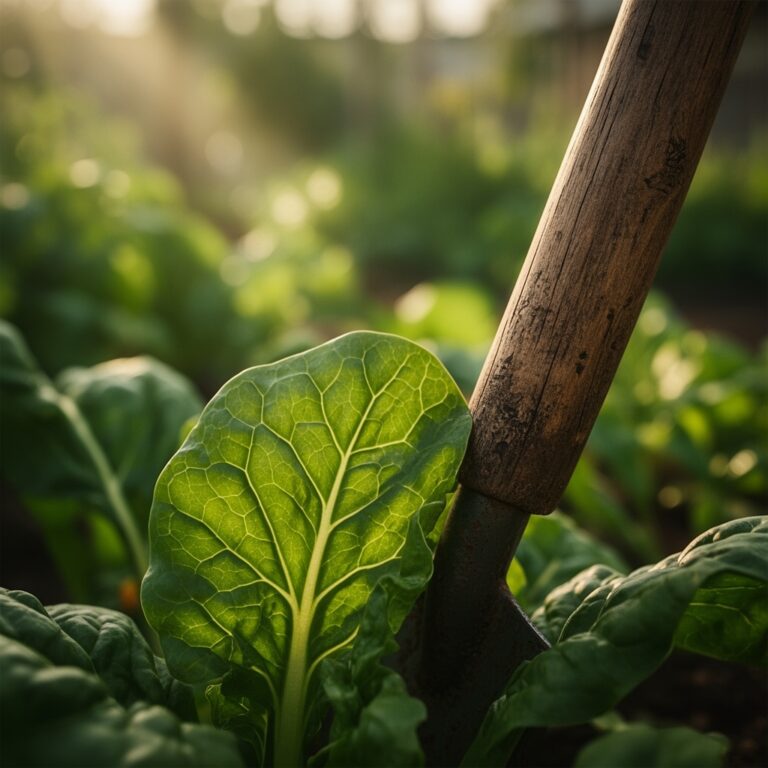
The success of any labeling system depends on the substrate in which it is placed. For most vegetable and ornamental crops, a friable loam with a pH between 6.0 and 7.0 provides the ideal structural support. This soil texture allows for the insertion of labels without compromising the delicate root hairs of emerging seedlings. When preparing your DIY labels, consider the Cation Exchange Capacity (CEC) of your soil; high-clay soils may grip wooden labels too tightly, leading to rapid rot through capillary action.
To support the plants these labels identify, ensure the substrate is enriched with a balanced NPK ratio of 10-10-10 for general growth. For heavy feeders like Solanum lycopersicum, a transition to a 5-10-10 ratio is necessary to prioritize fruit development over vegetative biomass. Your DIY materials should include reclaimed cedar heartwood, smooth river stones, recycled copper stripping, weather-treated bamboo, slate fragments, heavy-gauge aluminum, terracotta shards, and hardwood twigs. These materials are chemically stable and will not leach toxins into the soil.
Timing:
Timing the installation of your labeling system aligns with the biological clock of the plant. In Hardiness Zones 5 through 7, labels must be placed immediately following the last spring frost to track the transition from the vegetative stage to the reproductive stage. For perennial species, labeling is best performed during dormancy, typically when soil temperatures drop below 45 degrees Fahrenheit (7 degrees Celsius).
The photoperiod dictates the urgency of identification. Short-day plants require precise tracking of light exposure to trigger flowering. By installing labels during the transplant window, usually a 10 to 14 day period after the first true leaves appear, you ensure that nutrient applications coincide with the plant's peak metabolic demands. Failure to label during this window often leads to "cultivar confusion" when phenotypic traits are not yet distinct.
Phases:
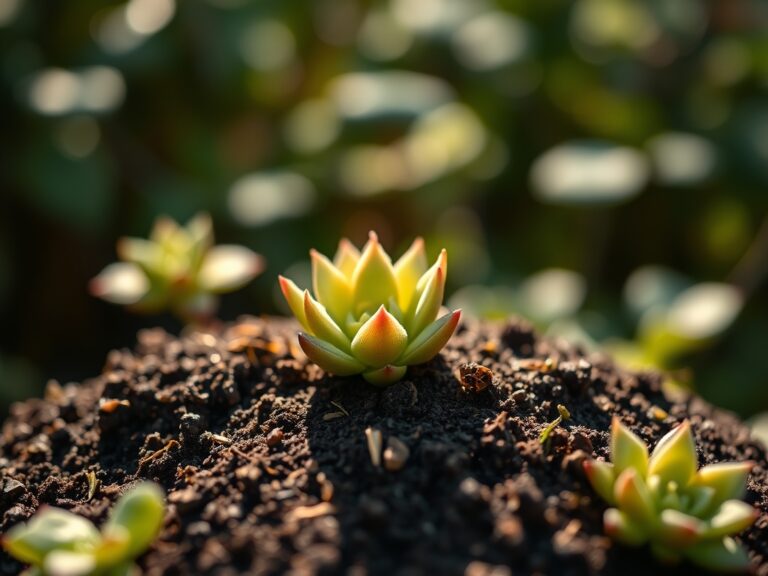
Sowing and Initial Marking
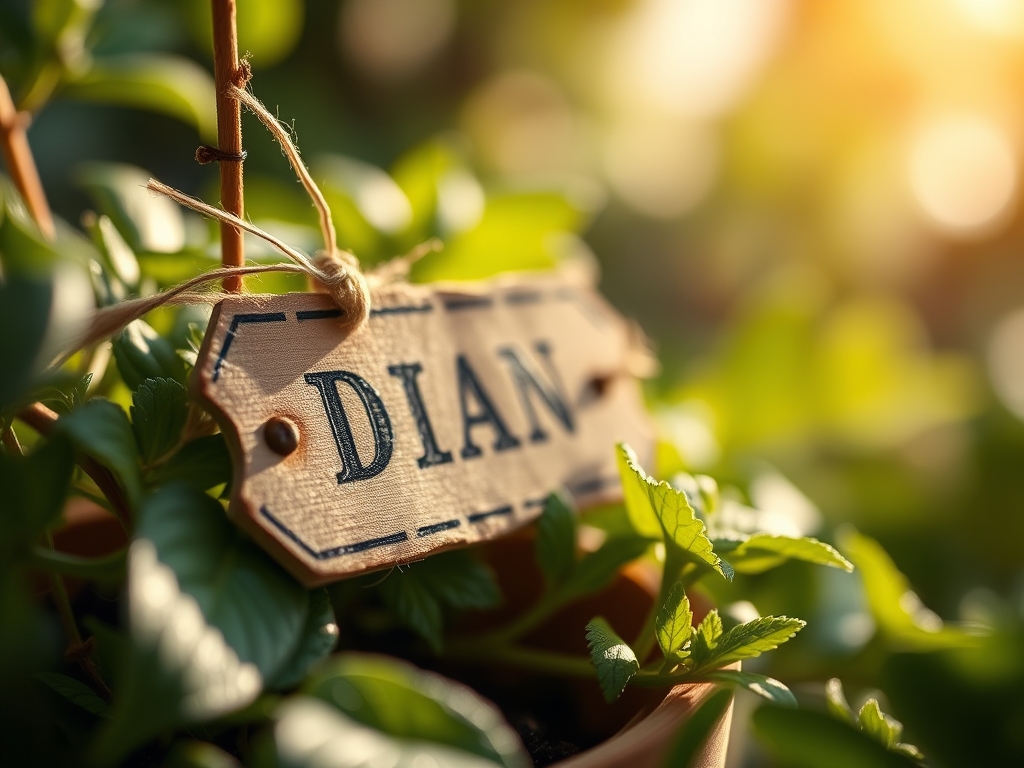
During the sowing phase, labels must be small and non-obtrusive to avoid shading the soil surface. Use recycled plastic strips or thin bamboo skewers. Write the species name, cultivar, and date of sowing using an UV-resistant industrial marker. Insert the label at a 45-degree angle to prevent water from pooling at the base of the seedling.
Pro-Tip: Proper labeling during sowing prevents the disruption of phototropism. If a label is too large, it can cast a shadow that causes the seedling to lean, wasting metabolic energy on stem elongation rather than root development.
Transplanting and Up-Sizing
As the plant moves from a nursery flat to its permanent location, the label must scale accordingly. This is the time to transition to copper tags or cedar stakes. These materials withstand the increased moisture levels required for establishing new transplants. Ensure the label is placed 3 inches from the main stem to avoid damaging the expanding root architecture.
Pro-Tip: Use copper labels to discourage gastropods. The small electrical charge generated by the reaction between the copper and the gastropod's mucus acts as a natural deterrent, protecting the plant's meristematic tissue.
Establishing and Long-Term Documentation
Once the plant has reached its establishment phase, typically 3 to 6 weeks post-transplant, permanent labels like etched slate or stamped metal are required. These labels should include the botanical name, the date of the last fertilization, and the specific NPK requirements.
Pro-Tip: Permanent labels help monitor mycorrhizal symbiosis. By marking the exact location of the root ball, you can apply fungal inoculants directly to the rhizosphere without disturbing the soil structure.
The Clinic:
Physiological disorders often manifest when labeling and tracking are neglected.
-
Symptom: Interveinal chlorosis in young leaves.
Solution: This indicates Iron deficiency. Check the soil pH; if it is above 7.0, iron becomes insoluble. Use your label to record a pH adjustment using elemental sulfur. -
Symptom: Necrotic leaf margins and weak stems.
Solution: This is a classic sign of Potassium (K) deficiency. Increase the application of potash and note the dosage on your DIY label to prevent over-salination of the soil. -
Symptom: Blossom end rot in fruiting crops.
Solution: This is caused by Calcium localized deficiency, often due to inconsistent moisture. Use a soil moisture meter to ensure the root zone stays at 60% field capacity.
Fix-It: For Nitrogen chlorosis (yellowing of older leaves), apply a quick-release high-nitrogen fertilizer like blood meal. Record the application date on the back of your DIY plant label to track the 7 to 10 day recovery period.
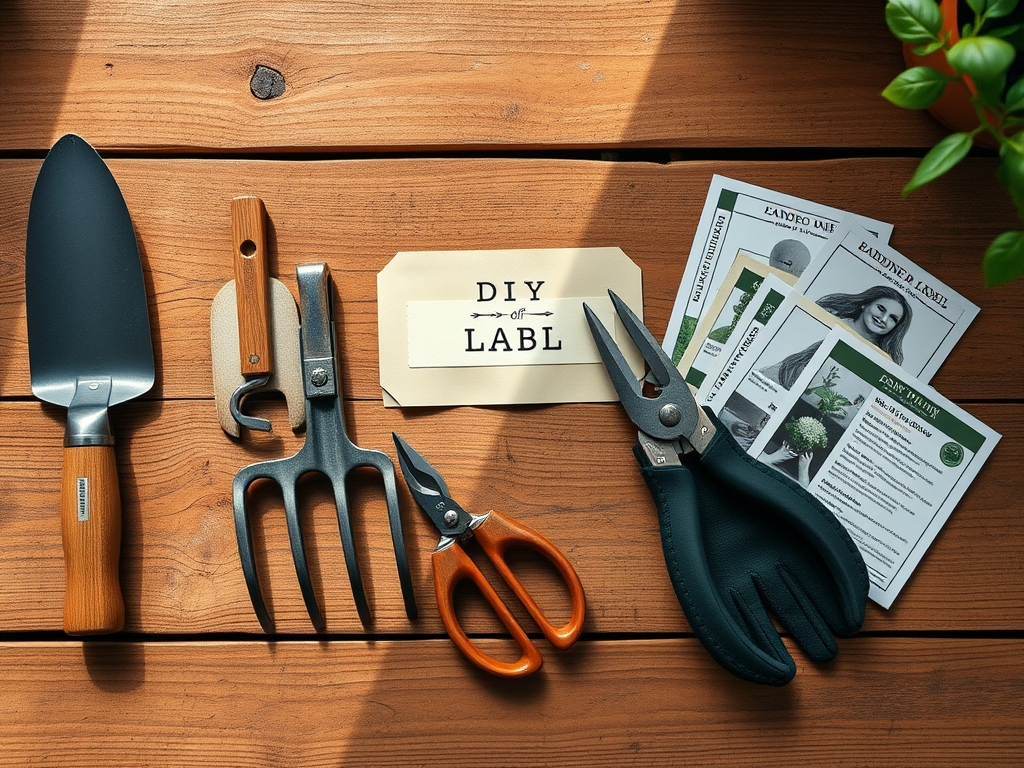
Maintenance:
Maintaining a botanical collection requires precision tools and disciplined data entry. Use a hori-hori knife to clear weeds from around the base of your labels to ensure they remain visible. Check the integrity of wooden labels every 90 days; if the wood shows signs of soft rot, replace it immediately to prevent the spread of fungal pathogens like Pythium.
Irrigation must be targeted. Apply 1.5 inches of water per week at the drip line of the plant, rather than overhead. This reduces the risk of foliar diseases and prevents the "wash-out" of ink on your labels. Use bypass pruners to remove any dead or senescing foliage that might obscure the label. A soil moisture meter should be used bi-weekly to calibrate your irrigation schedule against the data recorded on your plant markers.
The Yield:
For edible crops, the label serves as the final countdown to harvest. Track the Days to Maturity (DTM) from the date of transplanting recorded on your marker. Harvest leafy greens in the early morning when turgor pressure is at its peak; this ensures the longest shelf life. For pome fruits, harvest when the base color shifts and the fruit detaches easily with a slight twist.
Post-harvest, clean the plant labels with a 10% bleach solution to sterilize them for the next season. This prevents the carryover of soil-borne pathogens. Store reusable metal or stone labels in a dry, climate-controlled environment to prevent oxidation or frost-cracking.
FAQ:
What is the best material for a DIY plant label?
Copper and slate are superior due to their chemical neutrality and resistance to UV degradation. They do not leach toxins into the rhizosphere and remain legible for multiple growing seasons compared to wood or plastic.
How do I prevent ink from fading on my labels?
Use industrial-grade paint pens or grease pencils rather than standard permanent markers. For maximum longevity, use a metal stamping kit to physically indent the name of the cultivar into aluminum or copper tags.
Can I use treated wood for my plant labels?
Avoid pressure-treated wood containing chromated copper arsenate (CCA). These chemicals can leach into the soil and affect the Cation Exchange Capacity, potentially harming the microbial life within the soil food web. Use natural cedar instead.
Where should I place the label for the best results?
Position the label on the north side of the plant. This prevents the label from shading the seedling during the critical early stages of vegetative growth and protects the writing from direct, degrading UV radiation.