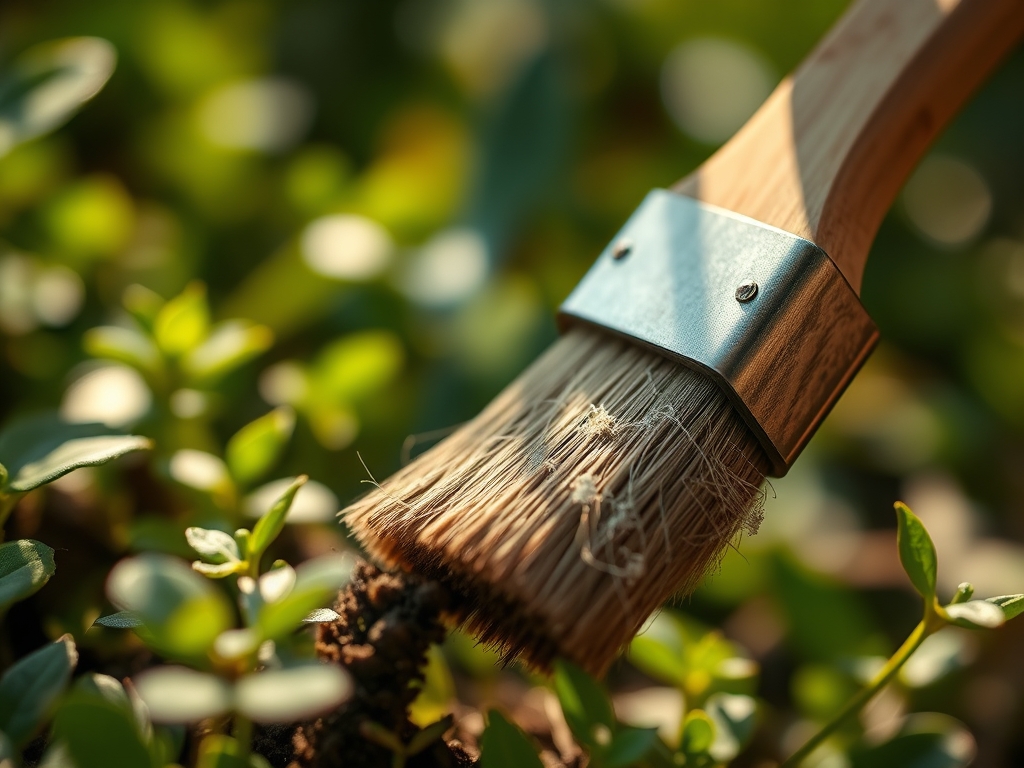
8 Tips to Use a Stiff Brush for Effective Tool Cleaning
The smell of damp earth and the firm turgor of a healthy leaf are the primary indicators of a successful horticultural cycle. However, the path to such vigor begins not in the soil, but at the tool bench. Pathogens like Fusarium and Phytophthora thrive in the microscopic crevices of encrusted soil left on blades and tines. Using a brush for garden tool cleaning is the first line of defense against cross-contamination between the rhizosphere of a diseased plant and a healthy one. When soil dries on carbon steel, it creates a hygroscopic layer that traps moisture against the metal, accelerating oxidation and dulling the cutting edge. A stiff bristled brush provides the mechanical force necessary to dislodge these deposits without compromising the structural integrity of the tool's tempering. Clean tools ensure precise vascular cuts that allow the plant to seal wounds through rapid cell division rather than succumbing to opportunistic fungal infections.
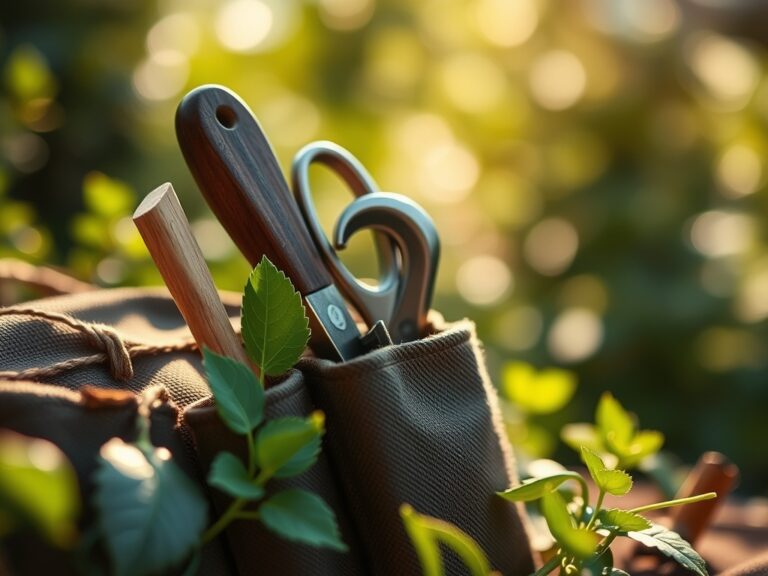
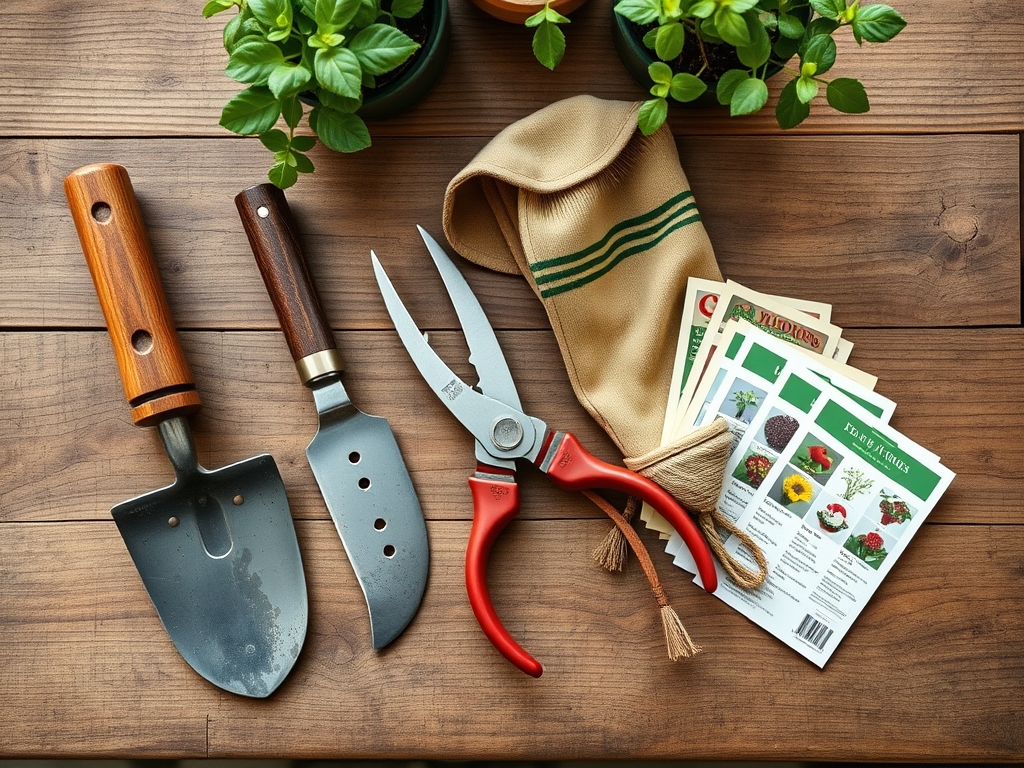
Materials:
Effective maintenance requires an understanding of the substrate being removed. Clay-heavy soils with a **pH of 7.5 or higher** often contain calcium carbonates that cement to steel surfaces. Conversely, acidic soils with high organic matter content can accelerate corrosion due to their reactive nature. The ideal cleaning environment mimics the handling of a **friable loam**; it requires a balance of abrasion and lubrication. You will need a stiff-bristled nylon or brass brush, a bucket of coarse sand mixed with **3 percent mineral oil**, and a solution of **70 percent isopropyl alcohol** for sterilization. Avoid steel wire brushes on high-carbon blades as they can create deep scratches that house anaerobic bacteria. For tools used in heavy clay, a brush with a **Cation Exchange Capacity (CEC)** awareness is irrelevant, but the physical density of the bristles must exceed **0.5mm in diameter** to provide sufficient leverage against dried mud.
Timing:
Maintenance must align with the physiological status of the garden. In Hardiness Zones 5 through 7, the primary cleaning window occurs during the dormant season, typically after the first hard frost when the "Biological Clock" of most perennials shifts from the reproductive stage to senescence. During the transition from vegetative growth to dormancy, sap flow decreases, making it the safest time to sharpen and deep-clean pruners. In warmer Zones 8 through 10, tool hygiene is a year-round requirement. Cleaning must occur immediately after pruning to prevent the transmission of viral loads during periods of high humidity. The goal is to ensure that every cut made during the spring flush of growth is surgical, minimizing the energy the plant must divert from leaf production to wound compartmentalization.
Phases:

Sowing and Preparation
Before the first seed hits the furrow, every hand trowel and transplanting spade must be scrubbed. Residual soil from the previous season can harbor dampening-off pathogens like Pythium. Use the stiff brush to remove every grain of old substrate from the tool's surface. This ensures that the delicate rhizosphere of the seedling is not introduced to pathogens before it can establish a robust root system.
Pro-Tip: Cleaning tools prevents the mechanical transfer of weed seeds. This protects the phototropic response of emerging seedlings, ensuring they do not have to compete for light with invasive species accidentally introduced by a dirty shovel.
Transplanting and Root Management
When moving plants, the hori-hori knife is the primary instrument for slicing through circling roots. A brush is essential here to remove sap and grit between cuts. If the blade is fouled, it creates ragged tears in the root tissue rather than clean incisions. This leads to a decrease in turgor pressure as the plant struggles to move water through damaged vascular bundles.
Pro-Tip: Clean blades facilitate better mycorrhizal symbiosis. Smooth cuts allow fungal hyphae to colonize the root system more efficiently than jagged, bruised tissue which may rot before colonization can occur.
Establishing and Pruning
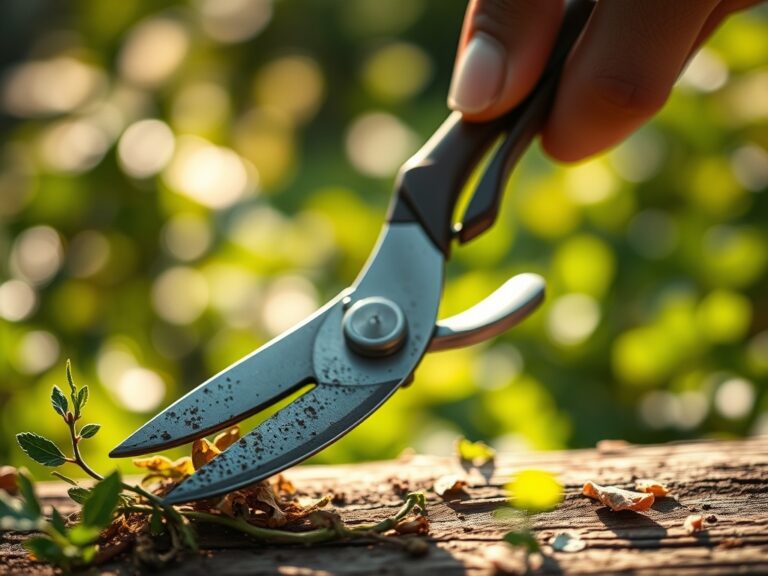
As the plant reaches its peak vegetative state, bypass pruners are used to manage the canopy. Using a brush for garden tool cleaning between different shrubs prevents the spread of systemic diseases. Scrub the pivot point of the pruners to ensure the spring mechanism functions without resistance, allowing for a quick, decisive snap that minimizes tissue trauma.
Pro-Tip: Sharp, clean tools prevent auxin suppression. When a terminal bud is cleanly removed, the plant immediately redirects auxins to lateral buds; a crushed stem caused by a dirty, dull tool delays this hormonal shift.
The Clinic:
Physiological disorders in the garden often stem from poor tool hygiene. Observe the following symptoms to determine if your cleaning regimen is failing.
- Symptom: Localized necrosis at pruning sites. Solution: Sterilize the stiff brush in a 10 percent bleach solution and scrub the pruner blades after every ten cuts to eliminate bacterial canker transmission.
- Symptom: "Rusty" streaks on new succulent growth. Solution: This is often mechanical damage from grit. Use the brush to remove all mineral deposits from the hori-hori knife before dividing perennials.
- Symptom: Nitrogen chlorosis (yellowing of older leaves). Fix-It: While often a soil issue, ensure your soil moisture meter probes are brushed clean. Corrosion on the metal probes can cause false high-moisture readings, leading to overwatering and subsequent nitrogen leaching.
Maintenance:
A professional maintenance schedule is non-negotiable. After every use, the stiff brush should be used to remove 100 percent of visible debris. Follow this with a wipe-down using a rag dampened with linseed oil. For irrigation management, ensure the plant receives 1.5 inches of water per week at the drip line, monitored by a calibrated soil moisture meter. If using a hori-hori knife for weeding, brush the blade and oil it before storage to prevent the high-carbon steel from pitting. Store tools in a vertical rack to allow airflow, which prevents the humidity levels from reaching the threshold required for fungal spore germination on the handles.
The Yield:
When harvesting, the cleanliness of your tool dictates the shelf life of the produce. For leafy greens, a clean, brushed harvest knife ensures the xylem and phloem are cut cleanly, allowing the plant to be plunged into ice water for "day-one" freshness. This process, known as hydro-cooling, works best when the vascular exit point is not crushed or contaminated by soil bacteria. For woody herbs, harvest during the morning when turgor pressure is at its peak. Use the brush to clean your snips after each plant to avoid mixing the volatile oils of different cultivars, which can degrade the flavor profile during the drying process.
FAQ:
Why is a nylon brush better than steel for cleaning?
Nylon provides sufficient abrasion to remove calcified soil without creating microscopic burrs on the metal. These burrs can trap moisture and pathogens, leading to premature oxidation and the potential for infecting plant vascular systems during routine pruning.
How often should I sterilize my cleaning brush?
Sterilize the brush after working with any plant showing signs of systemic infection or rot. Use a 70 percent isopropyl alcohol soak for ten minutes. This prevents the brush itself from becoming a vector for disease transmission between tools.
Can I use soap and water with my stiff brush?
Yes, but you must dry the tool immediately. Water facilitates oxidation on high-carbon steel. After scrubbing with soap, use a heat source or compressed air to remove moisture from the pivot points before applying a protective layer of mineral oil.
What is the best way to remove sap from a brush?
Apply a small amount of turpentine or specialized citrus-based solvent to the bristles. Sap contains resins that harden and reduce the effectiveness of the brush. Dissolving these resins ensures the bristles remain flexible and capable of reaching into tool crevices.