6 Steps to Prepare a Specialized Indoor Orchid Shelf
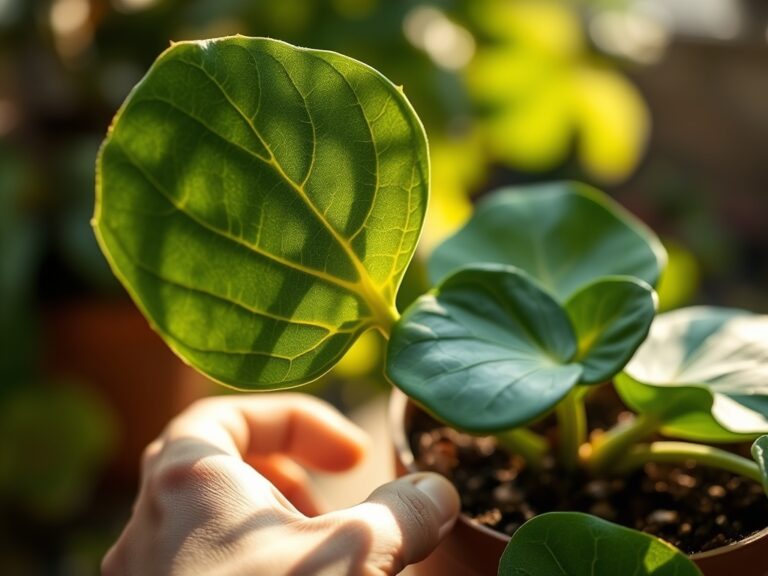
The smell of damp fir bark and the tactile snap of a turgid, hydrated velamen layer signify a healthy orchid environment. Success in indoor floriculture depends on the precise regulation of the microclimate. Learning how to prepare a plant shelf for orchids requires moving beyond simple aesthetics and into the realm of atmospheric control. You must balance light intensity, relative humidity, and air circulation to prevent tissue senescence and ensure the plant maintains maximum turgor pressure within its cellular walls.
Materials:
Orchids are predominantly epiphytic; they do not grow in standard friable loam. The substrate must be porous with high macropore space to allow gas exchange in the rhizosphere. Use a mix of 70 percent medium-grade Douglas fir bark and 30 percent horticultural perlite or charcoal. This ensures a **pH range of 5.5 to 6.5**, which is critical for nutrient availability.
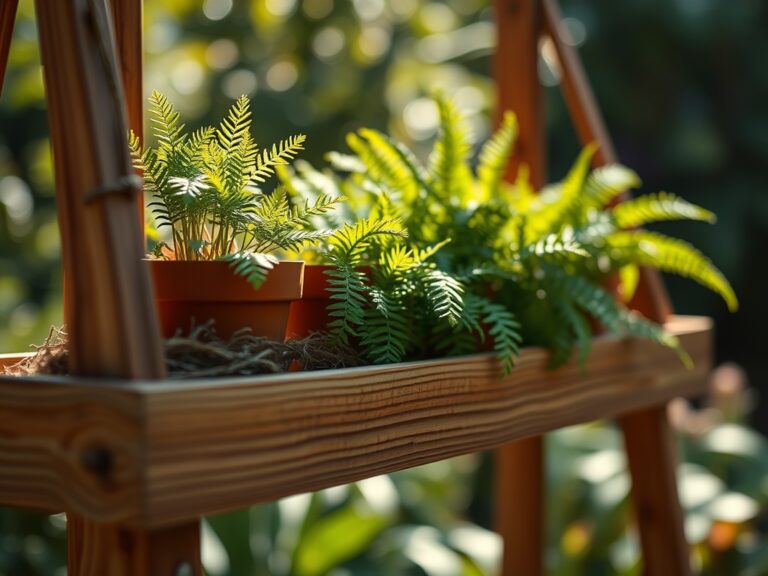
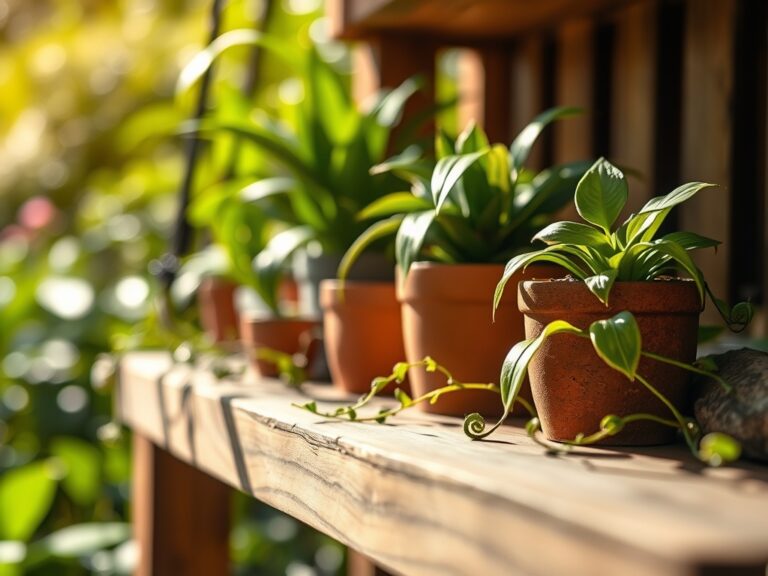
Fertilization requires specific NPK ratios depending on the growth stage. For vegetative growth, use a water-soluble 20-20-20 NPK formula diluted to quarter strength. When inducing a spike, transition to a 10-30-20 NPK ratio to provide the phosphorus necessary for reproductive development. The shelf itself must be constructed of non-corrosive materials like powder-coated steel or sealed wire to prevent chemical leaching into the pots.
Timing:
While indoor shelves exist outside the constraints of USDA Hardiness Zones, the internal environment must mimic the orchid's native tropical photoperiod. Most orchids require a 12 to 14 hour light cycle. The biological clock of an orchid is triggered by temperature fluctuations. To move from the vegetative to the reproductive stage, many genera, such as Phalaenopsis, require a nocturnal temperature drop of 10 to 15 degrees Fahrenheit for a period of four weeks. Failure to provide this thermal cue results in continuous leaf production without inflorescence. Monitor the shelf with a digital hygrometer to ensure temperatures do not drop below 55 degrees Fahrenheit, as metabolic processes slow significantly at lower thresholds.
Phases:
Sowing and Propagation
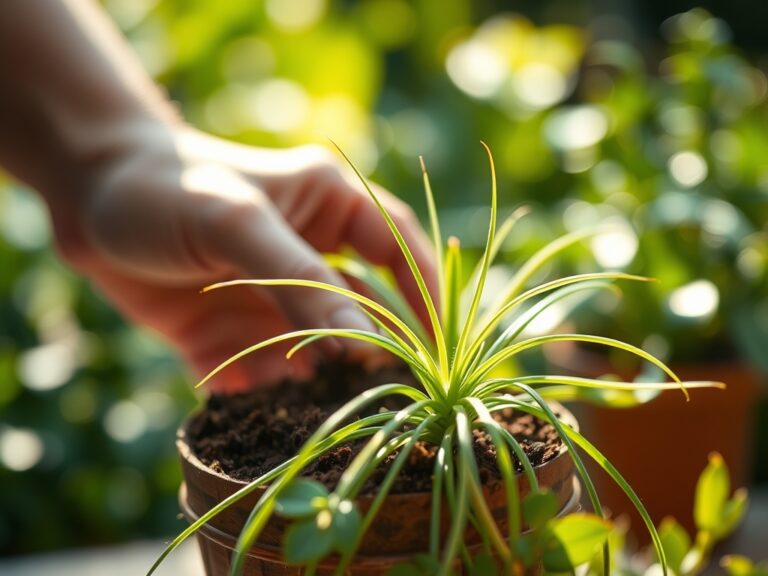
Orchid seeds lack an endosperm and require laboratory conditions with agar and specific fungi for germination. For the home shelf, propagation usually involves "Keikis" or division. Ensure the mother plant has at least six mature pseudobulbs before dividing. Use a sterilized blade to separate the rhizome, ensuring each division has at least three healthy bulbs.
Pro-Tip: Apply cinnamon or a specialized fungicidal paste to the cut rhizome. This prevents pathogens from entering the vascular system while the plant recovers from the stress of division.
Transplanting
Repotting should occur when the substrate breaks down and the Cation Exchange Capacity (CEC) diminishes. This typically happens every 18 to 24 months. Gently remove the old bark and prune dead, papery roots. Position the oldest pseudobulb against the edge of the pot to allow the lead growth space to expand across the center.
Pro-Tip: Soaking the roots in room temperature water for ten minutes before transplanting increases their elasticity. This prevents mechanical damage to the velamen during handling, maintaining the plant's ability to absorb moisture immediately.
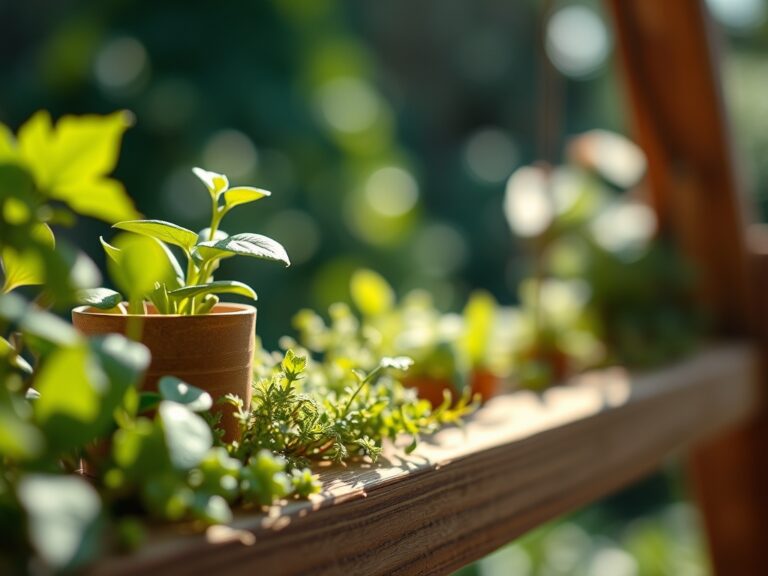
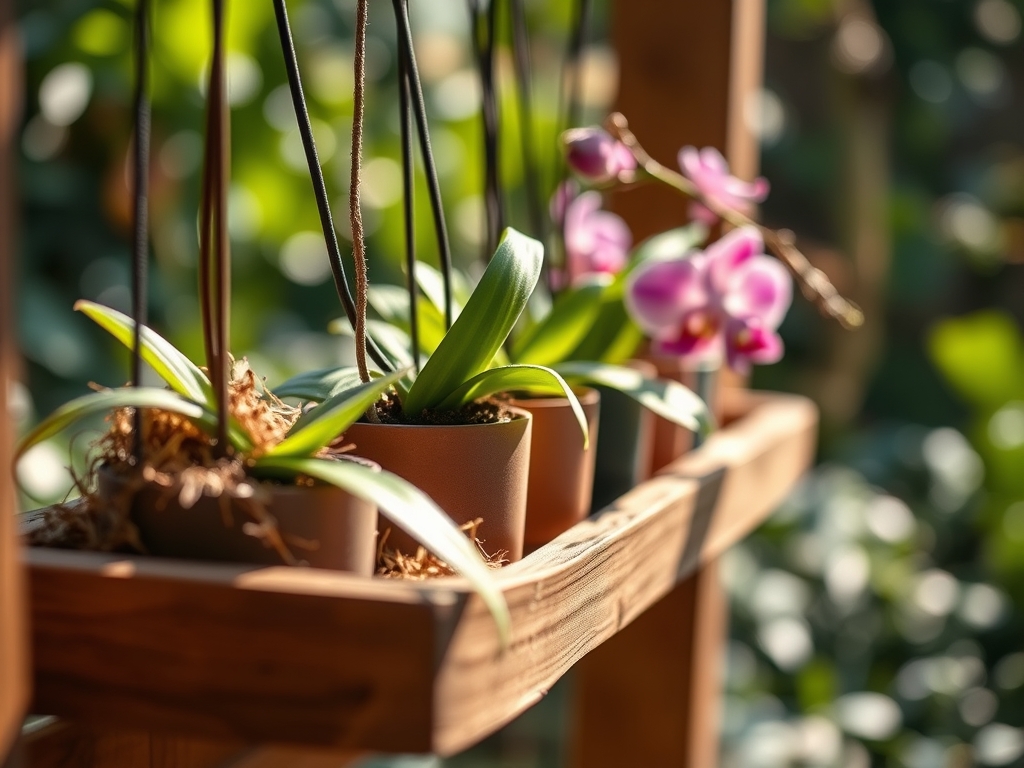
Establishing
Once placed on the shelf, the orchid enters an establishment phase where it must anchor its roots to the new substrate. Minimize movement during this time. Maintain humidity at 60 to 70 percent using ultrasonic humidifiers or gravel trays. Airflow is mandatory; use small fans to provide a constant, gentle breeze that prevents the stagnation of water in the leaf axils.
Pro-Tip: Utilize the principle of thigmotropism by staking the flower spikes early. This directional growth response ensures the spike grows toward the light source without breaking under its own weight as the buds develop.
The Clinic:
Physiological disorders often manifest as visible changes in leaf color or texture.
Symptom: Yellowing of lower leaves (Chlorosis).
Solution: This typically indicates Nitrogen deficiency or root rot. Check the roots; if they are mushy and brown, the plant is overwatered. If roots are healthy, increase the NPK concentration slightly.
Symptom: Black, sunken spots on leaves.
Solution: This is often Phyllosticta or another fungal pathogen. Increase air circulation and reduce humidity below 50 percent temporarily. Remove infected tissue with sterilized tools.
Symptom: Pleated or "accordion" growth on new leaves.
Solution: This is a sign of erratic watering or low humidity. The plant cannot maintain enough turgor pressure to push the new leaf out smoothly. Maintain a consistent watering schedule.
Fix-It: For Magnesium deficiency, which appears as interveinal chlorosis on older leaves, apply a solution of one teaspoon of Epsom salts per gallon of water once a month.
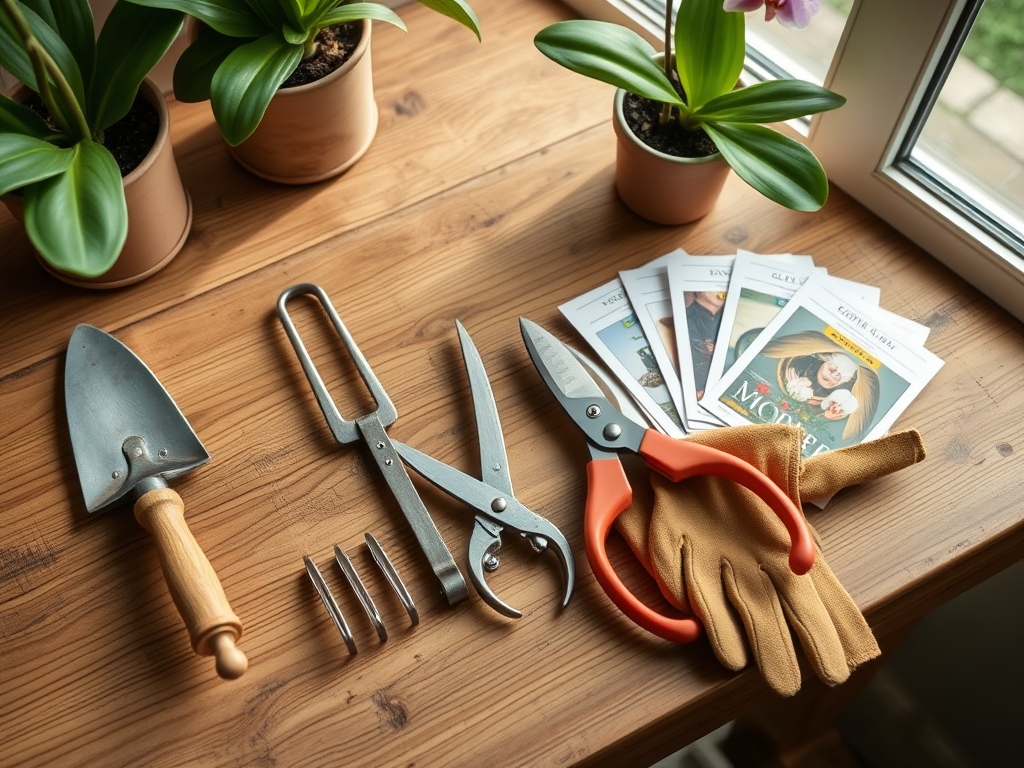
Maintenance:
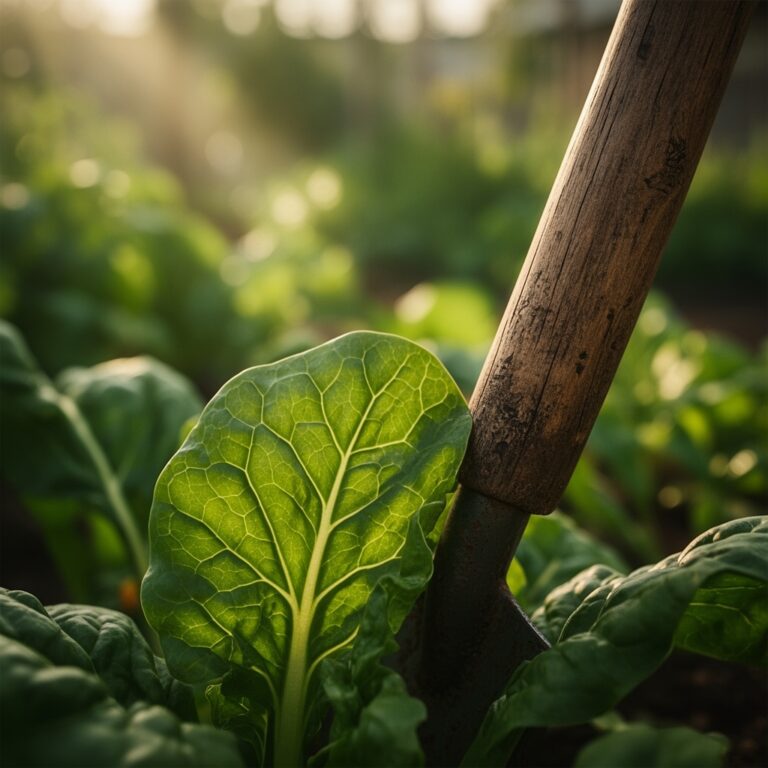
Precision is the hallmark of orchid maintenance. Use a soil moisture meter to probe the center of the bark mass; do not rely on surface dryness. Most orchids require watering once the internal substrate reaches 20 percent moisture. Use a hori-hori knife to occasionally check for substrate compaction.
When pruning spent flower spikes, use bypass pruners sterilized with 70 percent isopropyl alcohol between every cut to prevent the spread of viruses. For Phalaenopsis, cut the spike one inch above the second node from the base to encourage a secondary flush of blooms. For other genera, remove the spike entirely once it turns brown to allow the plant to redirect energy toward vegetative growth.
The Yield:
While orchids are grown for their longevity, the harvest of the flower occurs when the final bud on the raceme has been open for three days. Cut the stem at a 45-degree angle and immediately submerge it in 110-degree Fahrenheit water for ten minutes. This "heat shock" clears the xylem of air bubbles. Store the cut flowers in a cool area at 55 degrees Fahrenheit to extend their shelf life to twenty days or more.
FAQ:
How much light do orchids on a shelf need?
Most orchids require 1,000 to 2,500 foot-candles of light. If leaves turn dark green, they need more light. If they turn yellow or develop red tinting, the light intensity is too high.
What is the best way to water orchids?
Flush the pots with room temperature water for 60 seconds until it runs freely from the drainage holes. This leaches accumulated mineral salts from the bark, preventing root burn and maintaining a stable pH.
Why are my orchid roots growing out of the pot?
These are aerial roots seeking atmospheric moisture and oxygen. Do not prune them or force them into the pot. Their presence indicates the plant is functioning as a true epiphyte within your shelf environment.
How do I increase humidity on a budget?
Place a tray filled with pebbles and water beneath the shelf. Ensure the pots sit on the pebbles above the water line. Evaporation will naturally increase the local humidity by 10 to 15 percent.