7 Steps to Prepare a Scenic Home Garden Bench Site
The scent of damp humus and the sound of snapping lignified stems signal the start of a serious landscape installation. Success depends on the turgor pressure of the surrounding flora and the structural integrity of the earth beneath your feet. To master how to prepare a site for a garden bench, one must move beyond aesthetics and focus on soil mechanics. A bench is not merely a piece of furniture; it is a weight-bearing load on a living ecosystem. Improper placement leads to soil compaction, which suffocates the rhizosphere and stunts the growth of nearby specimens. You must analyze the drainage patterns and the structural stability of the substrate before the first shovel hits the dirt. This process requires a technical understanding of soil density and plant physiology to ensure the site remains stable through seasonal freeze-thaw cycles. We are building a foundation that respects the botanical requirements of the surrounding canopy while providing a level, durable surface for human rest.
Materials:
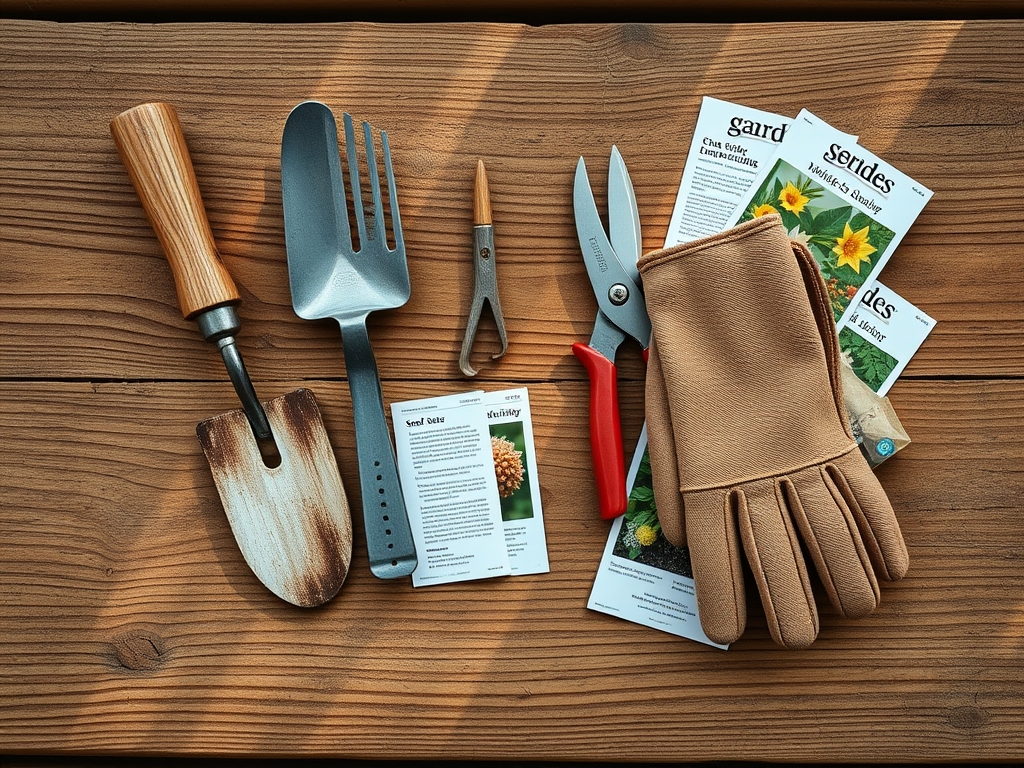
Site preparation requires specific materials to maintain soil health and structural integrity. The surrounding soil should ideally be a **friable loam** with a **pH between 6.0 and 7.0** to support ornamental growth. If the area is depleted, incorporate organic matter to achieve a **Cation Exchange Capacity (CEC) above 15 milliequivalents per 100 grams**.
For the immediate footprint of the bench, you will need:
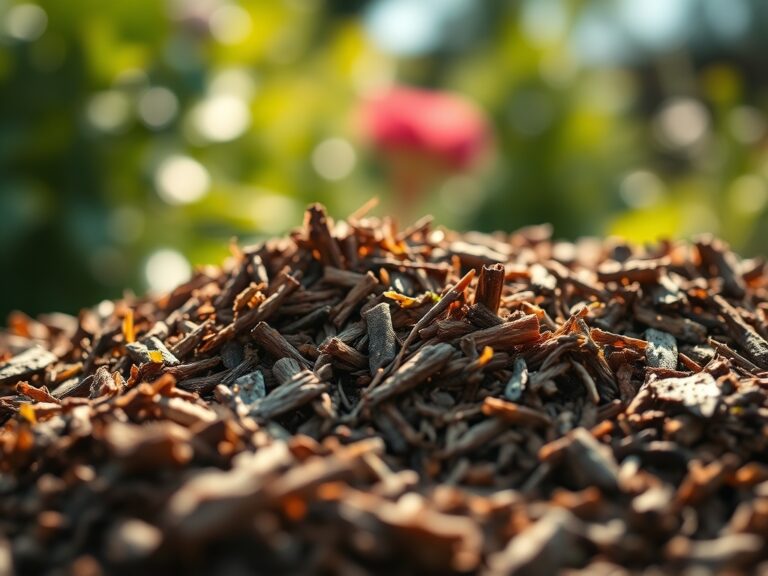
- Crushed limestone or 3/4-inch minus gravel: Provides a stable base with high porosity for drainage.
- Landscape fabric (non-woven): Prevents the migration of fines into the gravel layer while allowing gas exchange.
- Pressure-treated timber or steel edging: To contain the base material.
- Slow-release fertilizer (NPK 10-10-10): Apply to the perimeter to offset any root disturbance during excavation.
- Coarse sand: For leveling the final pavers or stone slabs.
Timing:
The ideal window for site preparation is during the dormant season or early spring before the flush of new growth. In Hardiness Zones 4 through 7, this typically occurs between late March and early May. You must work the soil when it is below field capacity; if you squeeze a handful of soil and it forms a hard ball that does not crumble, it is too wet. Working saturated soil destroys the macropores necessary for oxygen diffusion.
Observe the "Biological Clock" of your surrounding perennials. Avoid heavy excavation when plants are transitioning from vegetative to reproductive stages, as this is when their energy reserves are focused on flowering rather than root repair. Aim for a soil temperature of at least 50 degrees Fahrenheit to ensure that any biological activity in the rhizosphere can recover from the disruption.
Phases:

Sowing the Perimeter
Before installing the bench, establish a "living frame" by sowing low-growth groundcovers like Thymus praecox. These plants stabilize the soil and prevent erosion around the bench legs. Ensure the seedbed is raked to a fine tilth and maintain a consistent moisture level of 60% during germination.
Pro-Tip: Utilize the concept of mycorrhizal symbiosis. Inoculate the soil with beneficial fungi during sowing to extend the root surface area of your plants, which increases nutrient uptake and drought resistance.
Transplanting and Clearing
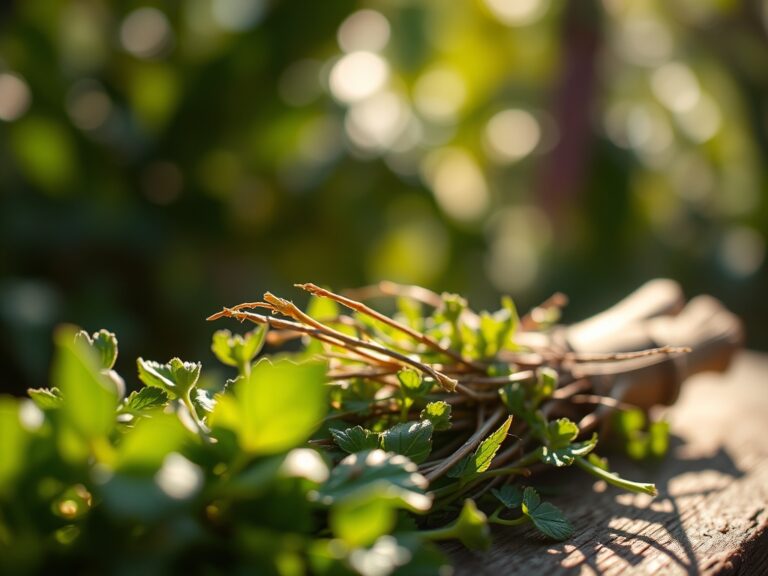
Clear the site of any deep-rooted weeds using a hori-hori knife to ensure you remove the entire taproot. If moving existing plants, keep the root ball intact to protect the fine root hairs responsible for water absorption. Dig the hole twice as wide as the root system to encourage lateral expansion.
Pro-Tip: Be mindful of auxin suppression. When pruning back overhanging branches to make room for the bench, use clean cuts to avoid triggering an overabundance of epicormic sprouts, which can crowd the seating area.
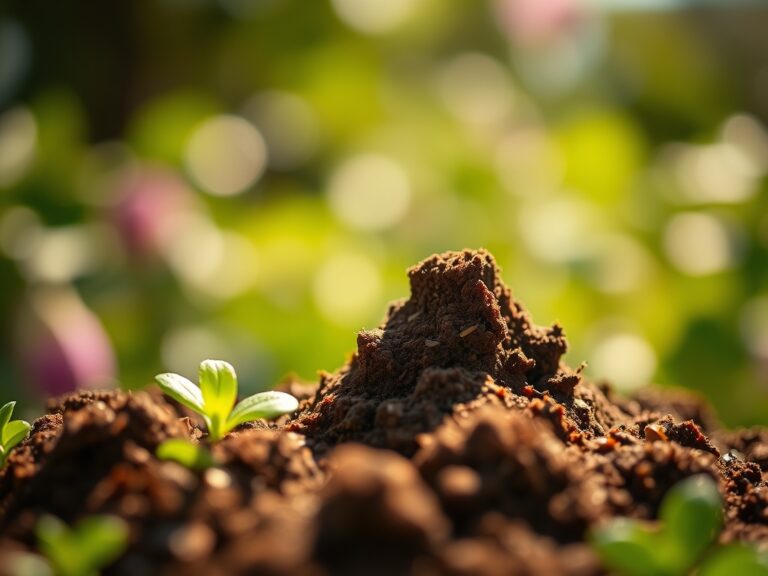
Establishing the Base
Excavate the site to a depth of 6 inches. Level the subgrade and compact it to prevent settling. Lay the landscape fabric, then backfill with 4 inches of compacted gravel, followed by 2 inches of leveling sand. This creates a "perched water table" effect that keeps the bench feet dry and prevents rot or corrosion.
Pro-Tip: Proper leveling prevents phototropism issues in surrounding low-light plants. If the bench is uneven, it may cast irregular shadows that force nearby plants to grow at awkward angles as they seek optimal light.
The Clinic:
Even the best-prepared sites can face physiological challenges. Monitor the vegetation surrounding your bench for these specific disorders:
- Symptom: Interveinal Chlorosis: Yellowing leaves with green veins.
- Solution: This indicates a Manganese or Iron deficiency, often caused by high soil pH. Apply elemental sulfur to lower the pH to 6.5.
- Symptom: Leaf Scorch: Browning of leaf margins.
- Solution: This is a sign of transpiration stress. The bench may be reflecting too much heat. Increase irrigation to 2 inches per week or provide temporary shade.
- Symptom: Stunted Growth: Small leaves and shortened internodes.
- Solution: Likely Nitrogen deficiency. Apply a high-nitrogen fertilizer (NPK 20-10-10) to boost chlorophyll production and vegetative vigor.
- Fix-It for Soil Compaction: If the soil around the bench becomes hard-packed, use a core aerator to remove plugs. This restores the oxygen-to-carbon dioxide ratio in the soil, preventing root senescence.
Maintenance:
A scenic bench site requires rigorous upkeep to prevent the encroachment of opportunistic species. Use a soil moisture meter twice weekly to ensure the surrounding plants receive 1.5 inches of water at the drip line. Do not water the bench itself; focus on the root zones.
Every autumn, use bypass pruners to remove dead, damaged, or diseased wood (the "3 Ds") from nearby shrubs. This maintains airflow and reduces the risk of fungal pathogens. Check the level of the bench annually. If the soil has shifted due to heaving, add more coarse sand under the low points to redistribute the weight.
The Yield:
If your bench site is surrounded by lavender or cutting flowers, timing the harvest is critical for "day-one" freshness. Harvest flowers in the early morning when turgor pressure is at its peak and the plants are fully hydrated. Use a sharp, sterilized blade to make a clean diagonal cut. Immediately submerge the stems in 100-degree Fahrenheit water to break any air embolisms in the xylem, then move them to a cool, dark location to slow the rate of senescence.
FAQ:
How deep should I dig for a bench base?
Excavate to a minimum depth of 6 inches. This allows for 4 inches of compacted aggregate and 2 inches of leveling sand, ensuring a stable foundation that resists frost heaving and provides adequate drainage for the site.
What is the best soil for surrounding plants?
A friable loam with a pH of 6.0 to 7.0 is ideal. Ensure the soil has a high Cation Exchange Capacity (CEC) to retain essential nutrients like potassium and magnesium, which are vital for plant structural integrity.
How do I prevent weeds under the bench?
Install a non-woven landscape fabric beneath the gravel base. This barrier blocks light to the soil surface, preventing weed germination while still allowing for the necessary gas exchange and water infiltration required by the surrounding ecosystem.
Can I place a bench directly on the grass?
No; placing a bench on turf leads to soil compaction and anaerobic conditions. This suffocates the grass roots and creates a muddy, unstable surface. Always use a compacted mineral base to distribute the weight and protect soil health.