9 Tips to Use a Rake for Final Landscaping Prep
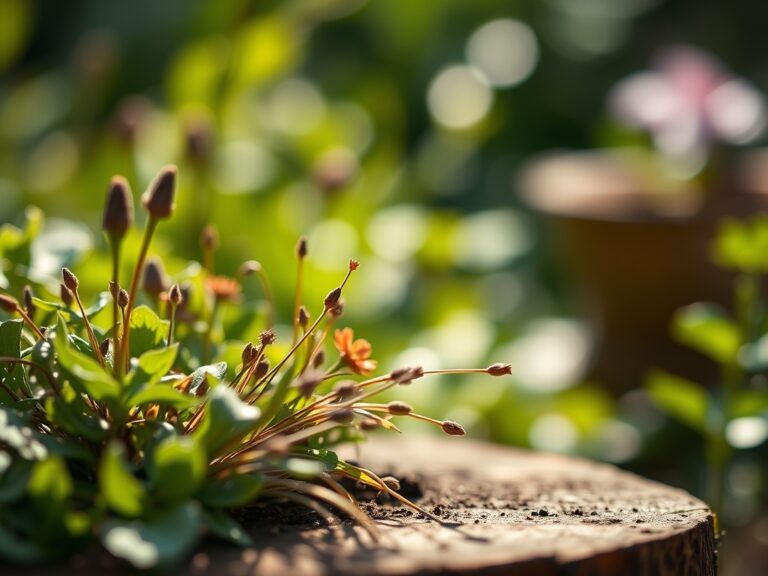
Damp earth releases a sharp, metallic scent as the steel tines of a bow rake bite into the upper two inches of the soil profile. This is the moment where structural integrity meets aesthetic precision. Using a rake for home landscaping is not merely a task of aesthetic smoothing; it is a mechanical intervention designed to optimize the rhizosphere for imminent seed germination or transplanting. A properly raked bed ensures uniform bulk density and eliminates air pockets that cause root desiccation. When the soil reaches a friable state, characterized by a moisture content that allows a squeezed clod to crumble under slight pressure, the land is ready for final grading. This process dictates the hydraulic conductivity of the site, ensuring that irrigation water moves vertically toward the root zone rather than pooling on the surface. Mastering the rake allows the horticulturist to manage the micro-topography of the garden, creating a seedbed that supports high turgor pressure in emerging seedlings and prevents the physiological stress associated with uneven nutrient distribution.
Materials:
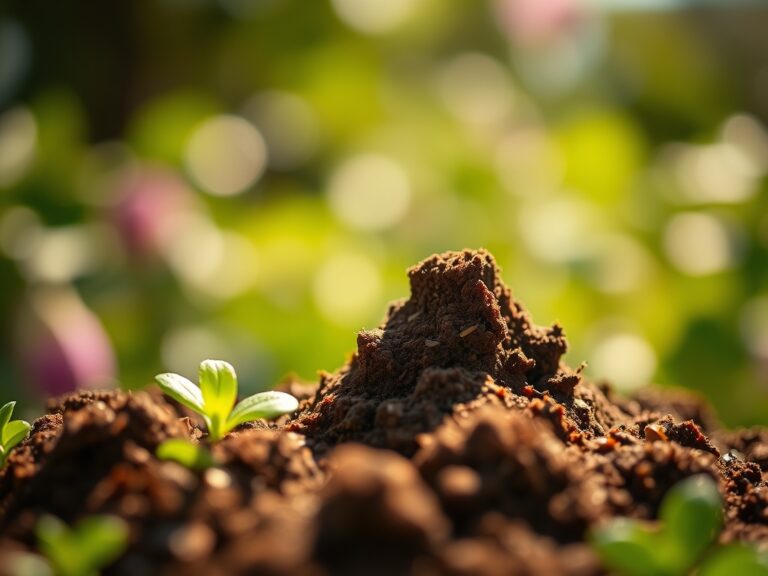
Preparation begins with the substrate. The ideal medium is a **friable loam** consisting of approximately 40% sand, 40% silt, and 20% clay. This balance provides a high Cation Exchange Capacity (CEC), typically ranging between **15 and 25 meq/100g**, which allows the soil to retain essential nutrients like potassium and magnesium. Before using a rake for home landscaping, the soil pH must be calibrated to **6.2 to 6.8** for optimal nutrient bioavailability.
Incorporate organic matter to reach a target NPK ratio of 5-10-5 for root establishment. Nitrogen (N) at 5% supports initial leaf development; Phosphorus (P) at 10% is critical for ATP production and root elongation; Potassium (K) at 5% regulates stomatal conductance and osmotic potential. If the soil is heavy clay, integrate gypsum to displace sodium ions and improve flocculation. For sandy soils with low CEC, incorporate aged compost to increase the surface area for ion exchange.
Timing:
Successful landscaping follows the dictates of the Hardiness Zone. In Zones 5 through 7, the window for final raking and sowing typically opens between March 15 and April 30, or once soil temperatures consistently exceed 55 degrees Fahrenheit. This temperature threshold is vital for microbial activity and the breaking of seed dormancy.
The biological clock of the plant governs these actions. You must complete final grading before the plant transitions from the vegetative stage to the reproductive stage. For perennial installs, the window is the "dormancy break," occurring when the photoperiod extends beyond 12 hours of daylight. Raking during this period minimizes the risk of disrupting the early mycorrhizal networks that form as soil temperatures rise. Avoid raking during peak saturation; mechanical compaction when soil is at field capacity destroys pore space and leads to anaerobic conditions.
Phases:

Sowing and Grading
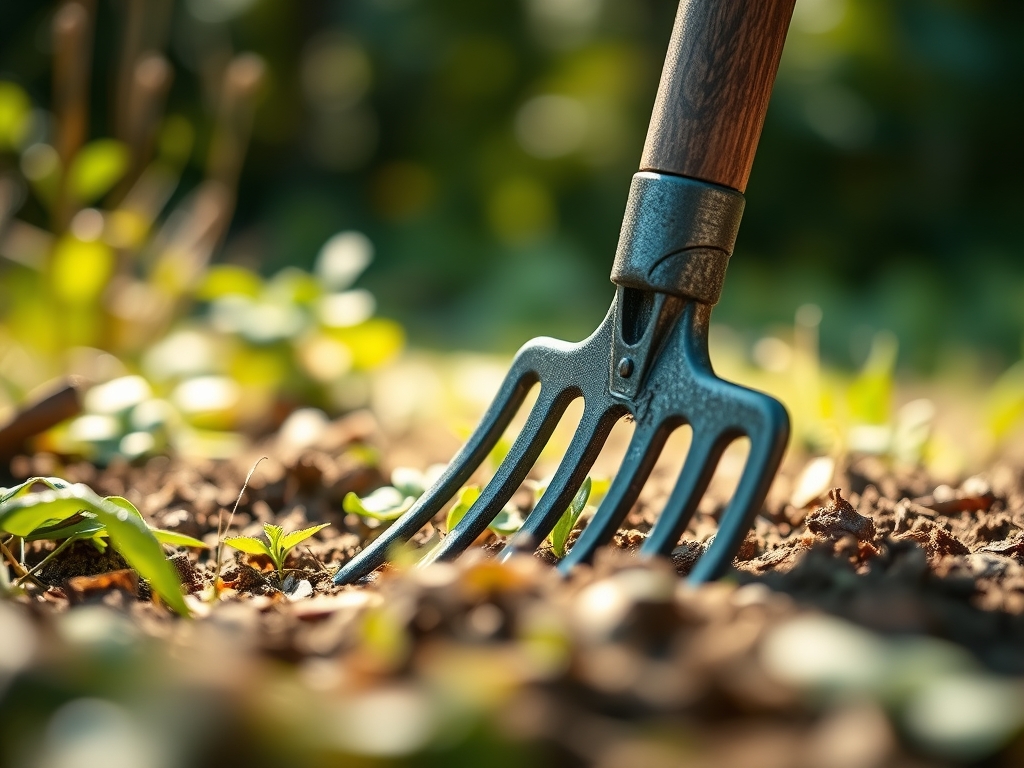
Using a rake for home landscaping requires a two-stage approach. First, use the tines of a bow rake to break up clods larger than 0.5 inches. Second, flip the rake to the flat "leveling" side to create a perfectly smooth plane. This ensures that small seeds, such as those of turfgrass or wildflowers, maintain a planting depth no greater than twice their diameter.
Pro-Tip: Maintaining a level grade prevents phototropism issues where seedlings lean toward light gaps created by uneven shadows in soil furrows. A flat surface ensures uniform light interception across the entire population.
Transplanting Preparation
When preparing for containerized shrubs or perennials, use the rake to create a "transition zone" around the planting hole. Rake the surrounding 18 to 24 inches to loosen the soil. This reduces the mechanical resistance the new roots face as they move from the potting media into the native soil.
Pro-Tip: Loosening the surrounding soil encourages mycorrhizal symbiosis. These beneficial fungi expand the root surface area by up to 1,000 times, but they require aerated, non-compacted soil to colonize effectively.
Establishing and Mulching
After planting, use a leaf rake with flexible tines to spread a 2-inch layer of organic mulch. Do not allow mulch to contact the trunk or crown of the plant. Use the rake to pull the material back, creating a "donut" shape that allows for gas exchange at the base of the plant.
Pro-Tip: Proper mulch spacing prevents auxin suppression. If the crown is buried, the plant may produce adventitious roots in the mulch layer, which leads to girdling and eventual vascular failure as the plant matures.
The Clinic:
Observe the plants for physiological disorders that stem from poor bed preparation.
- Symptom: Nitrogen Chlorosis. Leaves show a uniform yellowing starting at the base.
- Solution: Incorporate a high-nitrogen fertilizer (e.g., blood meal) into the top 3 inches of soil using a hand rake.
- Symptom: Damping Off. Seedlings collapse at the soil line due to fungal pathogens.
- Solution: Improve surface drainage by using a rake to create a 1% to 2% slope away from the planting area, preventing water stagnation.
- Symptom: Leaf Scorch. Margins of the leaves turn brown and brittle despite watering.
- Solution: This often indicates high soil salinity. Use a rake to incorporate gypsum and flush the area with 2 inches of water to leach excess salts below the root zone.
- Symptom: Stunted Growth. Roots are circling or failing to penetrate the soil.
- Solution: The soil is likely compacted. Use a heavy-duty garden fork to aerate, then a rake to level the surface.
Maintenance:
Precision maintenance requires the right tools. Use a soil moisture meter twice weekly to ensure the substrate remains between 60% and 80% of field capacity. Most landscapes require 1.5 inches of water per week delivered at the drip line. When pruning is necessary to maintain airflow, use sharp bypass pruners to make clean cuts at the branch collar; ragged tears invite pathogens. For weeding in tight spaces without disturbing the grade, a hori-hori knife allows for surgical extraction of taproots while preserving the surrounding soil structure. Check the grade annually; soil settles over time, and a quick pass with a rake can prevent "basin" effects that lead to root rot during dormant winter months.
The Yield:
For those growing cut flowers or edible perennials, timing the harvest is a matter of cellular chemistry. Harvest flowers when the "turgor pressure" is at its peak, usually between 6:00 AM and 9:00 AM. Use a sharp blade to cut stems at a 45-degree angle, which maximizes the surface area for water uptake. Immediately plunge the stems into water chilled to 40 degrees Fahrenheit. This rapid cooling slows the rate of senescence by reducing the plant's metabolic rate and ethylene production. For woody herbs, harvest no more than one-third of the vegetative growth to ensure the plant retains enough photosynthetic capacity to recharge its root carbohydrates for the following season.
FAQ:
How deep should I rake before planting?
For most home landscaping, rake to a depth of 2 to 4 inches. This depth provides enough loose soil for initial root penetration without destroying the deeper soil structure or bringing dormant weed seeds to the surface.
Can I use a rake to remove lawn thatch?
Yes, use a specialized dethatching rake or a stiff bow rake. Pull the tines firmly through the grass to remove the layer of dead organic matter. This improves oxygen infiltration and allows water to reach the rhizosphere more efficiently.
Why is my soil too hard to rake?
High clay content or extreme dehydration causes soil particles to bind tightly. Apply 0.5 inches of water, wait 24 hours for the moisture to penetrate, and then rake. This restores the soil to a friable state for easier grading.
What is the difference between a bow rake and a leaf rake?
A bow rake features rigid steel tines for moving soil, breaking clods, and leveling heavy materials. A leaf rake uses flexible plastic or metal tines designed to move light debris without damaging the delicate crowns of established plants.