6 Steps to Build a Decorative Garden Bridge
The sharp scent of damp humus and the high turgor pressure of a healthy Hydrangea macrophylla indicate a garden reaching its peak physiological potential. Integrating structural elements into this environment requires more than aesthetic intuition; it demands an understanding of soil load-bearing capacity and the microclimates created by shadows and moisture retention. Following the correct steps for building a garden bridge ensures that the structure does not impede the natural drainage of the rhizosphere or disrupt the delicate mycorrhizal networks beneath the surface. A bridge serves as a transition point between distinct botanical zones, requiring a foundation that respects the soil's bulk density and hydraulic conductivity. By stabilizing the banks of a swale or water feature, you prevent erosion that would otherwise leach essential cations from the soil profile. This technical approach treats the bridge as a functional extension of the garden's vascular system, balancing structural load with the biological needs of the surrounding flora.
Materials:
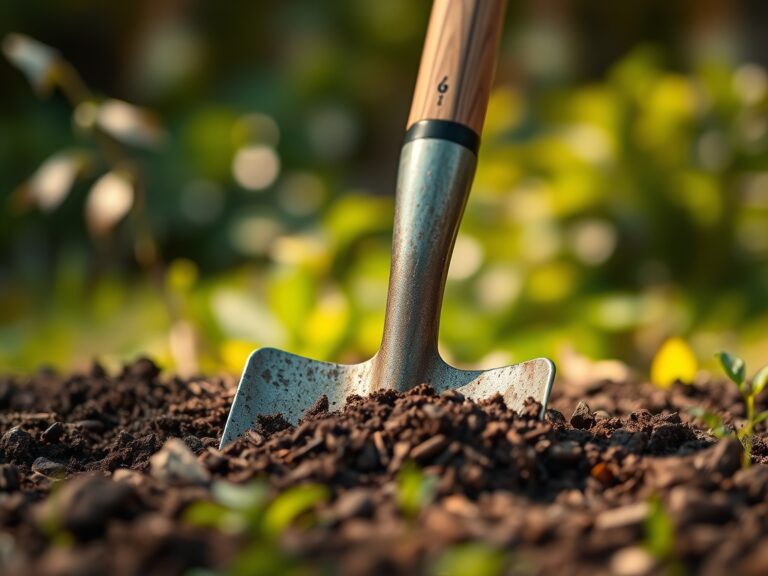
A successful installation begins with the substrate. The ideal soil for the surrounding area is a **friable loam** with a **pH range of 6.0 to 7.0**. This acidity level ensures optimal availability of macronutrients. For the structural footings, the soil must be compacted to a bulk density that prevents settling, which can stress the root systems of nearby perennials.
The surrounding vegetation requires specific nutrient management to recover from the soil disturbance of construction. Provide a balanced NPK ratio of 10-10-10 for general establishment, or a 5-10-10 ratio if the bridge spans a collection of flowering shrubs that require higher phosphorus for root development. The soil Cation Exchange Capacity (CEC) should ideally fall between 15 and 25 meq/100g to retain these nutrients against the leaching effects of runoff. Use pressure-treated lumber or naturally rot-resistant species like Western Red Cedar, which possesses secondary metabolites that inhibit fungal decay without significantly altering the local soil chemistry.
Timing:
Construction must align with the biological clock of the garden. In Hardiness Zones 5 through 8, the optimal window for installation is late winter or early spring, before the first flush of growth. This timing avoids the period of high transpiration when plants are most vulnerable to root disturbance.
The transition from the vegetative stage to the reproductive stage typically occurs as the photoperiod shifts. Installing the bridge during the dormant phase ensures that by the time the soil temperature reaches 50 degrees Fahrenheit, the structure is set and the surrounding plants can begin their spring growth cycle without interference. Monitoring the frost-date window is critical; you must complete heavy soil work at least three weeks before the average last frost to allow the soil structure to stabilize before spring rains increase the risk of compaction and anaerobic conditions.
Phases:

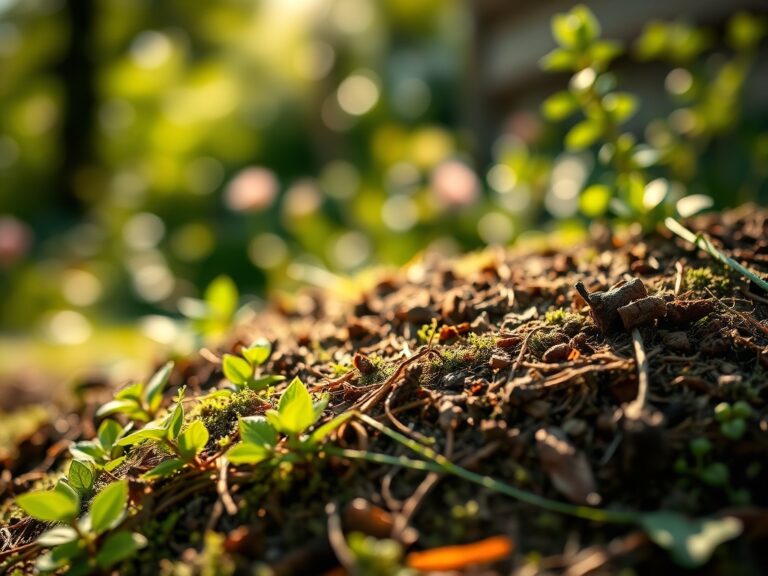
Sowing and Site Preparation
Clear the area of invasive species and prepare the footings. Excavate to a depth of 12 inches to reach stable subsoil. If you are planting around the bridge, sow seeds of low-growing groundcovers like Thymus praecox in the crevices near the footings. These plants thrive in well-drained conditions with a CEC of 10-15.
Pro-Tip: Maintaining soil porosity is essential because it facilitates gas exchange in the rhizosphere. If the soil becomes too compacted during construction, oxygen cannot reach the roots, leading to a buildup of carbon dioxide and eventual root senescence.
Transplanting and Anchoring
When moving established plants to accommodate the bridge, ensure the root ball remains moist to maintain turgor pressure. Dig a hole twice the width of the root ball. Set the bridge sills on concrete pads or gravel beds to prevent direct wood-to-soil contact, which leads to saprophytic fungal colonization.
Pro-Tip: Use a transplant shock reducer containing mycorrhizal fungi. This symbiotic relationship extends the reach of the root system, allowing the plant to access water and phosphorus that would otherwise be unavailable in the disturbed soil.
Establishing the Structure
Secure the joists and decking using stainless steel fasteners. Ensure a 1/8-inch gap between deck boards to allow for expansion and contraction as humidity levels fluctuate. The surrounding plants should be mulched with 3 inches of organic matter to regulate soil temperature and moisture.
Pro-Tip: Pay attention to phototropism when placing the bridge. A large structure can create a "shadow cast" that causes nearby plants to grow asymmetrically as they lean toward the light source. Prune selectively to manage this growth habit.
The Clinic:
Physiological disorders often manifest after the soil is disturbed. Monitor the following symptoms:
- Symptom: Interveinal chlorosis on new leaves.
- Solution: This indicates a lack of iron or manganese, often caused by a pH above 7.5. Apply chelated iron to the soil.
- Symptom: Marginal leaf burn or necrosis.
- Solution: This suggests salt accumulation or drought stress. Flush the soil with 2 inches of water to leach excess salts and check the soil moisture meter.
- Symptom: Stunted growth with purple-tinted foliage.
- Solution: This is a classic sign of phosphorus deficiency. Apply a 0-20-0 superphosphate fertilizer to the root zone.
- Fix-It for Nitrogen Chlorosis: If the older leaves turn uniformly yellow, the plant is scavenging nitrogen for new growth. Apply a quick-release high-N fertilizer (21-0-0) to restore chlorophyll production.
Maintenance:
Structural and botanical maintenance must be rigorous. Use a soil moisture meter twice weekly to ensure the area under the bridge does not become a "dry shadow." Provide 1.5 inches of water per week at the drip line of all surrounding plants.
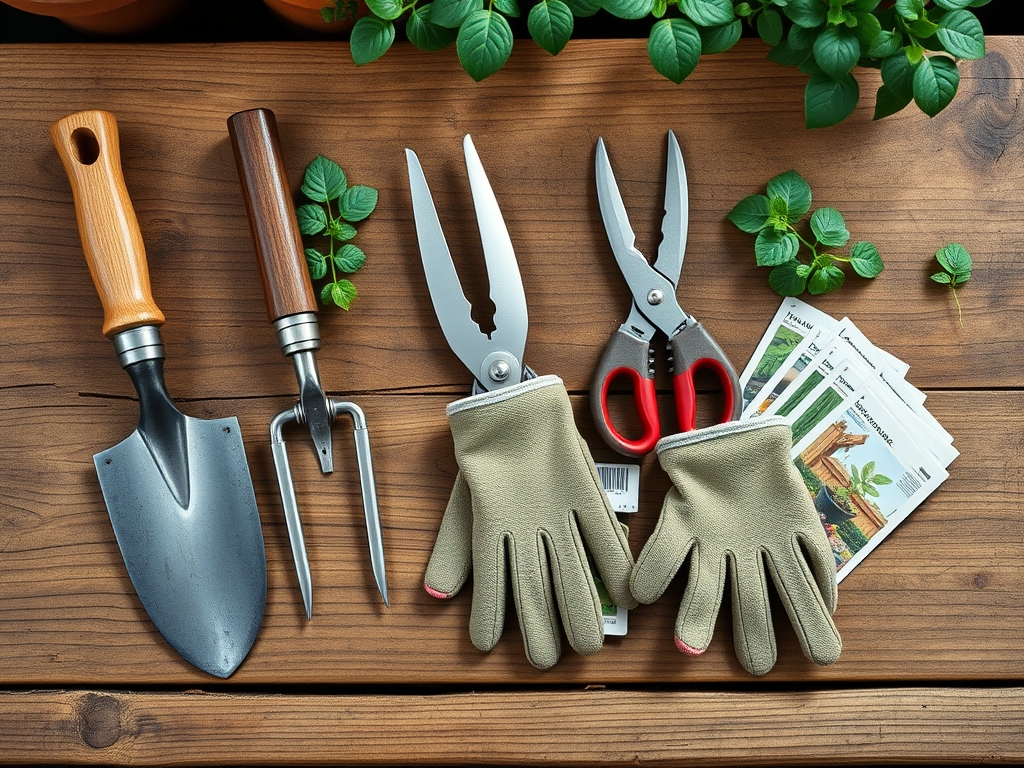
Use a hori-hori knife to remove weeds that emerge near the bridge footings, as their roots can compromise the soil stability. Prune any overhanging branches with bypass pruners to prevent moisture traps on the wood surface, which encourages lichen and moss growth. Every three years, inspect the footings for signs of soil erosion or shifting caused by freeze-thaw cycles.
The Yield:
If the bridge spans a cutting garden or an edible landscape, harvesting must be timed to maximize cellular turgidity. Harvest flowers and herbs in the early morning, before the sun triggers high transpiration rates. Use a sharp blade to make a clean cut, avoiding the crushing of vascular tissues (xylem and phloem). Immediately submerge the stems in 60-degree Fahrenheit water to maintain the "day-one" freshness and prevent air embolisms in the stem.
FAQ:
What is the best wood for a garden bridge?
Select Western Red Cedar or Redwood. These species contain natural tannins and oils that resist decay and insect predation. They maintain structural integrity in high-moisture environments without the need for heavy chemical treatments that might leach into the soil.
How do I prevent the bridge from sinking?
Install the bridge on a base of compacted 3/4-inch crushed stone or concrete footings. This distributes the weight across a larger surface area, preventing the bridge from exceeding the soil's load-bearing capacity and damaging the underlying rhizosphere.
Can I build a bridge over a dry creek bed?
Yes. A dry creek bed provides excellent drainage. Ensure the bridge sills are elevated at least 2 inches above the high-water line of the swale to prevent anaerobic conditions and wood rot during heavy rain events.
How do I protect nearby plants during construction?
Minimize foot traffic within the drip line of trees and shrubs. Use plywood sheets to distribute weight and prevent soil compaction. Compaction destroys soil macropores, which are vital for the infiltration of water and the movement of oxygen.