7 Steps to Build a Durable Home Garden Path
The smell of damp earth and the turgor of a healthy leaf define the success of a landscape. A garden path is not merely a walkway; it is a structural intervention that prevents soil compaction and protects the delicate rhizosphere of your plants. Executing the correct steps for building a garden path ensures that foot traffic does not compromise the pore space necessary for oxygen and water infiltration. Without a stable transit route, frequent movement collapses the soil structure, leading to anaerobic conditions and root rot.
Successful installation requires an understanding of the site's geology and the biological needs of the surrounding flora. You must manage drainage and slope to prevent erosion while selecting materials that complement the local soil chemistry. A path built with technical precision serves as the backbone of the garden, directing movement while preserving the integrity of the ecosystem. By following these professional protocols, you create a durable structure that withstands seasonal heave and heavy use.
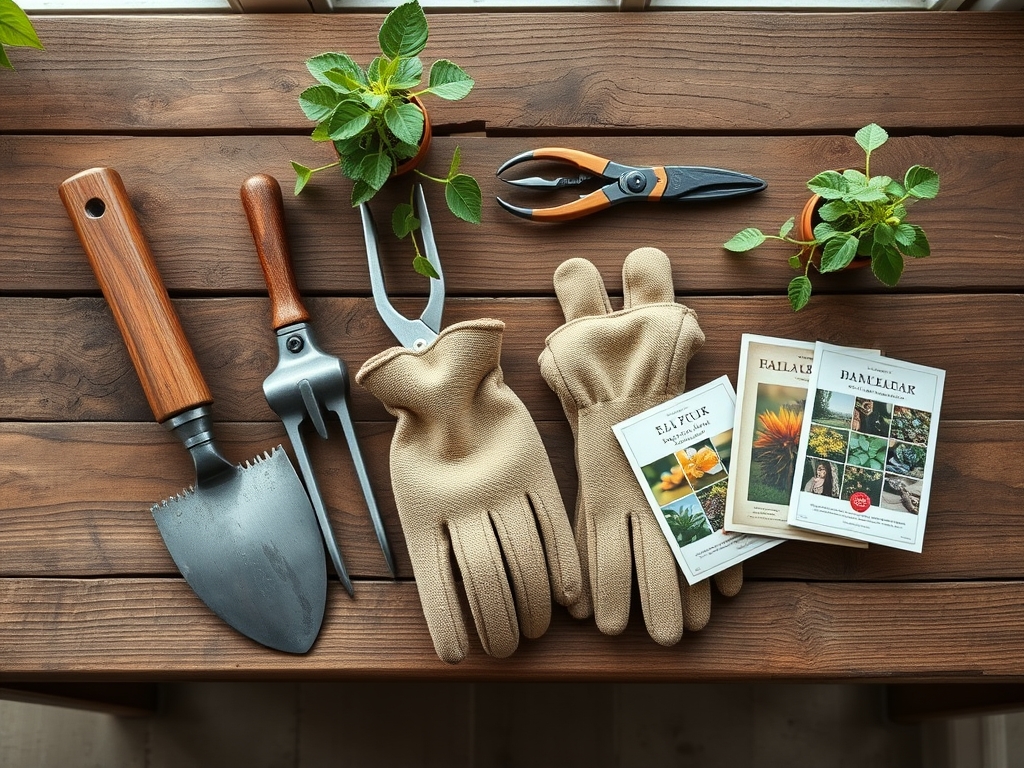
Materials:
The foundation of any path begins with the substrate. You must analyze the soil pH and Cation Exchange Capacity (CEC) of the adjacent beds to ensure path runoff does not alter the growing environment. For most ornamental and vegetable gardens, a pH of 6.2 to 6.8 is ideal. If your path uses limestone screenings, be aware that calcium carbonate leaching will raise the pH, potentially causing iron chlorosis in acid-loving plants.
The ideal planting substrate surrounding the path should be a friable loam consisting of 40 percent sand, 40 percent silt, and 20 percent clay. This balance ensures high capillary action for water movement while maintaining structural stability. Before construction, integrate organic matter to achieve an NPK ratio of 5-10-5 for root establishment in the borders. Use a crushed stone base (0.75-inch minus) for the path foundation to provide a high degree of compaction and drainage.
Timing:
Construction must align with the local Hardiness Zone and the biological clock of the garden. In Zones 4 through 7, the optimal window for building a garden path is late summer or early autumn. This timing avoids the spring thaw when soil is saturated and highly susceptible to compaction. Furthermore, it allows for the installation of border plants during their transition from vegetative to reproductive stages or during early senescence when energy is diverted to root development.
Avoid excavation during the "frost-date window." In northern climates, ground heave can displace a newly laid path by as much as 3 inches if the base is not set below the frost line or properly drained. Monitor the soil moisture meter; do not excavate if the moisture level exceeds 25 percent. Working wet soil destroys the granular structure, turning friable loam into massive, impenetrable clods that inhibit future root penetration.
Phases:

Sowing and Site Prep
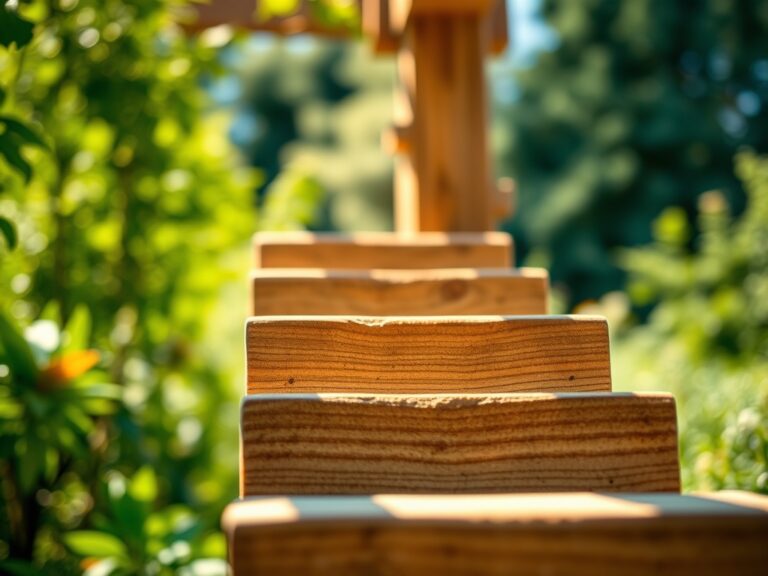
Excavate the path to a depth of 6 to 8 inches. This depth allows for a 4-inch compacted gravel base, a 2-inch sand setting bed, and the thickness of your pavers. Use a plate compactor to ensure the subgrade is firm. If you are sowing groundcovers in the crevices, use a mix of fine compost and sand.
Pro-Tip: Ensure the path has a 2 percent cross-slope for drainage. This prevents water pooling, which causes anaerobic conditions in the rhizosphere, leading to the death of beneficial aerobic bacteria and mycorrhizal fungi.
Transplanting and Edging
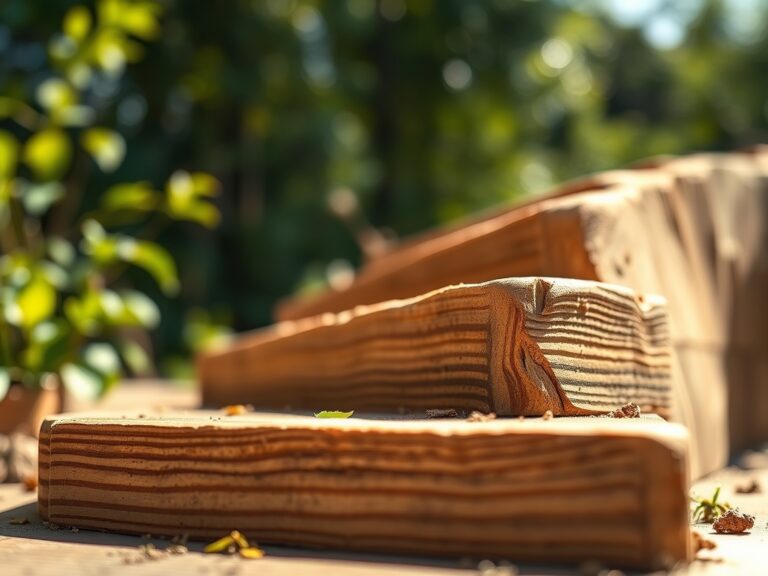
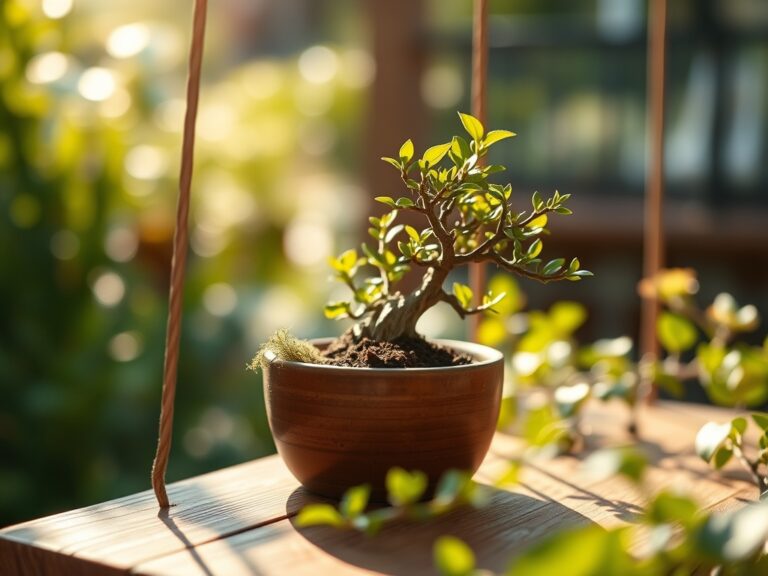
Install edging materials to prevent lateral movement of the path units. When transplanting border species along the path, ensure the root ball is level with the soil surface. Use a hori-hori knife to slice through any circling roots to encourage outward growth into the new soil.
Pro-Tip: When placing plants, respect the "Auxin Suppression" zone. Auxins are hormones that regulate apical dominance. If you crowd plants too close to the path edge, physical contact or light competition can trigger stress responses that stunt lateral branching and reduce the overall density of the foliage.
Establishing the Border
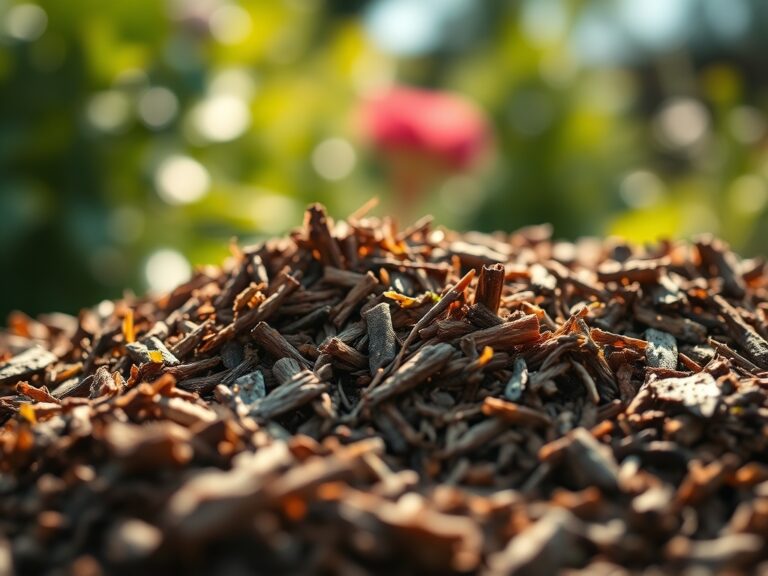
Once the path is set, mulch the edges with 2 inches of organic arborist chips. This regulates soil temperature and maintains consistent moisture levels. During the first six weeks, monitor the turgor pressure of the plants. If leaves show signs of wilting despite moist soil, check for "transplant shock" or poor root-to-soil contact.
Pro-Tip: Utilize mycorrhizal inoculants during the establishment phase. This symbiotic relationship between fungi and roots increases the surface area for nutrient uptake by up to 100 times, significantly improving the plant's ability to recover from the stress of nearby construction.
The Clinic:
Physiological disorders often manifest after the disruption of path construction. Observe the following symptoms and apply the necessary fixes.
Symptom: Interveinal chlorosis (yellowing between green veins) on new growth.
Solution: This indicates iron or manganese deficiency, often caused by high pH from concrete or limestone path materials.
Fix-It: Apply chelated iron and acidify the soil using elemental sulfur to bring the pH back to the 6.5 range.
Symptom: Leaf scorch or marginal necrosis.
Solution: This is often a sign of moisture stress or high salt accumulation from de-icing agents used on the path.
Fix-It: Flush the soil with 2 inches of water to leach salts and increase irrigation frequency during peak evapotranspiration periods.
Symptom: Stunted growth and purpling of older leaves.
Solution: Phosphorus deficiency, common in cold or overly compacted soils near path edges.
Fix-It: Incorporate bone meal or triple superphosphate (0-45-0) into the soil at a rate of 2 pounds per 100 square feet.
Maintenance:
A durable path requires consistent oversight of the surrounding environment. Use a soil moisture meter to ensure the borders receive 1.5 inches of water per week at the drip line. Avoid overhead watering; use drip irrigation to keep the path surface dry and prevent the growth of moss or algae which can become a slip hazard.
Prune overhanging branches with bypass pruners to maintain a clear walking height of 7 feet and a width of 3 feet. This ensures adequate airflow, reducing the humidity levels that encourage fungal pathogens like powdery mildew. Every two years, inspect the path for settling. Re-sweep polymeric sand into joints to prevent weed seeds from germinating in the gaps.
The Yield:
If your path borders an edible garden, harvest timing is critical for nutrient density. Harvest leafy greens in the early morning when turgor pressure is at its peak; this ensures the leaves are crisp and have maximum shelf life. For flowering species, cut stems when the first two florets are open.
Immediately place harvested material in a bucket of 40-degree Fahrenheit water. This rapid cooling slows down the plant's respiration rate and delays senescence. Use sharp bypass pruners to make clean cuts at a 45-degree angle, increasing the surface area for water uptake and preventing the crushing of vascular tissues.
FAQ:
How deep should the base be for a garden path?
For most residential foot traffic, a base of 4 to 6 inches of compacted crushed stone is required. This depth provides adequate drainage and prevents the path from shifting during freeze-thaw cycles in colder climates.
What is the best material for a low-maintenance path?
Crushed gravel or decomposed granite is highly durable and allows for natural drainage. These materials are easy to replenish and do not require the precise leveling or mortar work associated with flagstone or brick pavers.
How do I stop weeds from growing in my path?
Install a high-quality geotextile filter fabric beneath the gravel base. For paver paths, use polymeric sand in the joints. This sand hardens when misted with water, creating a barrier that inhibits seed germination and insect intrusion.
Will path runoff hurt my plants?
It can if the materials alter the soil pH. Avoid using unsealed limestone or concrete near acid-loving plants like azaleas. Ensure the path is graded to direct water toward a drainage area rather than into planting beds.