6 Healthy Steps to Repot a Spider Plant for New Growth
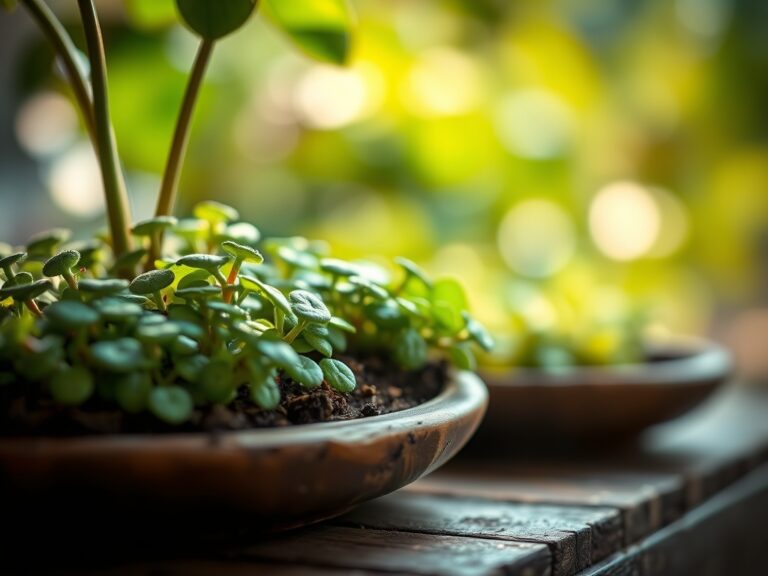
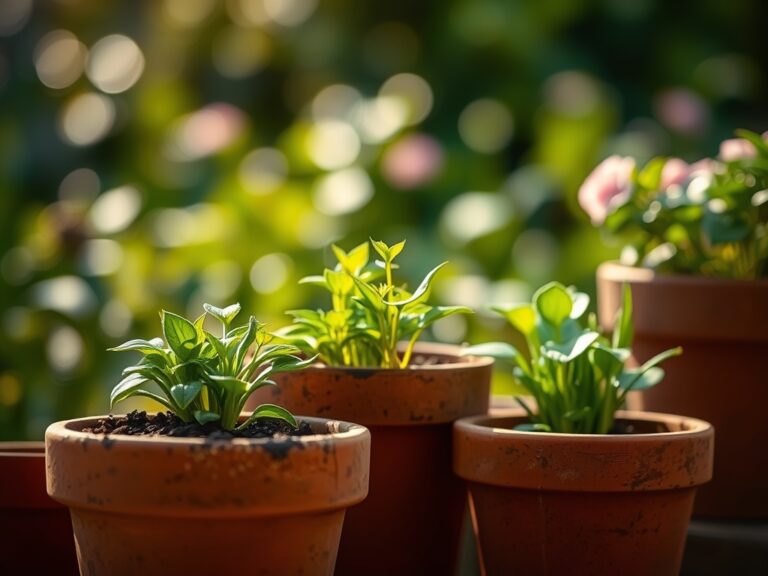
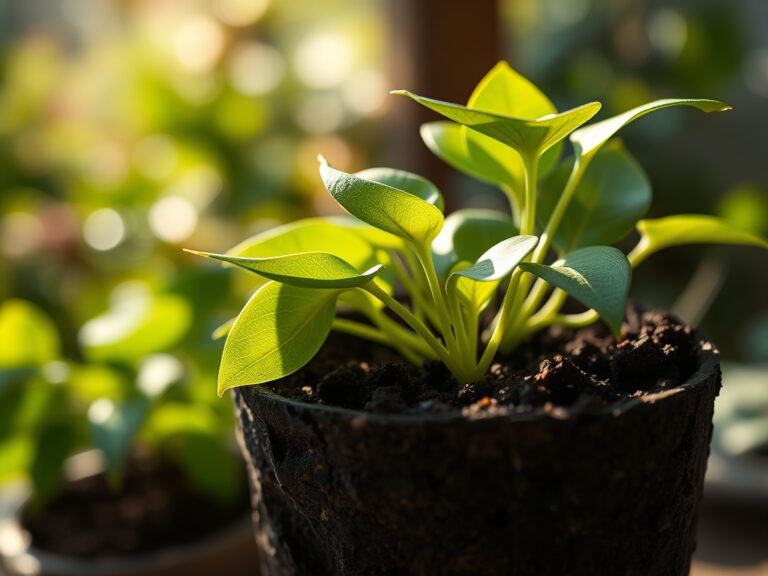
Damp earth carries a sharp, metallic scent of geosmin when you disturb the root ball. A healthy Chlorophytum comosum displays high turgor pressure; its leaves feel firm and resist bending. When the fleshy tuberous roots begin to coil tightly against the interior of the pot, the plant enters a state of physiological stress. Executing the correct steps for repotting a spider plant ensures the transition from a cramped environment to a nutrient-rich substrate occurs without triggering transplant shock or root senescence.
Materials:
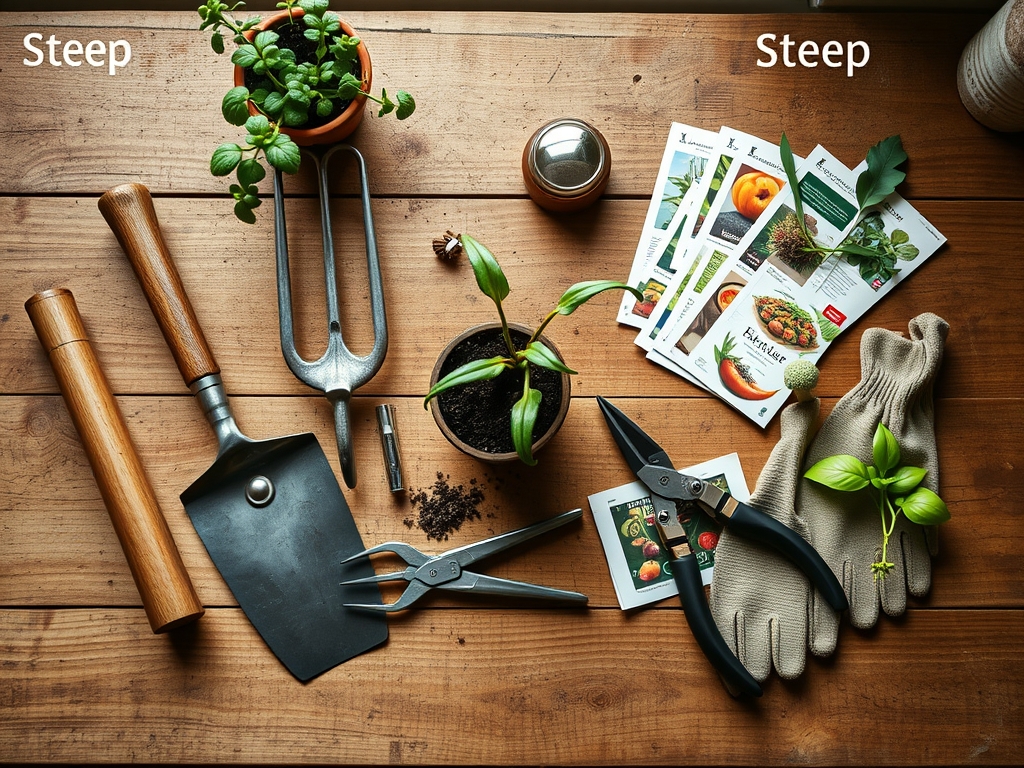
Successful repotting requires a substrate with a high Cation Exchange Capacity (CEC) to retain essential nutrients. The ideal soil is a friable loam consisting of two parts peat moss or coconut coir, one part perlite, and one part coarse sand. This mixture must maintain a pH between 6.0 and 7.2 to ensure nutrient bioavailability.
For the initial potting mix, incorporate a slow release fertilizer with an NPK ratio of 3-1-2. This specific ratio supports leaf development and root expansion without overstimulating the plant into premature reproductive cycles. Ensure your new container is no more than 2 inches wider in diameter than the current vessel. Pots with a diameter of 6 to 10 inches are standard for mature specimens. Use a soil moisture meter to verify the baseline hydration of the new substrate before the plant is introduced.
Timing:
Spider plants are typically grown as perennials in USDA Hardiness Zones 9 through 11. In these regions, repotting can occur year round, provided temperatures remain above 55 degrees Fahrenheit. For indoor specimens in cooler zones, the biological clock dictates that repotting should occur during the transition from the dormant winter phase to the active vegetative stage. This window usually opens in early spring, approximately two weeks before the last frost date in your local area.
During this period, the plant experiences a surge in auxin production, which facilitates rapid root regeneration. Avoid repotting when the plant is in its reproductive stage, characterized by the emergence of long stolons and plantlets. Disrupting the rhizosphere during this high energy phase can lead to flower abortion and stunted growth.
Phases:
Sowing and Preparation
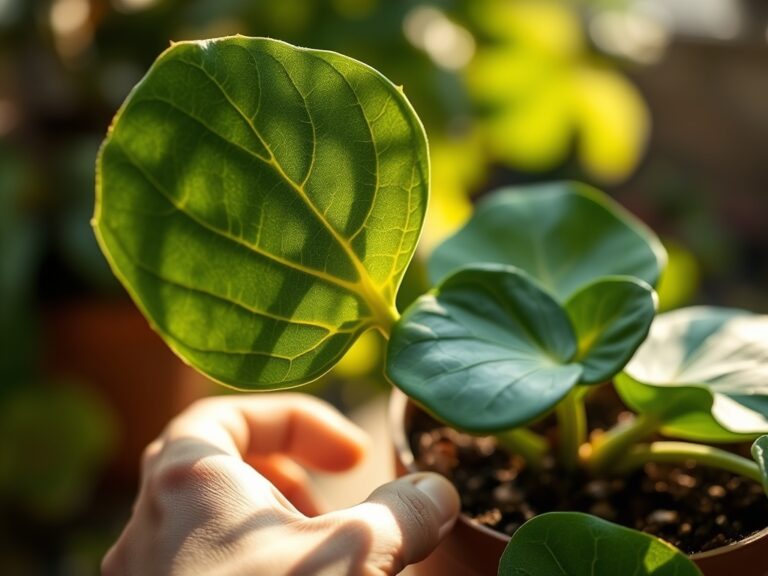
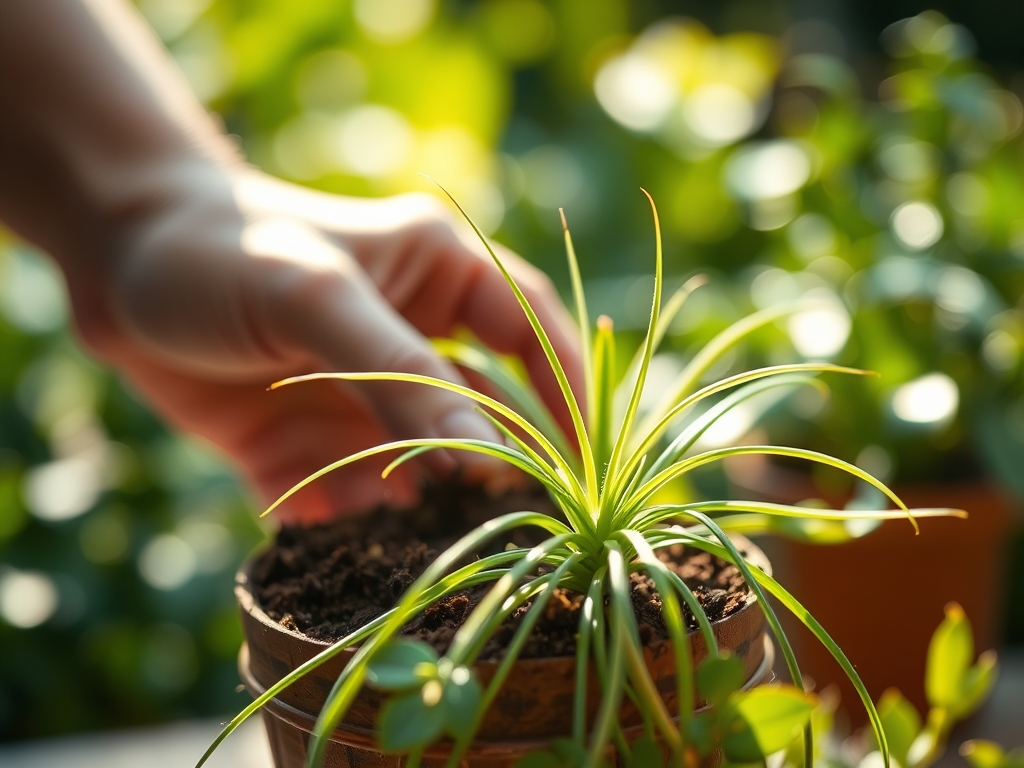
Before removing the plant, hydrate the specimen 24 hours in advance. This increases the turgor pressure within the cells, making them less prone to mechanical damage. Use a hori-hori knife to slide around the inner perimeter of the pot, severing any roots that have adhered to the walls.
Pro-Tip: Pre-moistening the root ball prevents the dry substrate from wicking moisture away from the fine root hairs through osmosis. This maintains the osmotic balance required for immediate nutrient uptake.
Transplanting
Grasp the plant at the base of the foliage and invert the pot. If the roots are "pot-bound," use bypass pruners to make three or four vertical slices through the outer root mass. This encourages the roots to grow outward into the new soil rather than continuing their circular path. Place the plant in the center of the new container, ensuring the crown sits 0.5 inches below the rim.
Pro-Tip: Pruning the roots triggers a hormonal response that suppresses apical dominance and stimulates lateral root branching. This process, known as auxin suppression, results in a more robust and expansive root system.
Establishing
Fill the gaps with the prepared friable loam, tamping down lightly to eliminate large air pockets. Do not pack the soil too tightly; oxygen must reach the rhizosphere to prevent anaerobic conditions. Water the plant until the effluent runs clear from the drainage holes. Place the plant in a location with indirect light for 48 hours to allow the vascular system to stabilize.
Pro-Tip: Maintaining high humidity during the first week reduces the transpiration rate. This allows the plant to focus its metabolic energy on establishing mycorrhizal symbiosis with beneficial fungi in the new soil.
The Clinic:
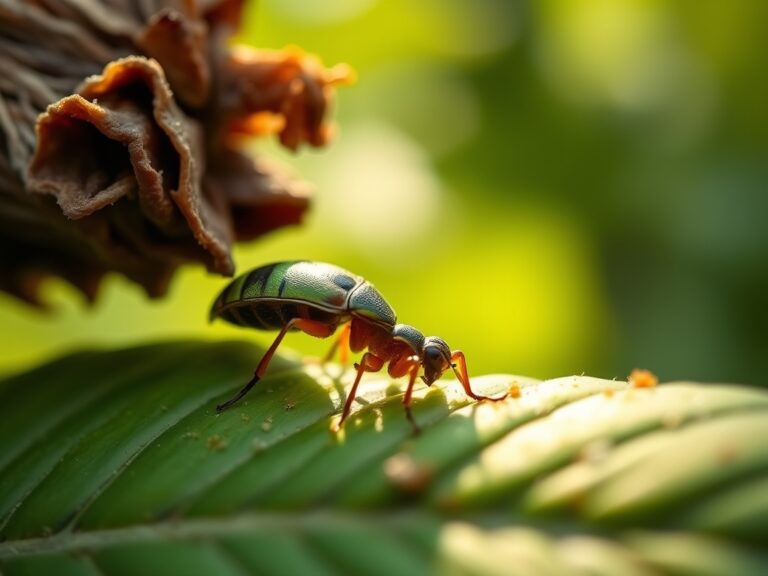
Physiological disorders in spider plants often manifest as visible leaf damage. Identifying the specific cause requires a data driven approach.
-
Symptom: Tip Necrosis (Brown Tips).
Solution: This is often caused by fluoride or salt accumulation in the leaf tips. Flush the soil with distilled water to leach out excess minerals. Ensure the soil remains consistently moist but not saturated. -
Symptom: Nitrogen Chlorosis (Yellowing Leaves).
Solution: Yellowing of older leaves indicates a mobile nutrient deficiency. Apply a liquid fertilizer with a high Nitrogen content (e.g., 10-5-5) at half strength to restore chlorophyll production. -
Symptom: Root Rot (Soft, Black Roots).
Solution: This occurs due to anaerobic conditions in the rhizosphere. Remove the plant, prune away the necrotic tissue, and repot in a fresh substrate with increased perlite for better aeration. -
Symptom: Etiolation (Pale, Leggy Growth).
Solution: The plant is not receiving sufficient photons for photosynthesis. Move the plant to a location with a higher Photosynthetic Photon Flux Density (PPFD), such as a south facing window with a sheer curtain.
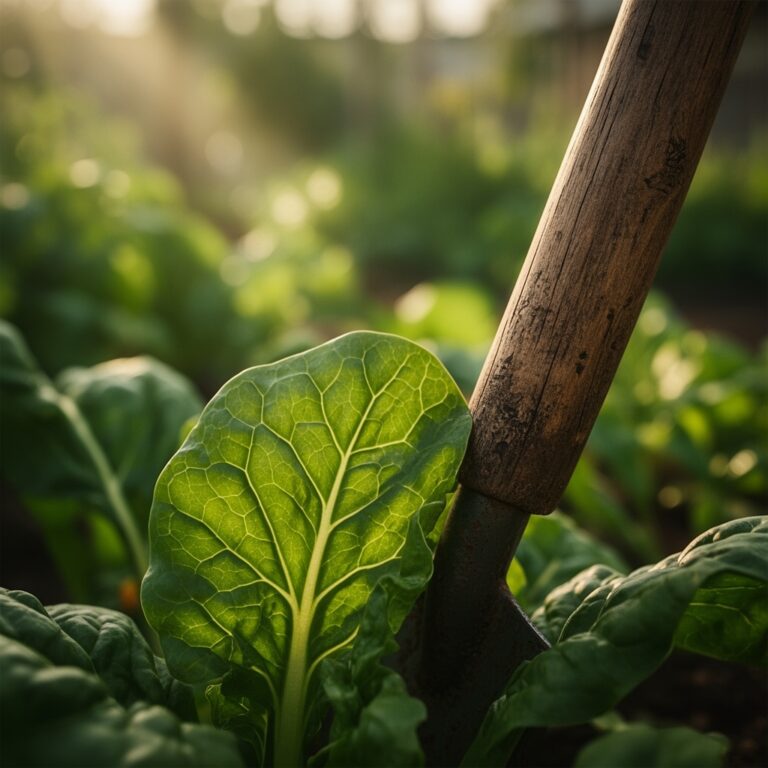
Maintenance:
Spider plants require a disciplined watering schedule to maintain optimal health. Provide approximately 1.5 inches of water per week, ensuring the liquid reaches the drip line of the foliage. Use a soil moisture meter to verify that the top 1 inch of soil has dried out before re-irrigating.
During the peak growing season, apply a balanced water soluble fertilizer every four weeks. Keep the leaves free of dust by wiping them with a damp cloth; this ensures the stomata remain unobstructed for efficient gas exchange. If the plant becomes too dense, use bypass pruners to remove older, senescing leaves at the base. This redirects energy to new, emerging foliage.
The Yield:
While the spider plant is not an edible crop, its "yield" consists of the plantlets, or "spiders," produced on its stolons. These plantlets are ready for harvest once they develop primary root nubs of at least 0.5 inches in length.
To harvest, use sterilized snips to cut the stolon 1 inch above the plantlet. To maintain "day-one" freshness and ensure successful propagation, immediately place the plantlet roots in a shallow vessel of water or a moist rooting medium. This prevents the vascular tissue from drying out and maintains the necessary internal pressure for cell division.
FAQ:
How often should I repot my spider plant?
Repotting is typically required every 12 to 24 months. Monitor for roots emerging from drainage holes or a significant decrease in water absorption speed as primary indicators of a pot-bound state.
What is the best soil pH for spider plants?
Spider plants thrive in a slightly acidic to neutral range, specifically between 6.0 and 7.2 pH. Extreme deviations from this range can lead to nutrient lockout and stunted vegetative growth.
Why are my spider plant leaves turning brown?
Brown tips usually indicate fluoride toxicity or low humidity. Use filtered water and maintain a consistent moisture level in the rhizosphere to prevent salt buildup in the leaf margins.
Can I use regular garden soil for repotting?
No. Garden soil is too dense and lacks the necessary porosity. It often contains pathogens and lacks the high Cation Exchange Capacity required for healthy indoor container growth. Use a specialized potting mix instead.