6 Tips to Use a Whetstone for Precision Tool Sharpening
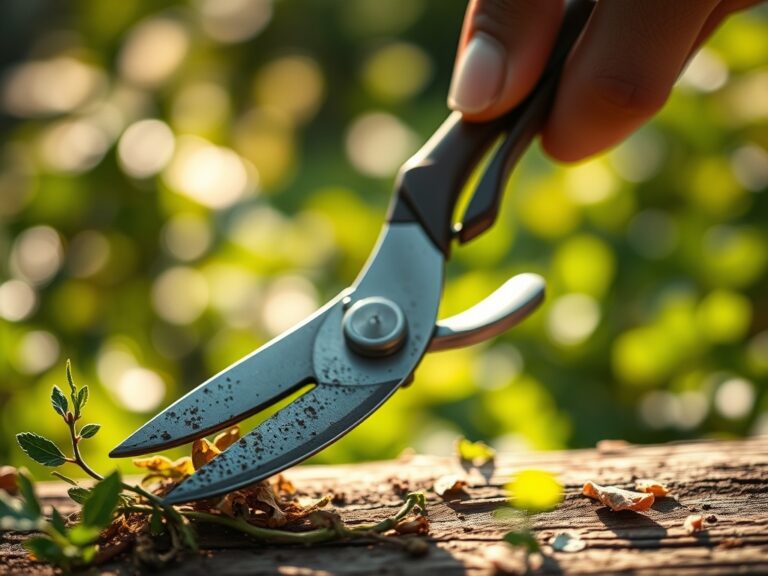
Turgor pressure within a plant stem determines its resistance to the blade. When a cell is fully hydrated, the internal pressure against the cell wall creates a crisp, rigid structure that requires a surgical edge for a clean separation. A dull bypass pruner does not cut; it crushes the vascular cambium and collapses the xylem and phloem vessels. This mechanical trauma invites opportunistic pathogens into the rhizosphere and slows the recovery of the specimen. Using a stone for garden tool sharpening ensures that the microscopic serrations of the steel align to slice through cellulose and lignin without tearing the tissue. Precision maintenance of your steel is not an aesthetic choice. It is a fundamental requirement for plant health. A clean cut allows the plant to seal the wound through rapid callusing, preventing the loss of vital fluids and maintaining the integrity of the hydraulic system. Every gardener must master the physics of the bevel to ensure that every interaction with the plant promotes vigor rather than senescence.
Materials:
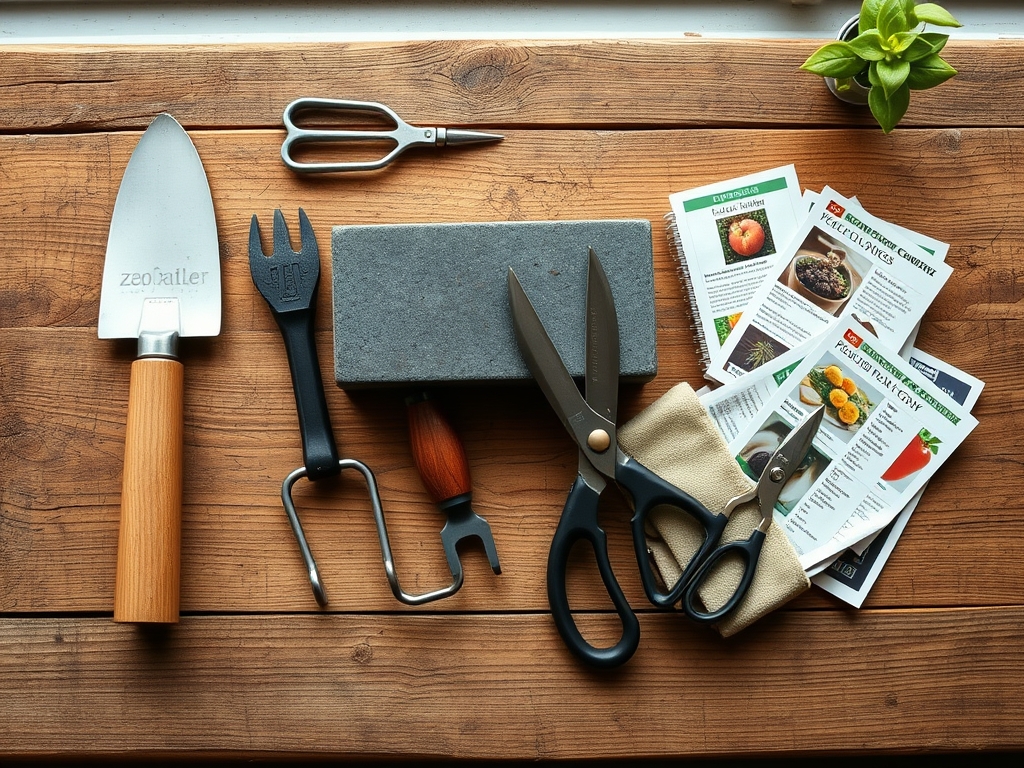
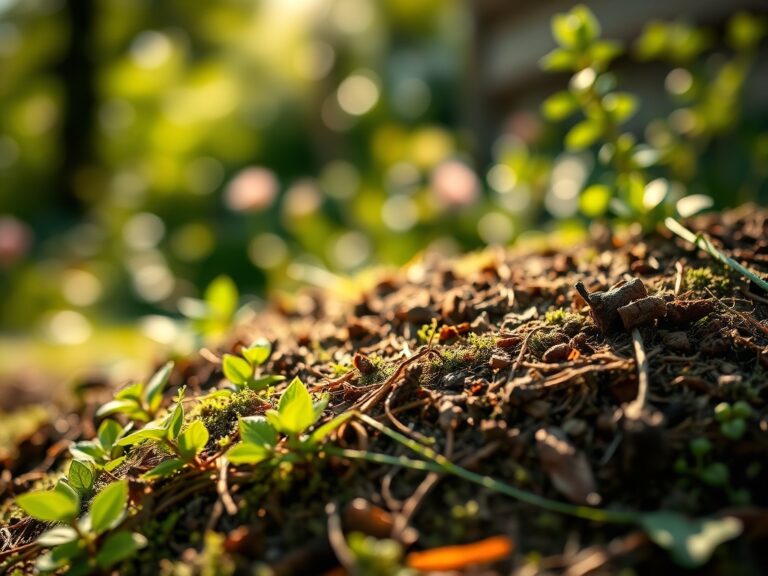
The substrate for high-performance tool maintenance mirrors the complexity of a **friable loam** with a high **Cation Exchange Capacity (CEC)**. Just as soil requires a balance of sand, silt, and clay, sharpening requires a progression of grit densities. Start with a coarse **400-grit silicon carbide stone** for removing nicks and resetting the primary bevel. Transition to a **1000-grit aluminum oxide stone** for refining the edge. For surgical precision on grafting knives, a **6000-grit finishing stone** is necessary. Lubrication is critical; use water for whetstones or a non-petroleum based honing oil to float away steel swarf and prevent the stone from “glazing.” When working near sensitive plantings, ensure your workspace is clear of amendments like **10-10-10 NPK fertilizers** or high-sulfur compounds that can corrode carbon steel. The ideal environment for tool care is a stable, dry bench with a pH-neutral cleaning solution to remove sap resins before the stone makes contact with the metal.
Timing:
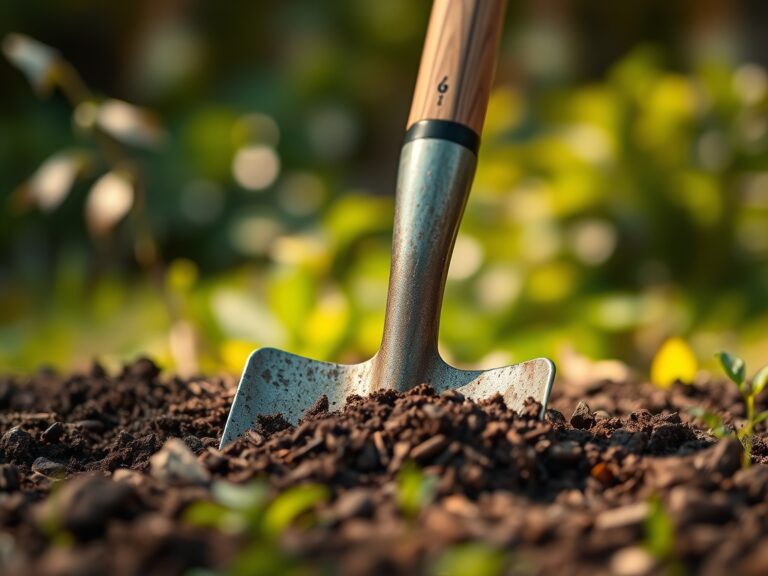
Maintenance cycles must align with the Biological Clock of the garden. In Hardiness Zones 5 through 7, the primary sharpening window occurs during the dormant season, typically between the first hard frost and the late winter thaw. Sharpening must be completed before the "bud swell" phase, as the transition from vegetative dormancy to reproductive stages requires tools that can prune without snagging the increasingly active cambium layer. For those in Zones 8 to 10, where the growing season is nearly continuous, tools should be honed every 25 to 40 hours of active use. Sharpening during the peak of summer heat is discouraged because high ambient temperatures can affect the viscosity of honing oils and increase the rate of oxidation on freshly exposed steel. Aim for a 45 degree angle on shovels and a 20 degree angle on pruners to maximize the efficiency of the stroke.
Phases:
Sowing the Edge
Before the stone touches the metal, the tool must be stripped of all organic debris. Use a wire brush to remove oxidized iron and dried sap. If the tool has been used on diseased material, dip it in a 10 percent bleach solution or isopropyl alcohol. This prevents the transfer of fungal spores during the sharpening process.
Pro-Tip: Maintaining a sterile edge prevents the mechanical inoculation of the rhizosphere. A clean, sharp cut minimizes the surface area of the wound, reducing the plant's metabolic cost for tissue repair and preventing auxin suppression that occurs when terminal buds are crushed.
Transplanting the Bevel
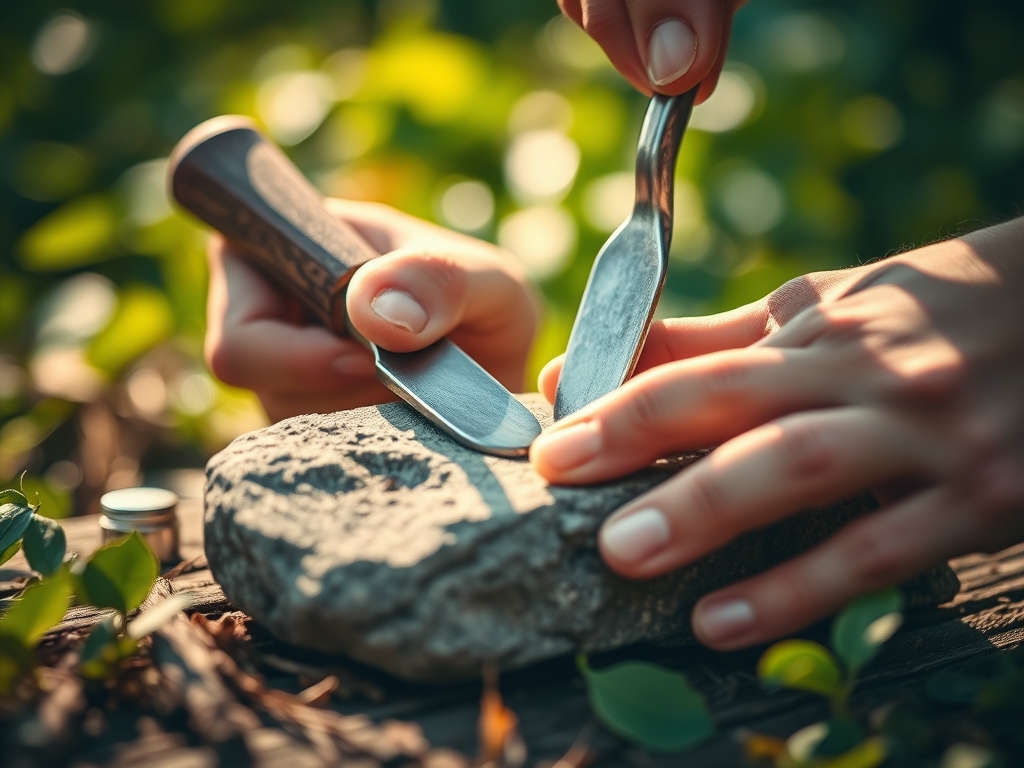
Submerge your whetstone in water for 10 to 15 minutes until air bubbles cease to rise. Secure the stone on a non-slip surface. Hold the tool at the factory-set angle. For most bypass pruners, this is a single-sided bevel. Move the blade across the stone in a sweeping motion, maintaining consistent pressure.
Pro-Tip: Consistent angles are vital because of phototropism. Plants will grow toward light sources from the site of a cut; a jagged or angled wound can cause the plant to redirect growth hormones inefficiently, leading to weakened structural integrity over time.
Establishing the Finish
Once a "burr" or wire edge forms on the back side of the blade, flip the tool and perform a single, flat pass to remove the excess steel. This creates a "zero-point" intersection of the two planes. Wipe the blade with a light coat of camellia oil to prevent flash rusting.
Pro-Tip: A polished edge reduces friction, which prevents the buildup of heat during heavy pruning. Excessive heat at the cut site can cause localized cellular necrosis, inhibiting the plant's ability to transport water via turgor pressure to the upper canopy.
The Clinic:
Physiological disorders in tools often manifest as physical "symptoms" on the plant.
- Symptom: Crushed stems or peeling bark on woody perennials.
- Solution: The blade has lost its "bite." Regrind the primary bevel using a 220-grit stone to restore the geometry before honing.
- Symptom: Rust spots or "pitting" on the steel surface.
- Solution: Use a rust eraser or fine steel wool. Prevent this by maintaining a storage environment with less than 50 percent humidity.
- Symptom: The tool "sticks" or fails to spring open.
- Solution: This is often sap buildup rather than a dull edge. Clean with a solvent and lubricate the pivot point.
Fix-It for Nutrient Deficiencies: If your plants show Nitrogen chlorosis (yellowing of older leaves), ensure your pruning tools are sharp. A dull cut stresses the plant, forcing it to divert nitrogen from leaf production to wound healing. Use a high-nitrogen (20-10-10) foliar spray to support recovery after heavy, sharp pruning.
Maintenance:
Precision tools require a rigorous upkeep schedule to remain effective. After every use, wipe your hori-hori knife and bypass pruners with a dry cloth. Check the tension on the pivot bolt; a loose bolt allows the blades to "bypass" the material rather than cutting it, leading to jagged edges. For soil-working tools, maintain the edge to reduce the physical force required to break the soil crust. This preserves the soil structure and prevents the compaction of the pore space where oxygen resides. Use a soil moisture meter to ensure your plants are at peak turgidity before pruning; a well-hydrated plant (receiving 1.5 inches of water per week) will always cut more cleanly than a wilted one.
The Yield:
When harvesting herbs or greens, the sharpness of your tool directly impacts the "shelf life" of the produce. A sharp harvest cut keeps the stomata from closing prematurely due to shock. For woody herbs like rosemary, cut at a 45 degree angle just above a node. For leafy greens, use a quick, horizontal slice. To maintain "day-one" freshness, immediately submerge the cut ends in cool water (approx 55 degrees Fahrenheit) to maintain turgor pressure and slow the process of senescence.
FAQ:
How long should I soak my whetstone?
Soak the stone for 10 to 15 minutes until air bubbles stop emerging. This ensures the internal pores are saturated, providing a hydraulic cushion that carries away metal particles and prevents the stone from clogging during the sharpening process.
What angle is best for garden pruners?
Most bypass pruners require a 20 to 25 degree angle. Maintaining this specific geometry ensures the edge is thin enough to slice through plant tissue but thick enough to resist chipping when encountering hard lignified wood or knots.
Can I use a dry stone for sharpening?
Never use a whetstone dry. Without lubrication, friction generates excessive heat that can ruin the temper of the steel. Furthermore, dry sharpening allows swarf to clog the stone's surface, rendering it ineffective and damaging the tool's edge.
How do I know if my tool is sharp enough?
A properly sharpened tool should slice through a piece of paper with zero resistance or tearing. In the garden, it should cut through a 0.5-inch green stem cleanly, leaving a smooth, reflective surface on the exposed plant tissue.