8 Tips to Use a Shovel for General Landscaping Projects
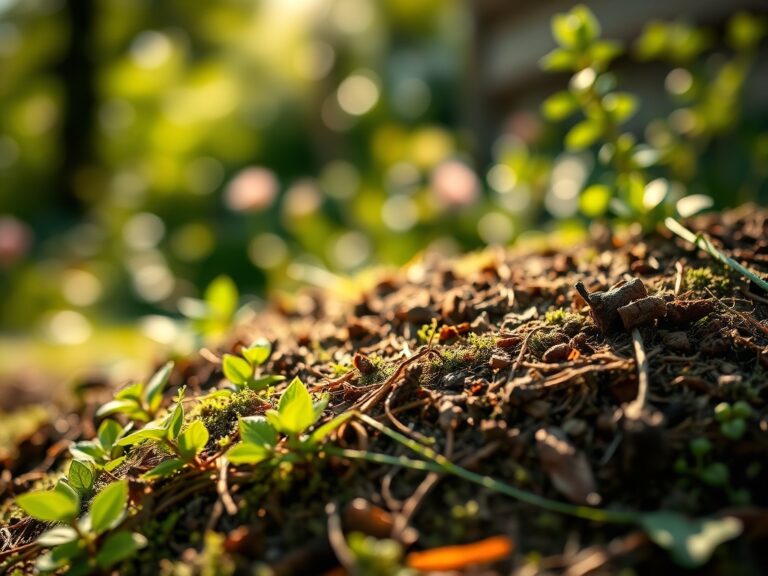
The scent of geosmin rises from the damp earth as the blade shears through the rhizosphere. This earthy aroma indicates the presence of Actinomycetes bacteria, a sign of healthy soil respiration. When the turgor pressure in your plants is at its peak during the early morning hours, the soil is most receptive to mechanical disruption. Using a shovel for home landscaping requires more than physical force; it demands an understanding of soil physics and plant physiology. A shovel is not merely a lever but a surgical instrument used to manipulate the subterranean environment where 80 percent of a plant's health is determined. By mastering the mechanics of the spade, you control the aeration and drainage of the substrate, directly influencing the metabolic rate of your garden. Effective excavation ensures that the delicate balance of gas exchange and moisture retention is maintained, preventing the anaerobic conditions that lead to root rot and pathogen proliferation.
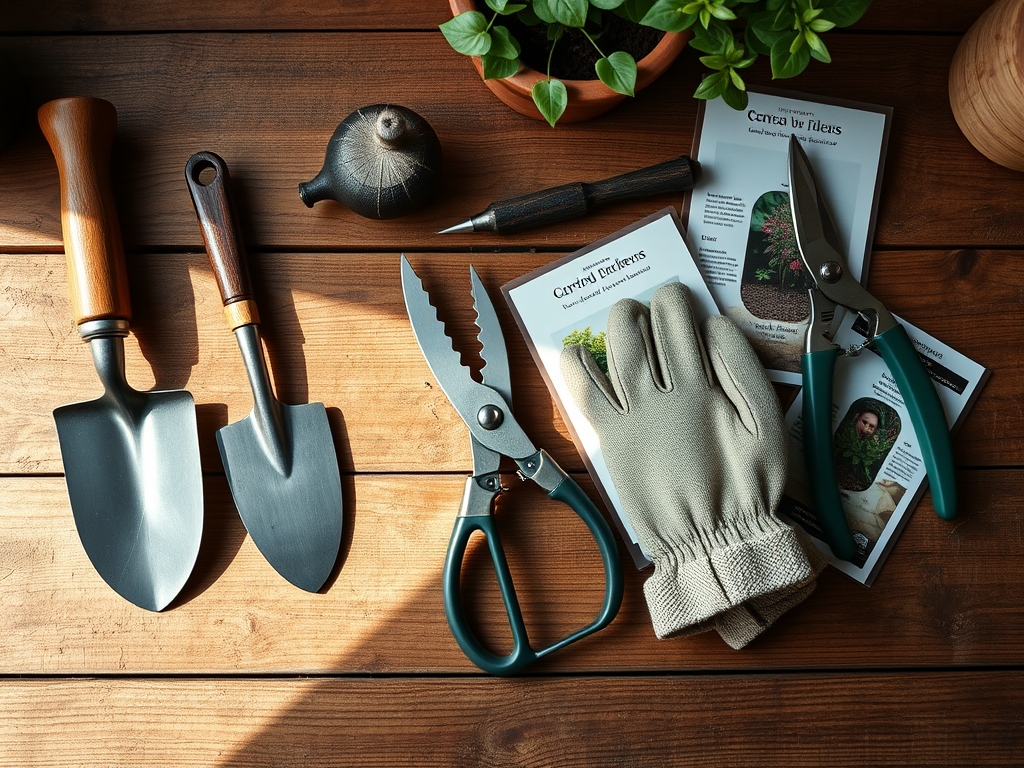
Materials:
The success of any excavation depends on the substrate composition. Ideal garden soil is a **friable loam** consisting of 40 percent sand, 40 percent silt, and 20 percent clay. This ratio provides a high **Cation Exchange Capacity (CEC)**, allowing the soil to hold onto essential nutrients like ammonium, potassium, and magnesium. Before digging, verify the soil pH; a range of **6.2 to 6.8** is optimal for most ornamental and edible species to ensure nutrient bioavailability. If the soil is heavy clay, integrate organic matter to improve porosity. When backfilling holes, use a balanced **10-10-10 NPK ratio** for general establishment, or a **5-10-5 ratio** to encourage root development without overstimulating nitrogen-heavy vegetative growth. Ensure the soil temperature is at least **55 degrees Fahrenheit** to support microbial activity and prevent root shock during the transition.
Timing:
Timing your digging projects relies on the Biological Clock of your specific Hardiness Zone. In Zones 5 through 7, the primary window for major soil movement is between the last spring frost and the summer solstice. This period aligns with the transition from the vegetative stage to the reproductive stage. Digging during the dormant season minimizes transpiration stress, but working frozen or waterlogged soil destroys soil structure through compaction. Monitor the photoperiod; as days lengthen, plants increase their auxin production, which facilitates rapid root regeneration in newly dug sites. Avoid excavation when the soil moisture exceeds 25 percent by volume, as this leads to the collapse of macropores, effectively suffocating the aerobic bacteria necessary for nitrogen fixation.
Phases:

Sowing and Bed Preparation
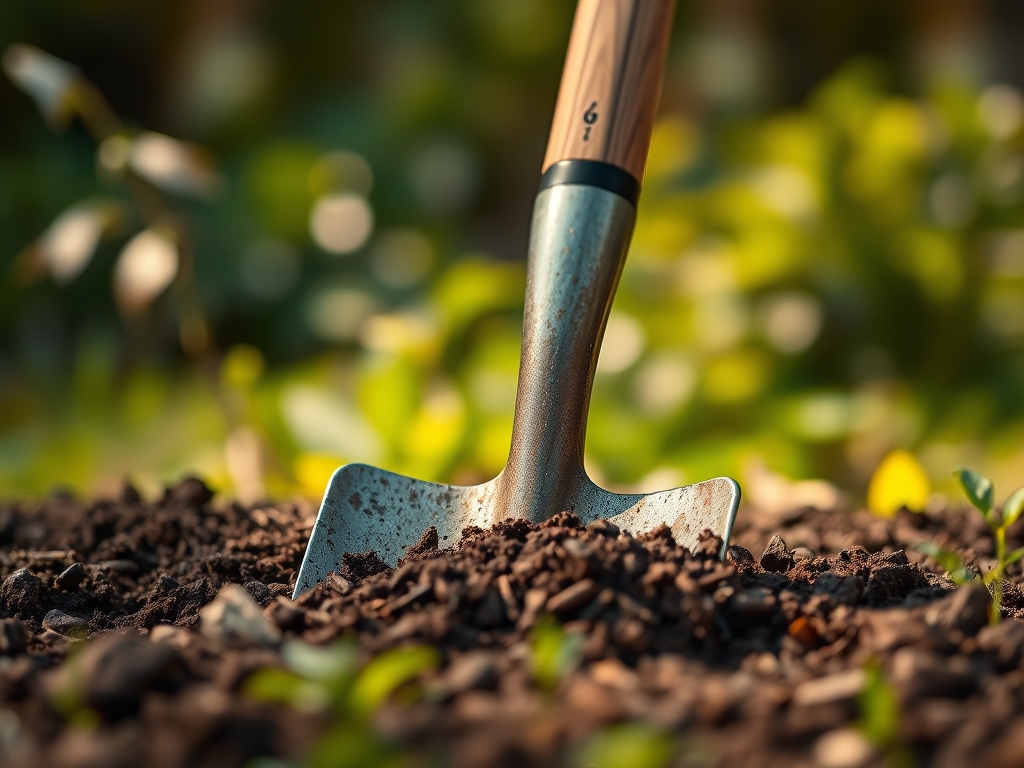
Preparation begins with the removal of the O-horizon (organic surface layer). Use a flat-head spade to edge the perimeter at a 90-degree angle, then slice beneath the root mat of existing turf. Turn the soil to a depth of 12 inches to break up the plow pan, a compacted layer that restricts downward root migration.
Pro-Tip: Incorporating organic matter during this phase encourages mycorrhizal symbiosis. These fungi extend the reach of the root system by up to 100 times, significantly increasing phosphorus uptake through a symbiotic exchange of carbohydrates.
Transplanting
When using a shovel for home landscaping to move established specimens, the goal is to preserve the root ball's integrity. Dig a trench around the drip line, which usually corresponds to the outermost reach of the canopy. The hole for the new site should be twice as wide as the root ball but no deeper. Planting too deep leads to stem girdling and oxygen deprivation at the root flare.
Pro-Tip: Maintain the original orientation of the plant to the sun. This respects the plant's established phototropism; forcing a plant to reorient its leaves consumes significant metabolic energy, which can stall root establishment for several weeks.
Establishing
Once the plant is in the ground, use the shovel to create a "saucer" or berm around the base. This basin should hold approximately 5 gallons of water for a 2-inch caliper tree. Tamp the soil lightly with your boot to remove large air pockets, but do not compress it so much that you increase the bulk density of the soil.
Pro-Tip: Firming the soil ensures "root-to-soil" contact, which is essential for capillary action. This physical phenomenon allows water to move from the surrounding soil into the root hairs via osmotic pressure.
The Clinic:
Physiological disorders often manifest shortly after soil disturbance. Identifying these early is critical for plant survival.
Symptom: Interveinal chlorosis (yellowing leaves with green veins) on new growth.
Solution: This indicates an iron deficiency, often caused by high soil pH or poor drainage. Test the pH and apply chelated iron if the level exceeds 7.2.
Symptom: Leaf wilting despite moist soil.
Solution: This is often a sign of "transplant shock" or root rot. If the shovel was used roughly, the fine root hairs may have been sheared. Apply a seaweed-based root stimulant to trigger auxin production and encourage new growth.
Symptom: Marginal leaf burn (browning edges).
Solution: This suggests salt accumulation or potassium deficiency. Flush the area with 2 inches of water to leach excess salts from the root zone.
Fix-It for Nitrogen Chlorosis: If the entire leaf turns pale green or yellow, the plant lacks nitrogen. Top-dress the area with a high-nitrogen fertilizer (e.g., 21-0-0 ammonium sulfate) and lightly work it into the top 2 inches of soil with a hand trowel.
Maintenance:
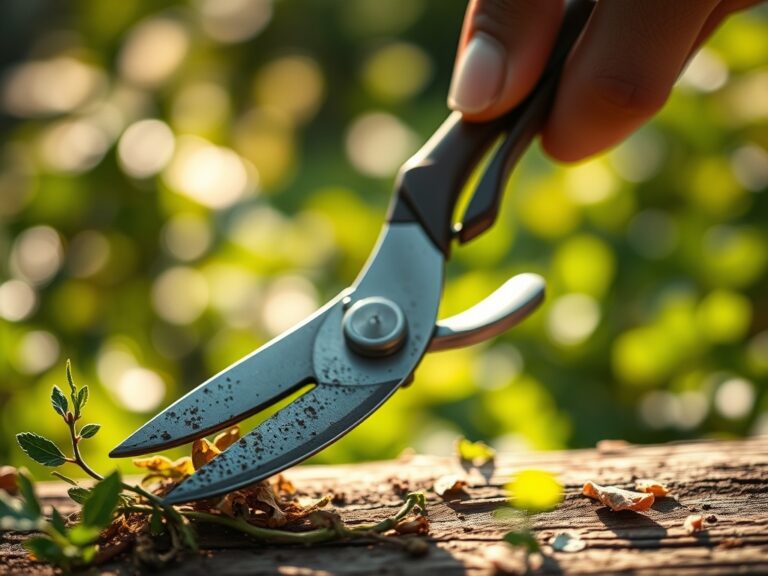
Post-project care is a game of precision. Provide 1.5 inches of water per week at the drip line, using a soil moisture meter to ensure the moisture has penetrated at least 6 inches deep. For precision work around existing roots, switch from a shovel to a hori-hori knife to saw through smaller fibrous roots cleanly. Use bypass pruners to trim any jagged root ends before backfilling, as clean cuts heal faster and resist fungal infection. Keep your shovel blades sharp with a mill file; a dull blade crushes plant tissue rather than slicing it, which leads to localized senescence and dieback.
The Yield:
When harvesting root crops or lifting bulbs, the shovel must be inserted at least 6 inches away from the base of the plant to avoid mechanical damage. Lift the soil mass upward in one fluid motion. For "day-one" freshness in harvested edibles, immediately move the produce to a cool, shaded area to lower the field heat. This slows the respiration rate and preserves the sugars within the plant tissue. For flower bulbs, allow the foliage to die back naturally to ensure the energy is translocated back into the bulb for next year's cycle.
FAQ:
How deep should I dig for a new shrub?
Dig the hole at least 12 to 18 inches deep, but ensure the plant sits so the root flare is level with or slightly above the soil surface. This prevents crown rot and ensures proper gas exchange for the roots.
What is the best way to clean a shovel?
Scrape off debris and rinse with water. Dry the blade completely to prevent oxidation. Apply a light coat of mineral oil to the metal and linseed oil to wooden handles to maintain tool integrity and prevent splintering.
Can I dig in wet clay soil?
No. Digging in wet clay causes compaction, which destroys the soil structure and eliminates macropores. This leads to poor drainage and anaerobic conditions. Wait until the soil crumbles when squeezed in your hand before beginning excavation.
How do I avoid hitting utility lines?
Always call your local utility marking service at least 48 hours before digging. Even shallow landscaping projects can interfere with buried electrical, gas, or water lines, posing a significant safety risk and potential for heavy fines.