9 Steps to Clean Professional Garden Shears After Use
The smell of damp earth and the high turgor pressure of a healthy leaf signify a successful harvest; however, the invisible pathogens left on your blades threaten the entire rhizosphere. Pathogens like Botrytis cinerea or Fusarium wilt hitchhike on sap residue, waiting to infect the next vascular incision. Executing proper steps for cleaning a garden shears after use is the primary defense against systemic cross-contamination. Neglecting this maintenance leads to jagged cuts that fail to callous, inviting opportunistic fungal infections that compromise plant cellular integrity and overall garden longevity.
Materials:
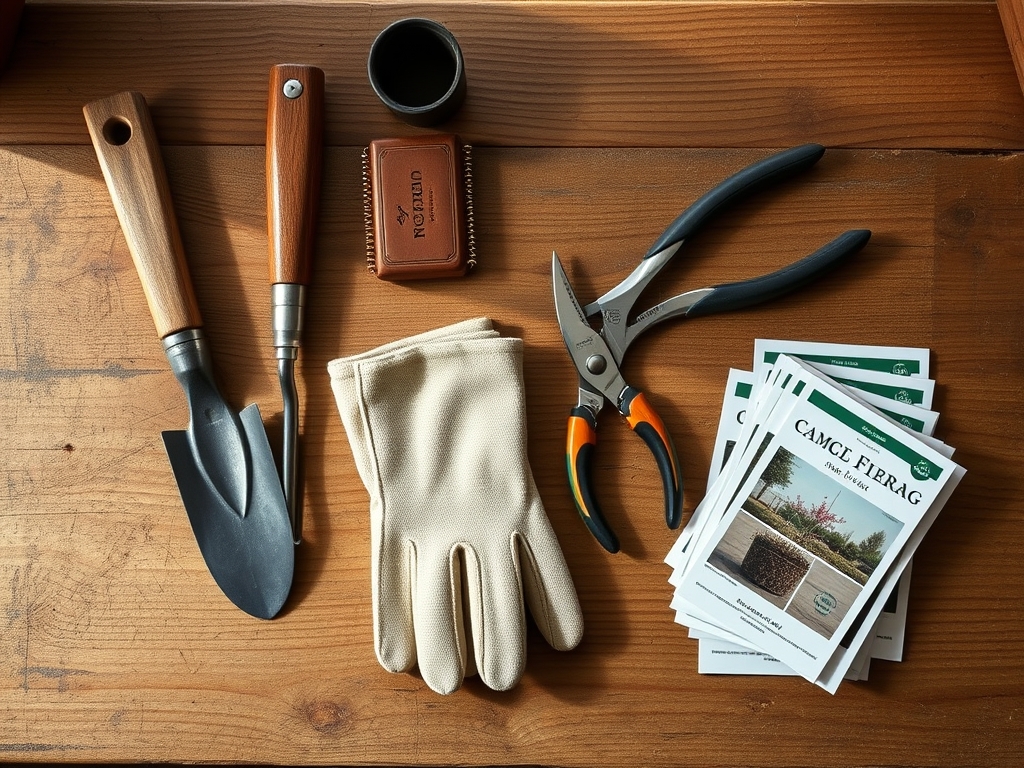
While tool maintenance is mechanical, it impacts the soil environment. Residual organic matter on blades can alter the local soil pH if left to rot in the beds. In a friable loam with a **pH of 6.5**, maintaining high Cation Exchange Capacity (CEC) is vital for nutrient uptake. When cleaning, ensure you have **70 percent isopropyl alcohol** for sterilization and a **lithium-based grease** for the fulcrum. If your soil requires an **NPK ratio of 10-10-10** for balanced growth, do not introduce chemical residues from industrial cleaners into the planting area. Use a stiff nylon brush to remove particulate matter that could interfere with the tool’s bypass action.
Timing:
Timing your maintenance aligns with the biological clock of your garden. In Hardiness Zones 5 through 8, the window between the last spring frost and the first autumn freeze is a period of intense vegetative and reproductive activity. You must clean your shears immediately after the transition from vegetative growth to the reproductive stage to prevent the spread of viruses during deadheading. During peak senescence in late autumn, tools require a deeper cleaning before winter storage to prevent oxidation. Always perform maintenance when the ambient humidity is below 60 percent to ensure rapid drying of the metal components.
Phases:

Sowing and Initial Prep
Before the first seed hits the substrate, your shears must be surgically clean. Use warm soapy water to remove dried sap and soil. This prevents the transfer of damping-off pathogens to delicate seedlings.
Pro-Tip: Clean blades ensure a flush cut that promotes rapid callousing. This biological process seals the wound, preventing the loss of internal turgor pressure and protecting the plant from desiccation.
Transplanting and Pruning
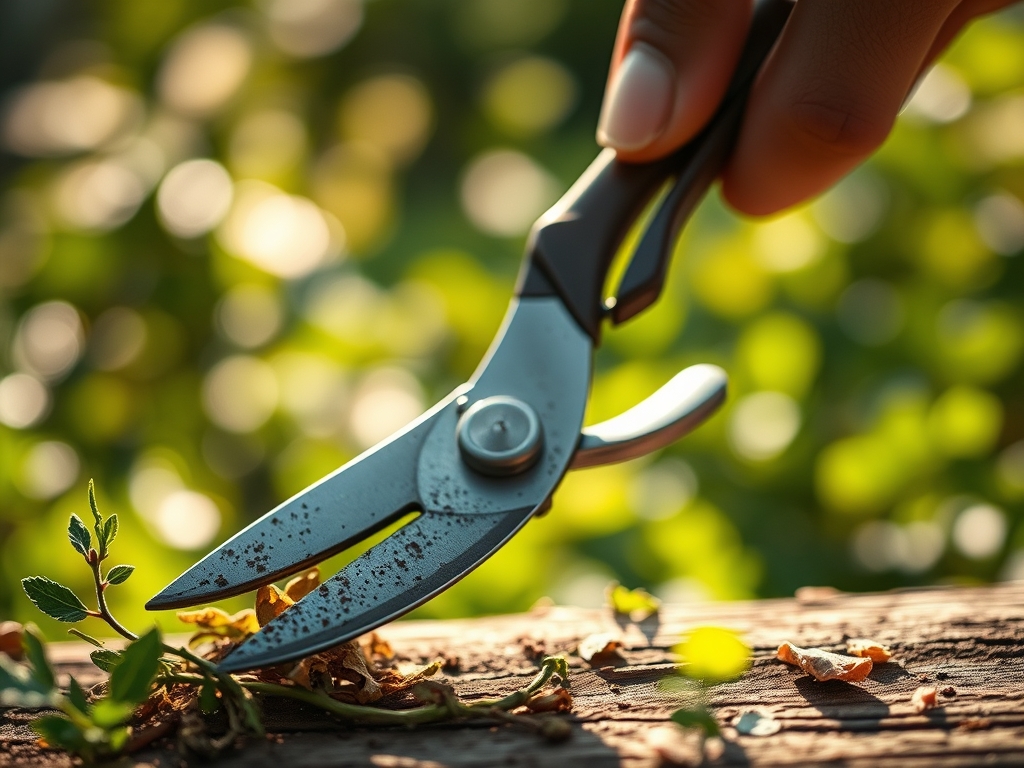
As you move plants into their permanent positions, use your bypass pruners to trim circling roots. After each plant, wipe the blades with an alcohol-soaked rag. This prevents the spread of soil-borne nematodes between different sections of the garden.
Pro-Tip: Sharp, clean blades minimize the crushing of xylem and phloem tissues. This preserves the plant's ability to transport water and nutrients via capillary action immediately after the stress of transplanting.
Establishing and Maintenance
During the active growing season, clean your shears after every use on woody perennials. This is critical when managing plants that exhibit apical dominance. Clean cuts allow for the proper redistribution of auxins, the hormones responsible for directing new growth toward light sources.
Pro-Tip: Sterilizing tools between different species prevents the transmission of mosaic viruses. This protects the photosynthetic efficiency of the foliage, ensuring the plant can maximize glucose production through the photoperiod.
The Clinic:
Physiological disorders often stem from poor tool hygiene. Observe your plants for these specific symptoms:
- Symptom: Necrotic lesions at the site of a pruning cut.
Solution: Sterilize shears with ethanol and recut the stem 0.25 inches above a healthy node to encourage new growth. - Symptom: Bacterial ooze or "fire blight" on pomme fruits.
Solution: Dip shears in a 1:10 bleach-to-water solution between every single cut to halt the systemic spread. - Symptom: Jagged, tearing bark on woody stems.
Solution: Sharpen the blade to a 20-degree angle using a diamond file to ensure a clean shear through the cambium layer. - Symptom: Nitrogen Chlorosis (yellowing of older leaves).
Fix-It: While often a nutrient issue, this can be exacerbated by root rot from contaminated tools. Apply a high-nitrogen fertilizer with a ratio of 20-10-10 and ensure all tools touching the root zone are sterile.
Maintenance:
To maintain a professional garden, consistency is mandatory. Provide 1.5 inches of water per week at the drip line to maintain soil moisture, verified by a soil moisture meter. Use a hori-hori knife for weeding, but clean it with the same rigor as your shears. Every 30 days, disassemble your shears to remove grit from the spring mechanism. Apply a thin layer of mineral oil to all metal surfaces to prevent rust, which can harbor bacteria and increase friction during the cut.
The Yield:
Harvesting is the culmination of the biological cycle. For herbs and leafy greens, harvest in the early morning when turgor pressure is at its peak. Use sterilized shears to make a clean diagonal cut. This reduces the surface area exposed to air, slowing the rate of transpiration post-harvest. For flowers, immediately plunge the stems into 40-degree Fahrenheit water to lock in freshness and extend the vase life by preventing air embolisms in the vascular system.
FAQ:
How often should I sanitize my shears?
Sanitize your shears between every plant species and after any contact with diseased tissue. Use 70 percent isopropyl alcohol to kill pathogens instantly. This prevents cross-contamination and protects the overall health of your garden's rhizosphere.
What is the best lubricant for garden shears?
Use a clear mineral oil or a lithium-based grease. These substances provide a moisture barrier without degrading the tool's plastic or rubber grips. Avoid vegetable-based oils, as they can become gummy and attract fungal spores over time.
Can I use bleach to clean my tools?
Yes, a 1:10 ratio of bleach to water is an effective disinfectant. However, you must rinse the tools thoroughly and dry them immediately. Bleach is corrosive and will pit the steel blades if left on the surface.
Why are my shears tearing the plant stems?
Tearing indicates a dull blade or a loose pivot bolt. Sharpen the cutting edge to a 20-degree bevel and tighten the nut until the blades pass each other without a gap. Clean cuts are essential for rapid plant callousing.