6 Steps to Build a Custom Home Garden Pergola
The smell of damp earth and the crisp snap of a leaf under high turgor pressure define the professional workspace. A structure like a pergola does more than provide shade; it creates a microclimate that regulates light intensity and air circulation for sensitive understory plants. Mastering the steps for building a garden pergola requires integrating structural engineering with horticultural precision to ensure the finished product supports vine weight and promotes a healthy rhizosphere.
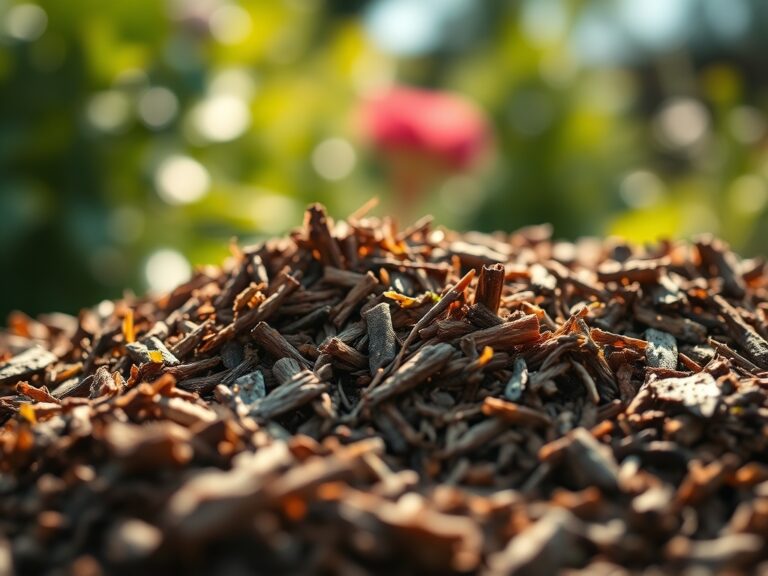
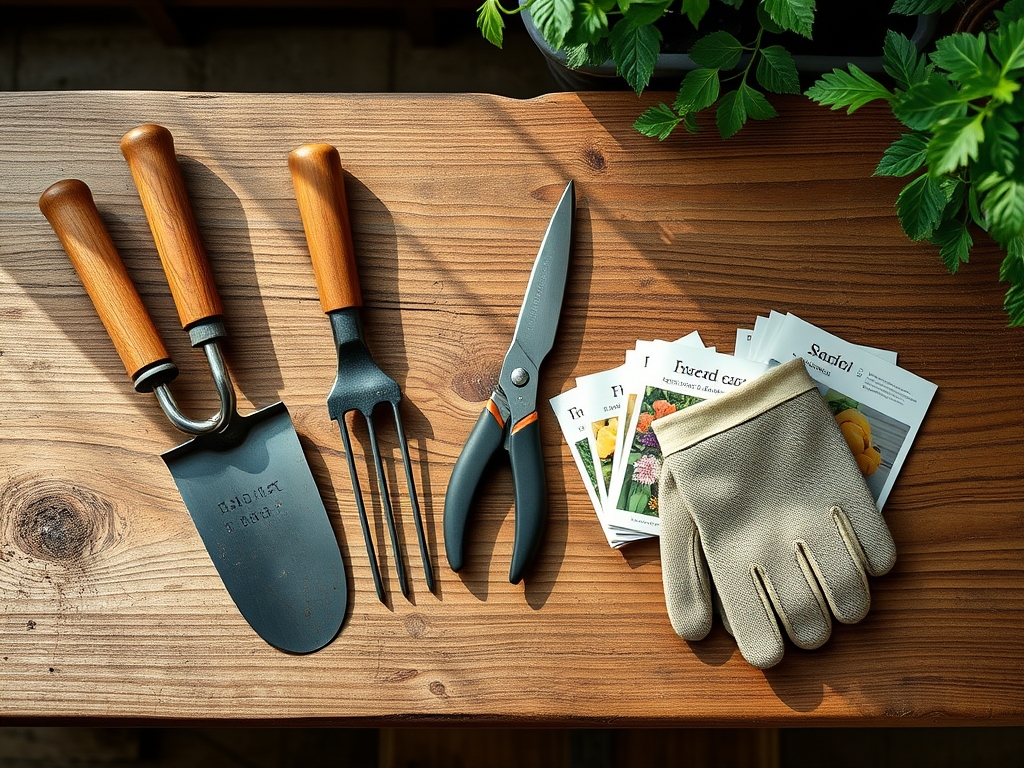
Materials:
Construction begins with the soil. For footings, you must assess the Cation Exchange Capacity (CEC) of the surrounding substrate to prevent chemical leaching from treated lumber into the root zone. Ideal soil for supporting climbing perennials at the base of the pergola is a friable loam with a **pH of 6.2 to 6.8**.
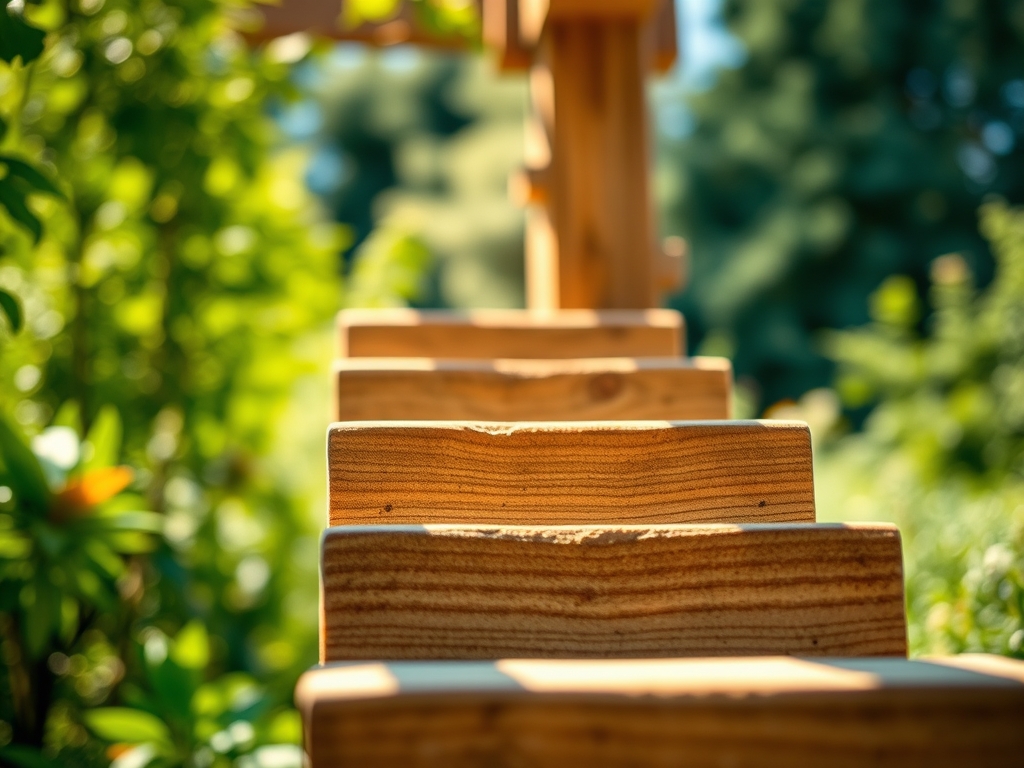
Prepare the planting pockets with a specific NPK ratio of 5-10-5 to prioritize root establishment over excessive vegetative growth. The physical texture should allow for rapid drainage while maintaining enough organic matter to support mycorrhizal fungi. Use pressure-treated 6×6 posts for the vertical supports and 2×8 rafters for the canopy. Secure all joints with 316-grade stainless steel hardware to resist corrosion in high-humidity garden environments.
Timing:
Schedule your build according to Hardiness Zones and local frost-date windows. In Zones 5 through 7, construction should occur in late winter or early spring while deciduous plants are in dormancy. This timing prevents mechanical damage to active vascular tissues and avoids soil compaction during the peak growing season.
Understanding the "Biological Clock" is essential for the plants that will inhabit the pergola. You must time the installation so that structural completion precedes the transition from the vegetative stage to the reproductive stage of your chosen climbers. For instance, woody perennials like Wisteria require a solid frame before their spring sap flow increases, as the weight of the water-filled vines can increase by 30 percent during peak transpiration.
Phases:

Sowing and Site Preparation
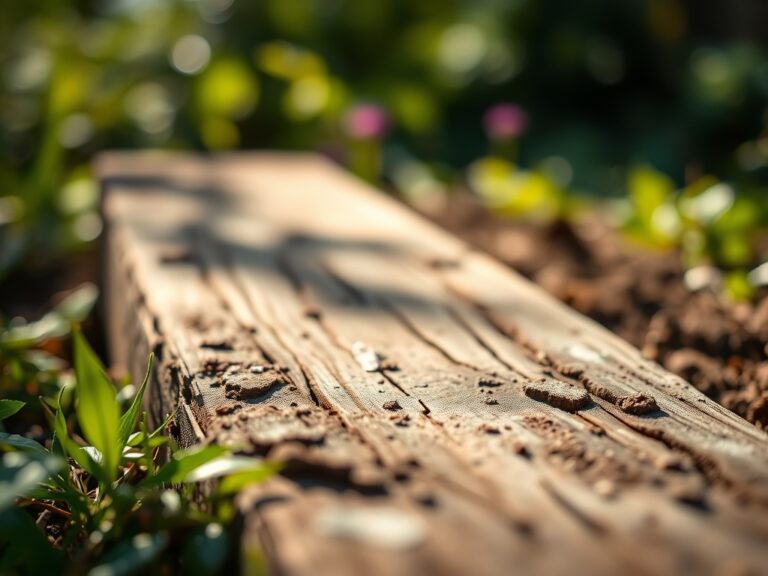
Clear a radius of 36 inches around each post location. Excavate holes to a depth of 3 feet or below the local frost line to prevent heave. Ensure the bottom of the hole contains a 4-inch layer of crushed stone to facilitate drainage and prevent anaerobic conditions at the base of the timber.
Pro-Tip: Proper drainage prevents root rot by maintaining oxygen levels in the rhizosphere. Without oxygen, roots cannot perform cellular respiration, leading to a total collapse of the plant's hydraulic system.
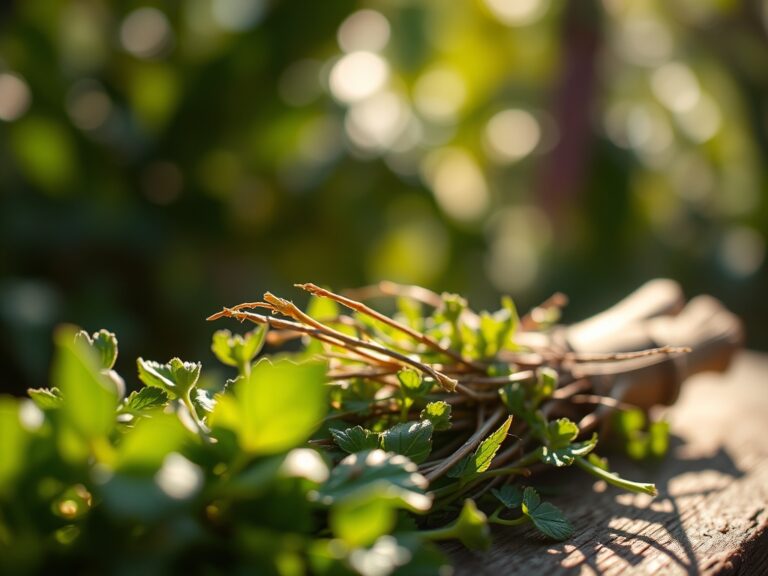
Transplanting and Anchoring
When the structure is level and the concrete has cured for 72 hours, introduce your climbing species. Place the root ball 2 inches above the surrounding grade to account for settling. Backfill with native soil amended with composted leaf mold to increase the water-holding capacity without sacrificing aeration.
Pro-Tip: Use soft ties to guide young stems. This manipulates auxin suppression; by training stems horizontally along the rafters, you break apical dominance and encourage the growth of lateral flowering spurs.
Establishing the Canopy
Monitor the photoperiod requirements of your plants. As the vines reach the top of the 8-foot rafters, prune the lead shoots to encourage branching. Maintain a consistent moisture level of 15 to 20 percent volumetric water content during the first two growing seasons to ensure the establishment of a robust root architecture.
Pro-Tip: Directing growth through the lattice utilizes phototropism. By strategically spacing the top slats at 12-inch intervals, you manage the Light Saturation Point for the plants below, preventing leaf scorch during the summer solstice.
The Clinic:
Physiological disorders often manifest when the structural environment clashes with botanical needs.
- Symptom: Interveinal chlorosis on new growth.
- Solution: This indicates an Iron deficiency, often caused by a high soil pH (above 7.5) which locks out micronutrients. Apply chelated iron and sulfur to lower the pH.
- Symptom: Marginal leaf burn on climbers.
- Solution: This is frequently a result of salt accumulation from synthetic fertilizers or wind-induced desiccation. Increase irrigation frequency to flush the root zone.
- Symptom: Stunted growth and purpling of lower leaves.
- Fix-It: This is Phosphorus deficiency. Apply a high-phosphate fertilizer (NPK 0-20-0) to the drip line to support ATP production and energy transfer within the plant.
Maintenance:
Precision maintenance ensures structural longevity and plant health. Deliver 1.5 inches of water per week at the drip line using a soaker hose system to keep the root zone hydrated without wetting the foliage. Use a soil moisture meter every three days to verify that the substrate is not reaching the permanent wilting point.
Pruning is a surgical task. Use bypass pruners for clean cuts on living tissue and a hori-hori knife for weeding around the base without disturbing the shallow feeder roots. Conduct structural inspections annually; check for wood rot at the soil line and tighten hardware that may have loosened due to the expansion and contraction of the timber.
The Yield:
For those growing fruiting vines like grapes or hops on their pergola, harvest timing is determined by Brix levels (sugar content). Use a refractometer to measure the sap or juice; grapes are typically ready at 18 to 22 Brix.
Harvest during the cool of the morning, before the sun increases the internal temperature of the fruit. Use sharp snips to avoid tearing the vine's bark. To maintain "day-one" freshness, move the harvest immediately to a high-humidity, cool environment (35 to 40 degrees Fahrenheit) to slow the rate of senescence and preserve cellular integrity.
FAQ:
How deep should pergola posts be buried?
Posts must reach below the local frost line, typically 36 to 48 inches. This prevents soil heaving from displacing the structure. Proper depth ensures the pergola can withstand the lateral force of wind and the heavy weight of mature vines.
What is the best wood for a garden pergola?
Western Red Cedar and Redwood are superior due to their natural resistance to rot and insects. These species contain high concentrations of tannins and oils that protect the cellulose fibers, ensuring a lifespan of 15 to 20 years in outdoor conditions.
How do I prevent root rot near the posts?
Ensure the soil has a high sand or grit content to facilitate drainage. Slope the concrete footings away from the post at a 5-degree angle. This prevents water from pooling at the wood-soil interface, reducing the risk of fungal pathogens.
Can I grow heavy vines like Wisteria on a pergola?
Yes, but the structure must use 6×6 posts and double-header beams. A mature Wisteria can weigh several hundred pounds. Use heavy-duty lag bolts rather than nails to ensure the joints do not pull apart under the increasing weight of the wood.