6 Steps to Sharpen a Garden Knife with a Mill File
Crushing a plant stem with a dull blade destroys the vascular tissue and prevents the rapid sealing of the wound. When a clean cut is made, the plant maintains high turgor pressure and can effectively compartmentalize the injury. Using specific steps for sharpening a garden knife with a file ensures that your tools slice through cellulose and lignin rather than tearing them. A sharp edge is a requirement for maintaining the health of the rhizosphere by preventing jagged entry points for pathogens.
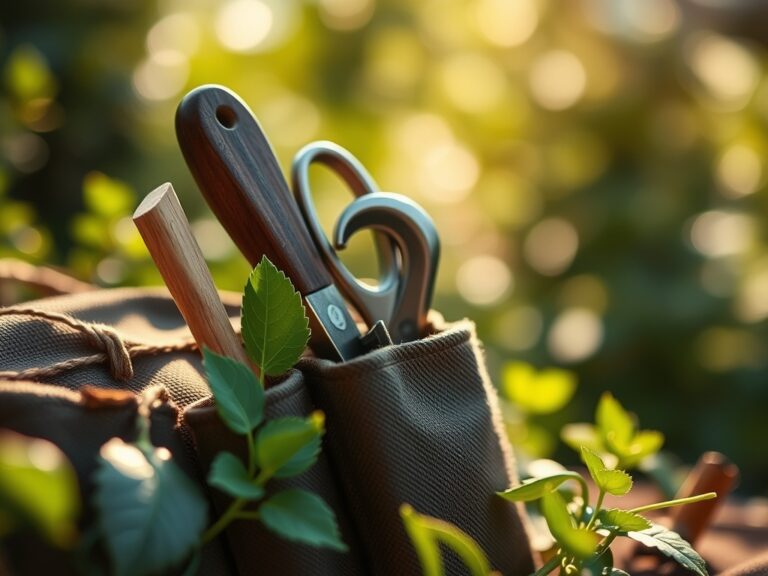
Materials:
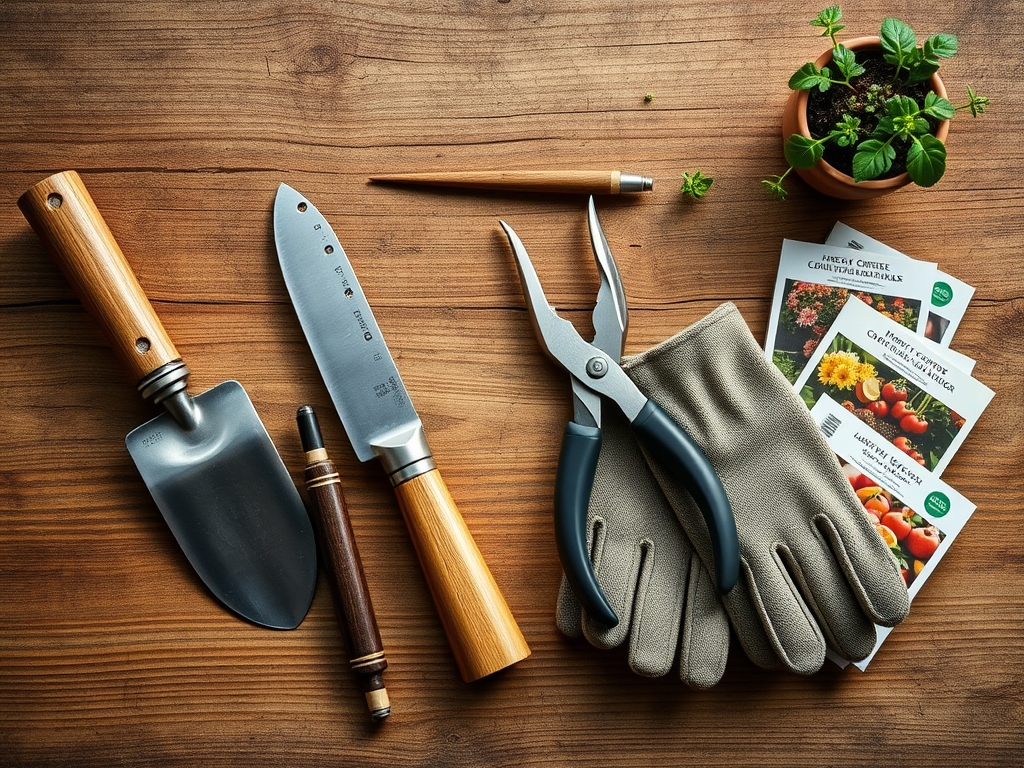
A successful sharpening station requires a stable environment and specific metallurgical tools. You need a **10 inch mill bastard file**, a bench vise, and protective eyewear. To prevent oxidation during the process, keep a light machine oil or WD-40 nearby.
The environment where you maintain your tools often dictates their longevity. In a workspace adjacent to a potting bench, ensure the substrate is a friable loam with a pH between 6.0 and 7.0. While soil pH does not directly affect the steel, the dust from highly acidic or alkaline soils can accelerate corrosion on high-carbon steel blades. If your garden soil has a high Cation Exchange Capacity (CEC), it likely retains more moisture; this humidity can lead to flash rusting on a freshly filed edge. Ensure your sharpening area is dry and the ambient humidity is below 50 percent.
Timing:
Sharpening should occur before the spring surge in Hardiness Zones 3 through 9. In Zone 7, this typically falls in late February, just before the first frost-date window closes. This timing aligns with the "Biological Clock" of the garden. As plants transition from dormant winter states to the vegetative stage, the sap flow increases.
Pruning during the early vegetative stage requires the cleanest possible cuts to manage auxin suppression. If a blade is dull during this window, you risk tearing the apical meristem, which disrupts the plant's hormonal balance and stunts growth. Perform your tool maintenance when the photoperiod begins to exceed 11 hours of daylight. This ensures your tools are ready the moment the soil temperature reaches a consistent 55 degrees Fahrenheit, signaling the start of active root respiration.
Phases:
The process of restoring an edge is a mechanical reconstruction of the blade’s geometry. Follow these steps for sharpening a garden knife with a file to ensure professional results.
Sowing the Edge
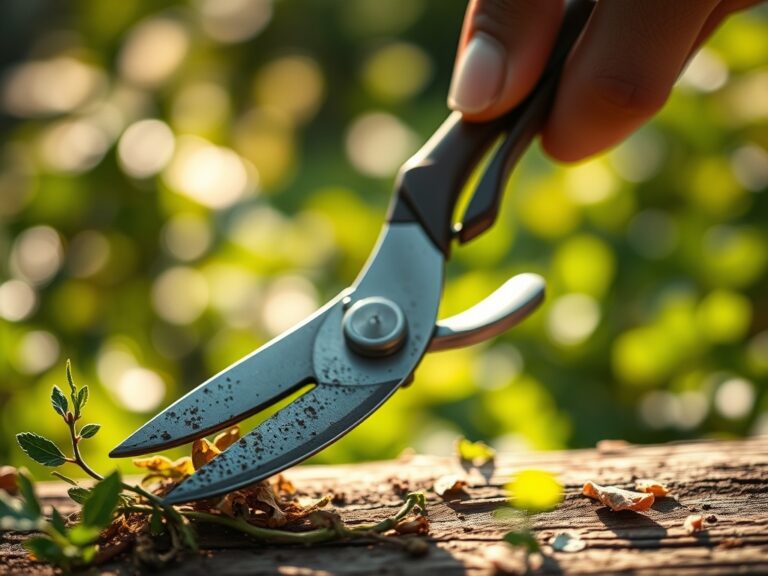
Secure the knife in a vise with the beveled edge facing up. Hold the mill file at a 20 to 25 degree angle relative to the blade. Push the file away from your body in long, smooth strokes. Do not pull the file backward against the steel; mill files are designed to cut in one direction only. Repeat this until a "burr" or wire edge forms on the opposite side of the blade.
Pro-Tip: Maintaining a consistent angle is vital because of structural integrity. A steep angle creates a durable but blunt edge, while a shallow angle creates a razor-sharp but fragile edge that will chip when hitting woody stems or soil aggregates.
Transplanting the Burr
Once the burr is established, flip the knife in the vise. Use the file to lightly stroke the flat side of the blade at a 0 to 5 degree angle. This action "transplants" the metal back to the center, effectively snapping off the microscopic wire edge. This results in a clean, linear apex where the two planes of the steel meet.
Pro-Tip: Removing the burr is essential for pathogen prevention. A ragged wire edge creates microscopic reservoirs that harbor bacteria and fungal spores, which are then inoculated directly into the plant's vascular system during the next cut.
Establishing the Finish
Wipe the blade with a cloth to remove metal filings. Apply a thin layer of mineral oil to the steel. This creates a hydrophobic barrier that prevents oxygen from reacting with the iron molecules. Test the sharpness by slicing through a piece of paper; it should cut without snagging or audible tearing.
Pro-Tip: Oiling the blade facilitates mycorrhizal symbiosis protection. By preventing rust, you ensure that no toxic oxidized metal particles are introduced into the soil, where they could potentially inhibit the growth of beneficial fungal networks.
The Clinic:
Even with sharp tools, plants may exhibit signs of stress. Use this diagnostic guide to differentiate between mechanical damage and physiological disorders.
- Symptom: Necrosis at the site of a pruning cut.
Solution: This is often caused by a dull blade crushing the tissue. Re-sharpen the knife and make a fresh cut 0.25 inches above a node to allow for proper callousing. - Symptom: Yellowing of lower leaves (Nitrogen chlorosis).
Fix-It: Apply a fertilizer with an NPK ratio of 10-5-5. Nitrogen is a mobile nutrient; the plant moves it from old growth to new growth when soil levels are depleted. - Symptom: Interveinal chlorosis on new leaves (Iron deficiency).
Fix-It: Check soil pH. If pH is above 7.5, iron becomes insoluble. Lower the pH using elemental sulfur to a range of 6.2 to 6.8. - Symptom: Blossom end rot in solanaceous crops.
Fix-It: This is a Calcium transport issue, not necessarily a soil deficiency. Ensure consistent moisture levels to allow the plant to move Calcium through the xylem.
Maintenance:
A sharp knife is only one part of the system. To maintain a productive garden, you must manage hydration and soil structure with precision. Provide 1.5 inches of water per week at the drip line for most woody perennials. Use a soil moisture meter to verify that the water is penetrating at least 6 inches deep into the profile.
Keep your hori-hori knife and bypass pruners clean by wiping them with isopropyl alcohol after every use. This prevents the cross-contamination of viral pathogens like Tobacco Mosaic Virus. Store tools in a bucket of sand mixed with motor oil to maintain the edge and prevent the pitting of the steel surface.
The Yield:
Harvesting is the final stage of the horticultural cycle. For leafy greens, harvest in the early morning when turgor pressure is at its peak. Use your sharpened knife to cut the outer leaves, leaving the central growing point intact for "cut and come again" production.
For root crops, use the knife to sever the foliage 1 inch above the crown. This prevents the roots from losing moisture through the leaves via transpiration. Post-harvest, move produce to a cool, shaded area immediately to slow down senescence and preserve the sugars and volatile compounds within the tissue.
FAQ:
How often should I sharpen my garden knife?
Sharpen your knife after every 10 hours of heavy use or whenever you notice resistance during a cut. Frequent light maintenance with a mill file is more effective than waiting for the blade to become completely dull.
Can I use a file on a serrated blade?
No. Standard mill files are designed for straight-edged blades. Serrated blades require a tapered diamond rod to fit into the individual gullets of the serrations. Using a flat file will destroy the serrated profile.
What is the best angle for a garden knife?
An angle of 20 to 25 degrees is ideal for general garden tasks. This provides a balance between a sharp cutting edge for soft tissue and the durability needed to slice through tougher, fibrous stalks.
Why is my knife rusting after sharpening?
Sharpening exposes fresh, unoxidized steel. Without a protective layer of oil, the iron reacts with atmospheric oxygen and moisture. Always apply a thin coat of mineral oil or tool lubricant immediately after using a mill file.