7 Steps to Clean a Garden Fork After Soil Turning
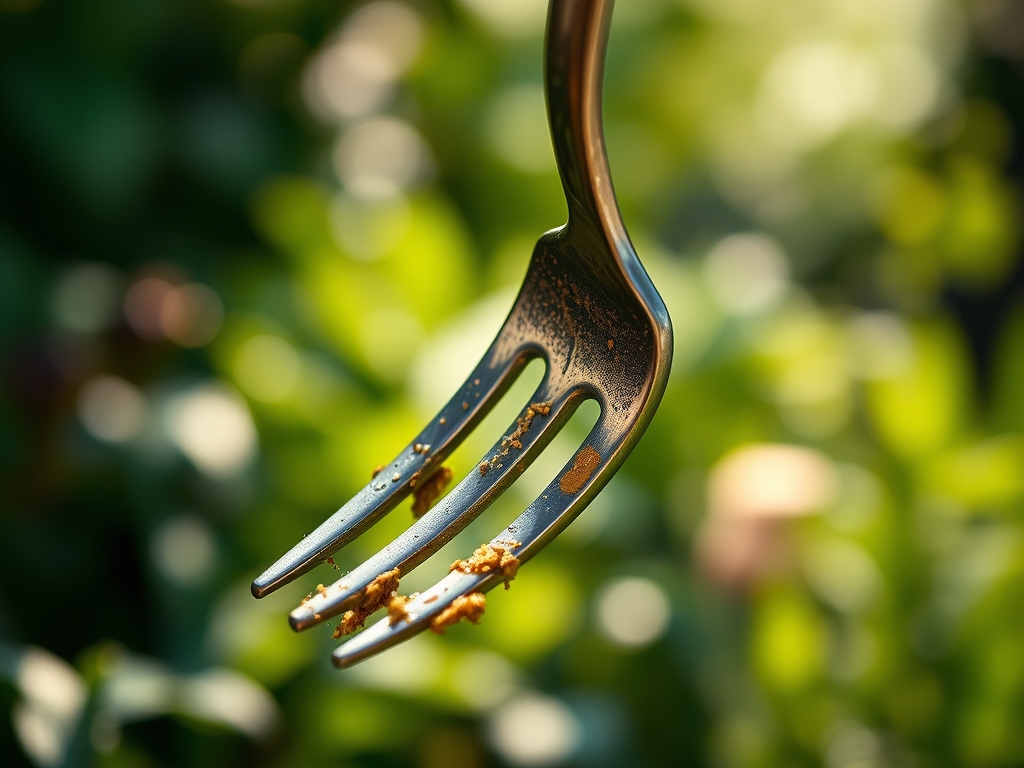
Damp earth clings to forged carbon steel with a stubborn tenacity that initiates oxidation within minutes of exposure to oxygen and moisture. The scent of geosmin released during soil turning signals the presence of Actinomycetes bacteria; these organisms, while beneficial for decomposition, harbor moisture against the metal surface. Implementing the correct steps for cleaning a garden fork after use prevents the degradation of the tool and the cross-contamination of the rhizosphere in subsequent beds. Neglect leads to pitting and structural failure.
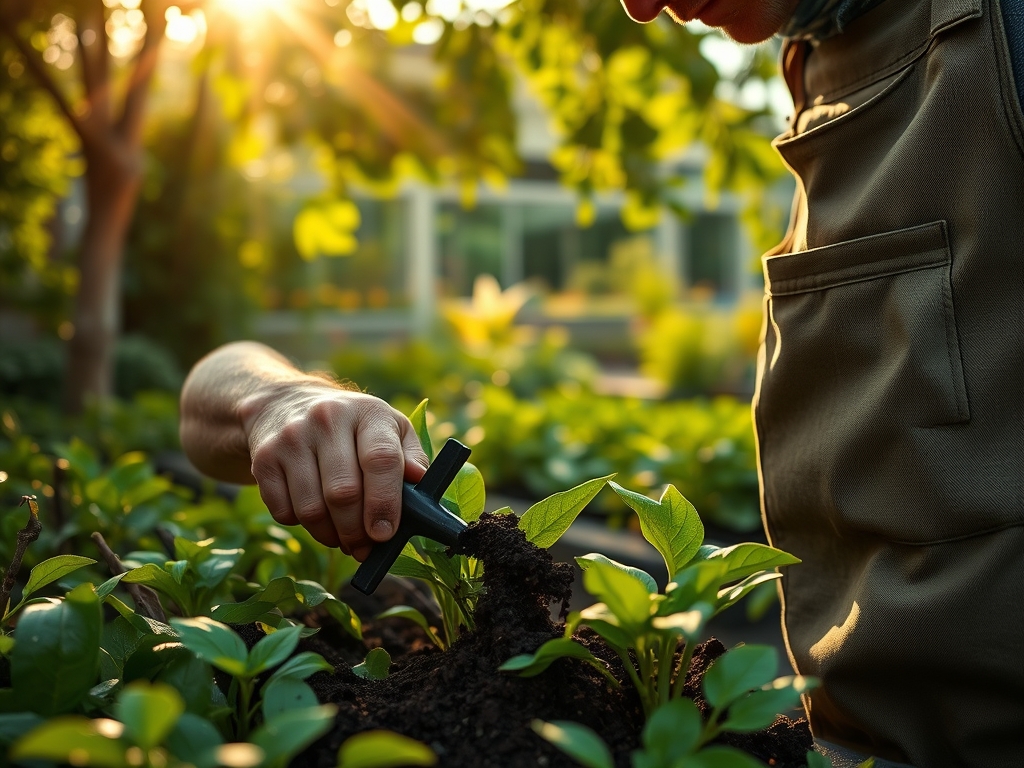
The mechanical integrity of a garden fork depends on the immediate removal of abrasive particulates. Soil particles, particularly those with high silica content, act as micro-abrasives that strip protective coatings. When you finish aerating a compacted bed, the turgor of the surrounding plants depends on your ability to move to the next task without transporting pathogens. A clean tool is a sterile vector. By following a rigorous post-use protocol, you maintain the tool's edge and ensure the longevity of the hardwood or fiberglass shaft. This process is not merely aesthetic; it is a fundamental requirement of professional horticultural sanitation and soil management.
Materials:
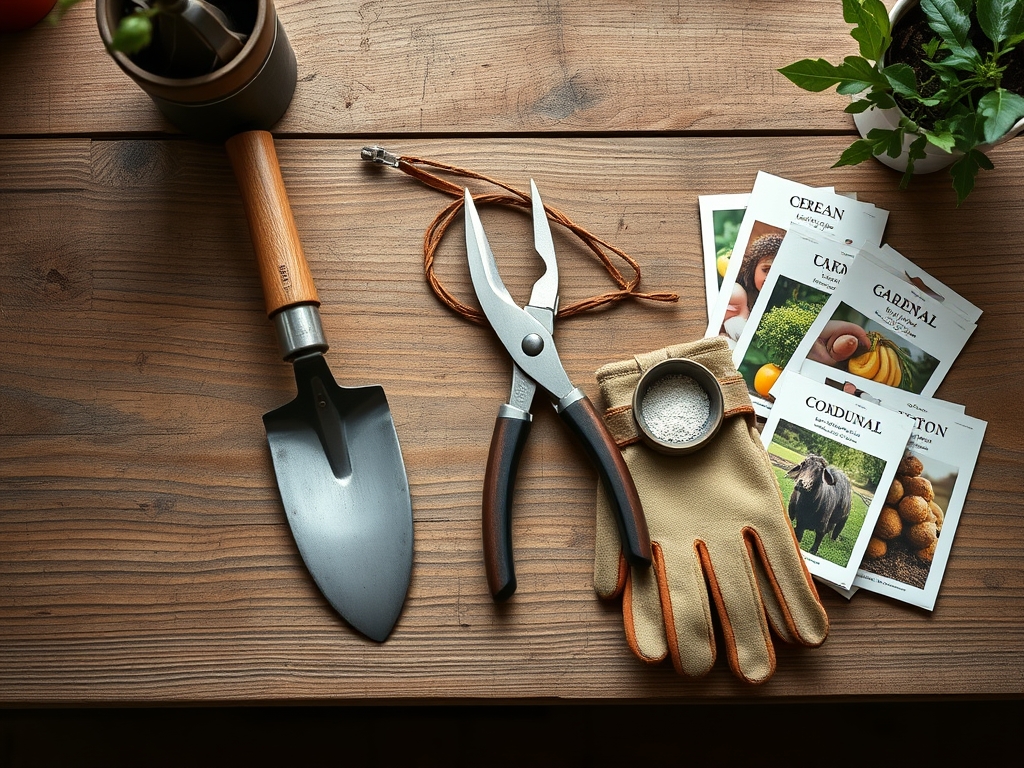
Effective cleaning requires understanding the substrate you just processed. In a **friable loam** with a **pH of 6.5**, the soil releases easily. However, in heavy clay soils where the **Cation Exchange Capacity (CEC)** is high, the mineral plates bond tightly to the tines. You will need a stiff-bristled nylon brush, a bucket of coarse builder’s sand mixed with **SAE 30 motor oil** or a plant-based alternative, and a 10 percent bleach solution or 70 percent isopropyl alcohol for sterilization.
If you have been working in soil recently amended with a 10-10-10 NPK ratio fertilizer, the salt concentration can accelerate corrosion. High nitrogen levels, specifically from ammonium nitrate, are particularly corrosive to non-stainless steels. Keep a dry microfiber cloth and a fine-grit sanding block (120-grit) on hand to address any flash rust or burrs on the tine tips.
Timing:
The cleaning window is governed by the same environmental factors that dictate planting in Hardiness Zones 4 through 9. You must clean the tool before the soil reaches its permanent wilting point on the metal surface. In low-humidity environments, this occurs within 30 minutes. In terms of the biological clock, cleaning should happen before the transition from your active labor phase to the tool's storage phase to prevent the encrustation of organic matter.
For gardeners in northern latitudes, the first hard frost marks a shift in tool maintenance intensity. As plants enter senescence and move toward dormancy, tools require a deeper cleaning and oiling to survive the winter storage period. Never leave a fork embedded in the soil overnight; the temperature differential between the soil and the air causes condensation to form in the socket where the handle meets the head, leading to rapid rot or rust.
Phases:
Sowing
The first step is the mechanical removal of bulk soil. Use a high-pressure hose to blast debris from the tines and the "D" handle. Focus on the crotch of the fork where the tines meet the bridge; this area is a primary site for fungal spore accumulation.
Pro-Tip: Removing soil immediately prevents the transfer of soil-borne pathogens like Fusarium wilt. This practice protects the mycorrhizal symbiosis in your next planting site by ensuring you do not introduce antagonistic fungi that could disrupt the phosphorus uptake of young seedlings.
Transplanting
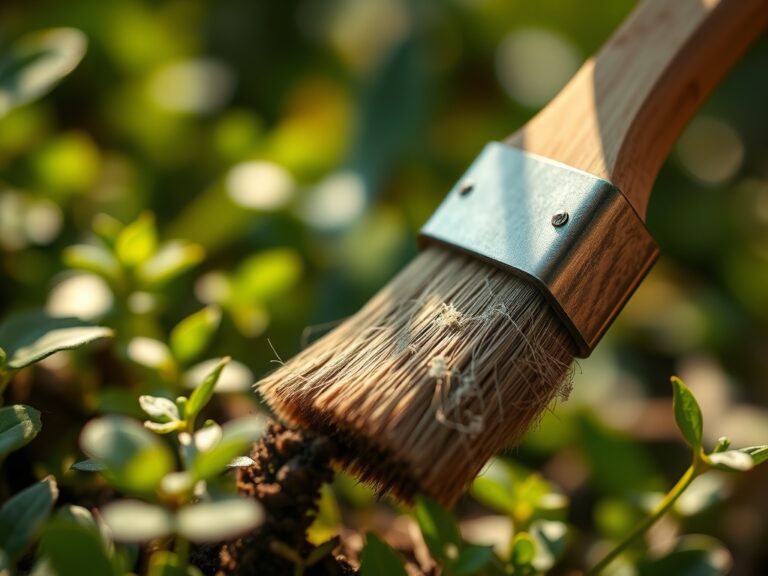
Once the bulk soil is removed, use the stiff brush to scrub the metal surfaces. If the fork was used in a bed with known heavy metal concentrations or high salinity, use a mild detergent. Dry the tool completely with a rag. Moisture trapped in microscopic pits will cause "spiderweb" oxidation patterns under the surface of the metal.
Pro-Tip: Maintaining a smooth surface on the tines reduces friction during soil entry. This minimizes the physical disruption to the rhizosphere, preventing unnecessary root trauma and maintaining the turgor pressure of nearby established plants during the transplanting process.
Establishing
The final phase involves honing and oiling. Use the sanding block to remove any rough spots on the wooden handle to prevent splinters. Dip the tines into the sand and oil bucket several times. The abrasive sand removes microscopic residues while the oil creates a hydrophobic barrier against the atmosphere.
Pro-Tip: Oiling the tool prevents the wood from desiccating and shrinking. This maintains a tight seal at the ferrule, which prevents the suppression of auxin transport in the gardener's hands by reducing the vibration and physical strain caused by a loose, wobbling tool head.
The Clinic:
Horticultural tools, like plants, exhibit "symptoms" of poor health. If you notice a dull, orange film, the symptom is ferrous oxidation. The solution is a wire brush followed by a mineral oil wipe. If the wooden handle feels brittle or shows longitudinal cracks, the symptom is desiccation. The solution is a liberal application of boiled linseed oil.
For nutrient-related issues in the garden that you may have observed while using the fork:
- Nitrogen Chlorosis: Yellowing of older leaves. Fix-It: Apply a high-nitrogen (e.g., 21-0-0) fertilizer to the base of the plant.
- Interveinal Chlorosis (Magnesium Deficiency): Yellowing between leaf veins. Fix-It: Apply Epsom salts (Magnesium Sulfate) at a rate of 1 tablespoon per foot of plant height.
- Phosphorus Deficiency: Purple tinting on the underside of leaves. Fix-It: Incorporate bone meal or rock phosphate into the root zone at a depth of 4 to 6 inches.
Maintenance:
Precision maintenance extends beyond the tool to the garden itself. Use a soil moisture meter to ensure your beds maintain a consistent moisture level. Most vegetable crops require 1.5 inches of water per week delivered at the drip line to avoid fluctuations that cause fruit cracking. When pruning becomes necessary, use bypass pruners for clean cuts that heal quickly; a hori-hori knife is the superior choice for weeding near the fork's entry points to avoid disturbing the soil structure. Store the garden fork vertically in a dry, ventilated shed to prevent moisture accumulation on the floor from affecting the metal.
The Yield:
While a garden fork is a primary tool for soil preparation, its role in the harvest of root crops is critical. For potatoes or carrots, insert the fork 8 to 10 inches away from the base of the plant to avoid piercing the tubers. Lift the soil gently to break the suction of the clay. To maintain "day-one" freshness, harvest during the cool of the morning when turgor pressure is at its peak. Post-harvest, keep the produce in a high-humidity, low-temperature environment (35-40 degrees Fahrenheit) to slow the rate of senescence and respiration.
FAQ:
How often should I oil my garden fork?
Oil the tines after every use and the wooden handle once per season. In high-humidity zones, increase handle oiling to twice per season to prevent wood rot and maintain structural integrity.
Can I use motor oil for the sand bucket?
New SAE 30 motor oil is effective, but vegetable-based oils are preferred for organic gardens. Avoid used motor oil, as it contains heavy metals and carcinogens that can contaminate the rhizosphere.
What is the best way to remove rust?
Use a wire brush or a 120-grit sanding block to remove surface oxidation. For heavy pitting, soak the metal in white vinegar for 24 hours, scrub, and neutralize with a baking soda solution.
How do I disinfect tools after working with diseased plants?
Wipe all metal and wooden surfaces with a 70 percent isopropyl alcohol solution or a 1:10 bleach-to-water ratio. This kills fungal spores and bacterial pathogens like Erwinia amylovora instantly.