6 Steps to Prepare for a Tool Organization Month
The smell of damp earth after a cold rain signals a shift in cellular activity within the rhizosphere. As turgor pressure stabilizes in the stems of perennial shrubs, the gardener must transition from active cultivation to structural maintenance. Understanding how to prepare a garden for a tool organization month requires a systematic assessment of the landscape's metabolic state. By aligning your maintenance schedule with the natural deceleration of plant growth, you ensure that equipment is serviced without compromising the timing of critical horticultural interventions.
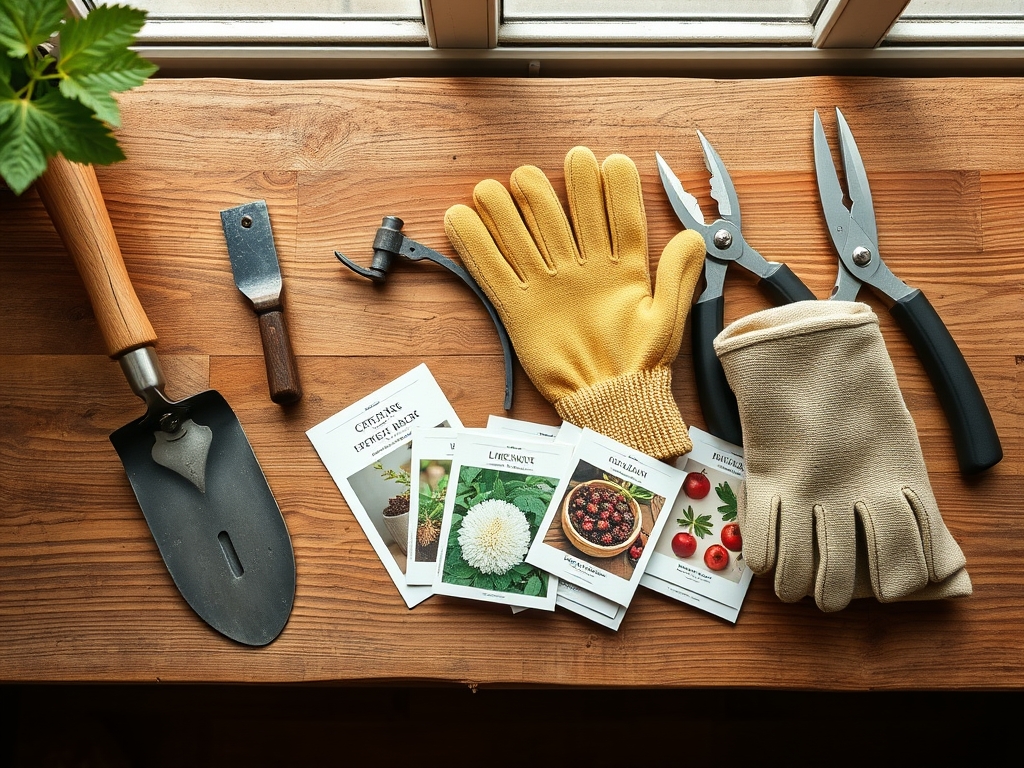
Materials:
Before transitioning to tool maintenance, the soil must be stabilized. Ideal substrate for late-season health is a **friable loam** with a Cation Exchange Capacity (CEC) between **15 and 25 meq/100g**. This texture allows for adequate pore space, facilitating gas exchange while the soil temperature drops.
For general maintenance, target a soil pH of 6.2 to 6.8. Use the following NPK ratios to prepare the vegetation for dormancy:
- Low Nitrogen (5-10-15): High potassium levels strengthen cell walls and increase cold hardiness.
- Phosphorus (0-20-0): Bone meal or superphosphate encourages root expansion without triggering new vegetative flushes.
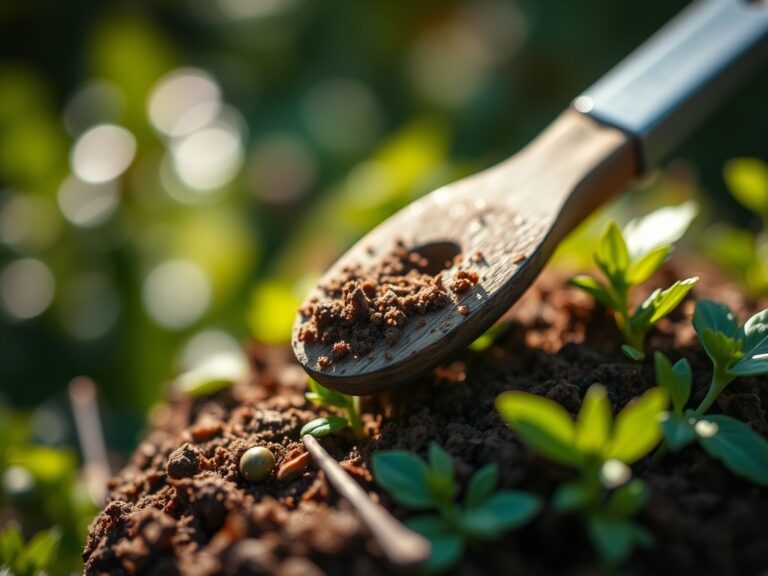
- Organic Matter: Incorporate 2 inches of well-rotted compost to maintain microbial activity during the organization month.
Timing:
The window for organizing your inventory depends on your USDA Hardiness Zone. In Zones 5 through 7, the ideal period begins two weeks after the first killing frost, typically when soil temperatures drop below 45 degrees Fahrenheit. This marks the onset of senescence, where deciduous plants withdraw chlorophyll and nutrients into their root systems.
The biological clock of the garden dictates that structural work should occur during the transition from the reproductive stage to dormancy. In Zones 8 through 10, this window is narrower; aim for the period of shortest photoperiod (late December), when auxin production is at its lowest. This ensures that any accidental root disturbance during tool storage cleanup will not trigger a growth response that could be damaged by a sudden freeze.
Phases:

Sowing and Soil Stabilization
Before clearing the shed, sow a cover crop like winter rye or crimson clover. These plants prevent erosion and fix nitrogen. Ensure the seeds are in contact with the soil at a depth of 0.5 inches to protect them from avian predation.
Pro-Tip: Cover crops utilize mycorrhizal symbiosis to maintain the fungal networks in the soil. By keeping live roots in the ground while you focus on tool maintenance, you prevent the collapse of these beneficial biological structures.
Transplanting and Root Management
Move any woody perennials that have outgrown their current site. Dig a hole twice as wide as the root ball but no deeper than the original planting depth. This prevents crown rot while allowing lateral roots to penetrate the surrounding soil.
Pro-Tip: Use a sharp hori-hori knife to prune circling roots. This stimulates auxin suppression at the tips, which triggers the plant to develop a more robust, branched root system during the winter months.
Establishing and Mulching
Apply a 3-inch layer of organic mulch around the base of all plants, keeping it 2 inches away from the trunk. This regulates soil temperature fluctuations that cause frost heaving.
Pro-Tip: Mulching preserves the thermal mass of the soil. This prevents the "freeze-thaw" cycle from snapping fine capillary roots, which are essential for nutrient uptake once the spring thaw begins.
The Clinic:
Physiological disorders often appear as the season wanes. Use this diagnostic guide to treat the garden before locking the tool shed.
- Symptom: Interveinal Chlorosis. Yellowing leaves with green veins indicate a lack of available iron or magnesium.
- Solution: Check soil pH. If pH is above 7.2, iron becomes insoluble. Lower pH with elemental sulfur at a rate of 1 pound per 100 square feet.
- Symptom: Blossom End Rot. Sunken, leathery spots on the base of fruit.
- Solution: This is a calcium transport issue caused by inconsistent moisture. Maintain a steady 1.5 inches of water per week to ensure calcium moves through the xylem.
- Symptom: Tip Burn. Browning at the edges of new growth.
- Solution: Usually indicates high salinity. Flush the soil with 3 inches of water to leach excess salts from synthetic fertilizers.
Fix-It for Nitrogen Deficiency: If older leaves are pale yellow, apply a quick-release organic nitrogen source like blood meal at a rate of 2 pounds per 100 square feet to support the final stages of the seasonal cycle.
Maintenance:
A precise irrigation schedule is vital while your tools are out of commission. Use a soil moisture meter to verify that the top 6 inches of soil remain moist but not saturated. Most woody plants require 1.5 inches of water per week delivered at the drip line, which is the outermost circumference of the canopy.
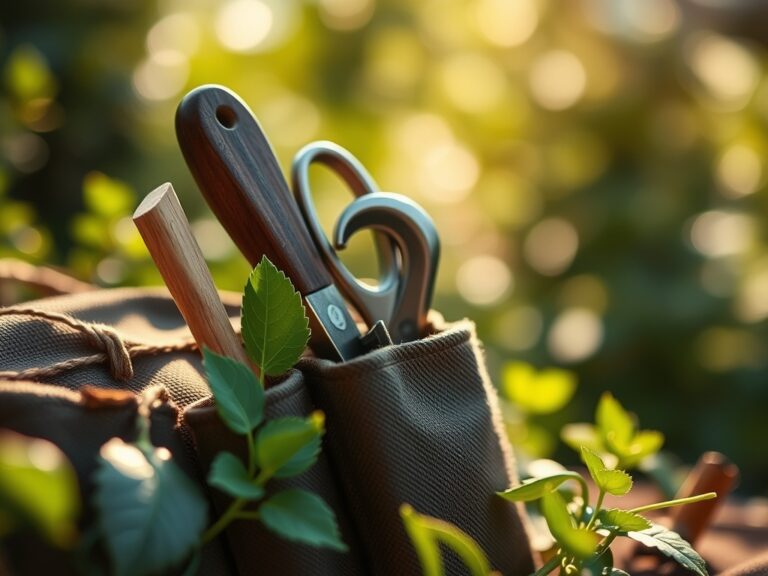
Before storing your bypass pruners, clean the blades with 70 percent isopropyl alcohol to prevent the spread of pathogens like Erwinia amylovora. Sharpen blades to a 20-degree angle using a diamond whetstone. Coat all metal surfaces with a thin layer of mineral oil to prevent oxidation during the high-humidity months of winter.
The Yield:
For late-season harvests, timing is dictated by sugar concentration. Root crops like carrots and parsnips should remain in the ground until after the first frost; this triggers the conversion of starches into sugars, a process known as cold sweetening.
Harvest leafy greens when turgor pressure is at its peak, typically before 8:00 AM. Use a sharp blade to make clean cuts, reducing the surface area for moisture loss. To maintain "day-one" freshness, hydro-cool the produce immediately by submerging it in 40-degree Fahrenheit water for 10 minutes before refrigeration. This rapidly removes field heat and slows the rate of respiration.
FAQ:
How do I clean rusted garden tools?
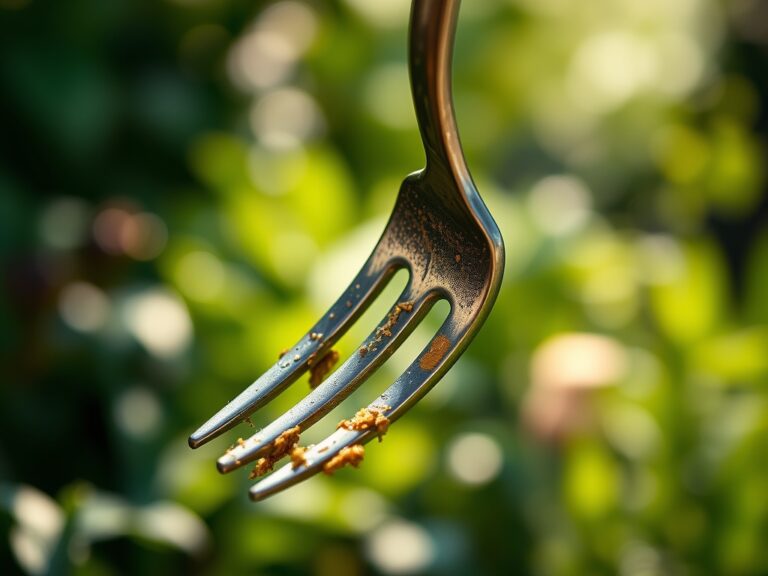
Scrub metal surfaces with a wire brush or steel wool. Soak heavily rusted areas in a 50/50 vinegar and water solution for 24 hours. Rinse, dry thoroughly, and apply a protective coat of linseed or mineral oil.
What is the best way to store a garden hose?
Drain all residual water to prevent internal ice expansion. Coil the hose in a circle at least 2 feet in diameter to avoid kinking the internal lining. Store in a temperature-controlled environment above 32 degrees Fahrenheit.
When should I sharpen my mower blades?
Sharpen blades after every 25 hours of use or at the start of the organization month. A dull blade tears grass blades rather than cutting them, increasing the plant's susceptibility to fungal infections and excessive transpiration.
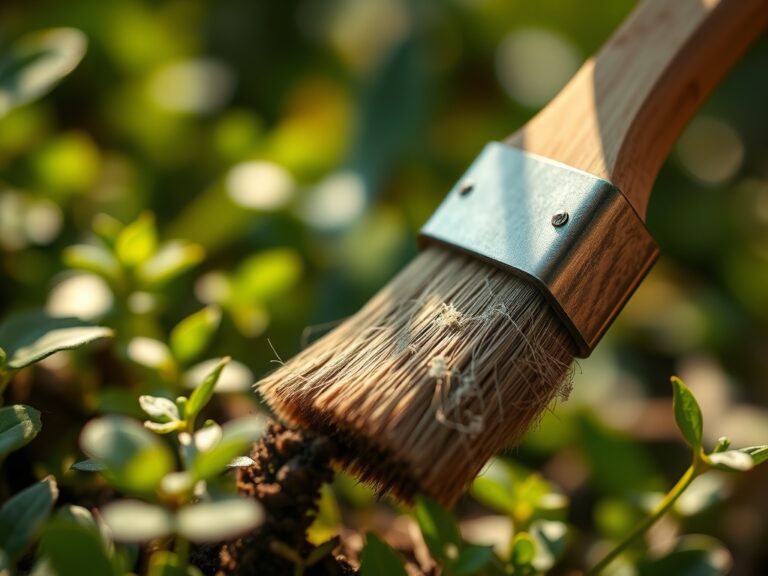
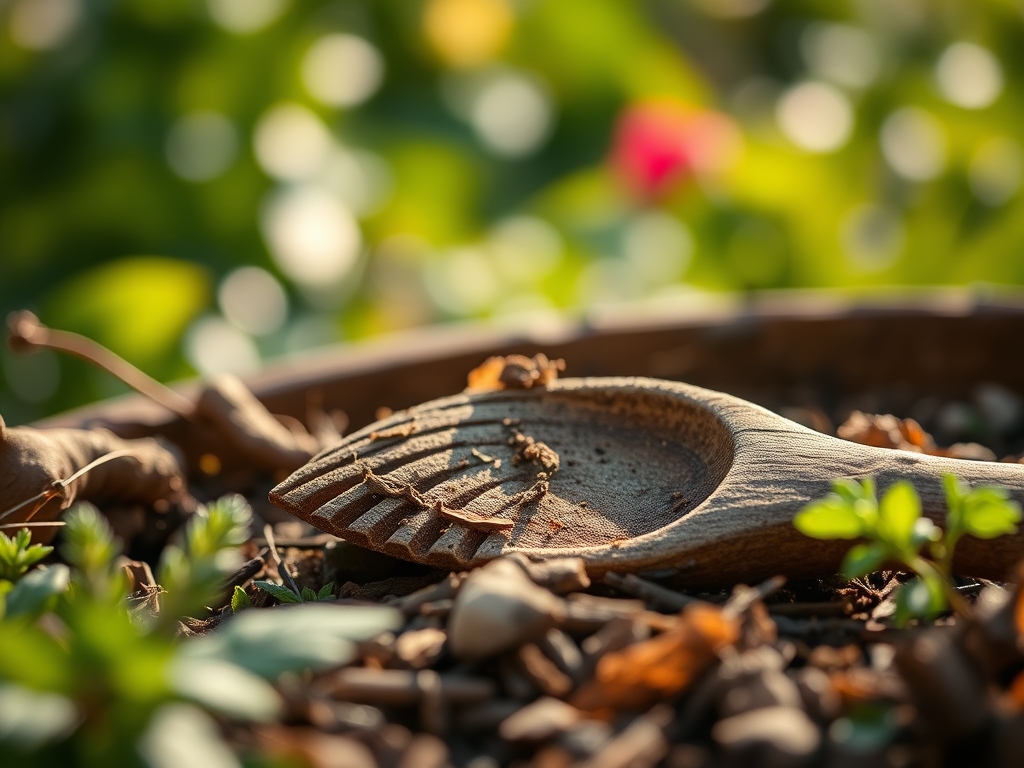
How do I prevent wooden tool handles from cracking?
Sand the wood with 120-grit sandpaper to remove splinters and old finish. Rub the handle with warm boiled linseed oil until the wood stops absorbing the liquid. Wipe away excess oil to prevent a sticky residue.