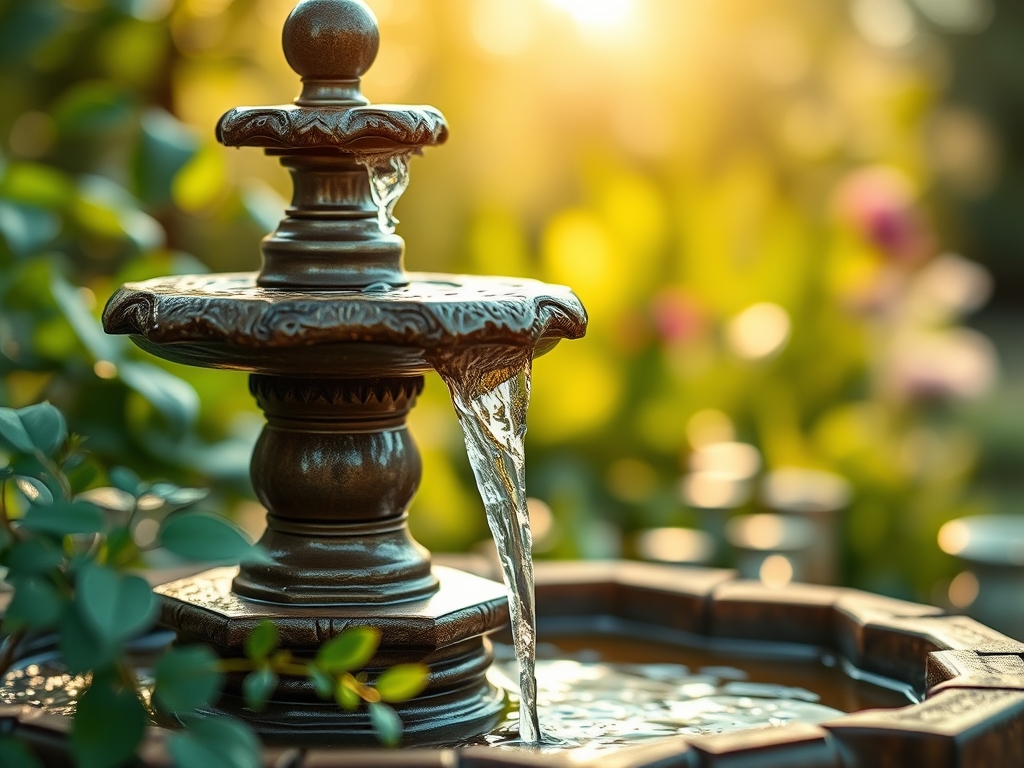
6 Steps to Install a Self-Contained Home Garden Fountain
The smell of damp earth and the tactile turgor of a healthy leaf define the success of a managed landscape. Integrating a water feature requires more than aesthetic placement; it demands an understanding of soil compaction and hydraulic stability. Following the precise steps for installing a garden fountain ensures the structure does not subside into the rhizosphere or disrupt the local moisture gradient. Proper installation anchors the feature, preventing anaerobic conditions in the surrounding substrate while providing a consistent humidity source for nearby foliage.
Materials:

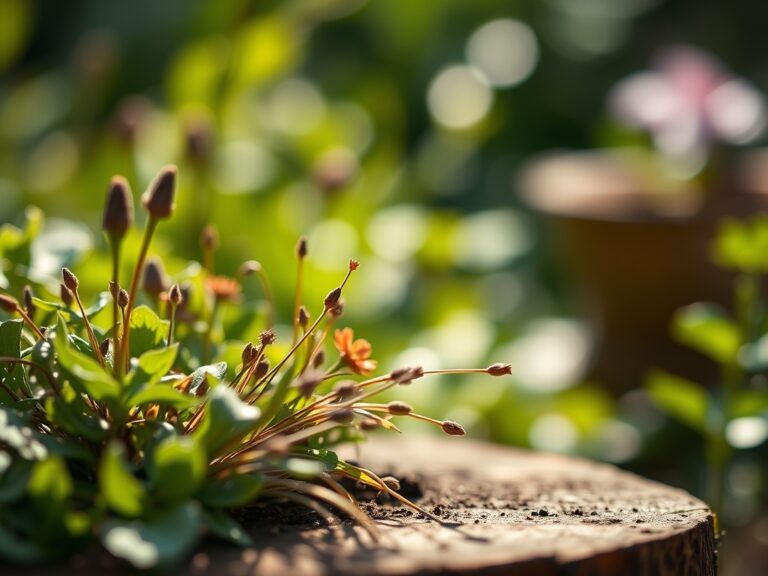
Site preparation begins with analyzing the substrate. The ideal base for a fountain is a **friable loam** with a high sand content to facilitate drainage. If the surrounding soil is intended for planting, aim for a **pH of 6.2 to 6.8**. Before installation, amend the area with a balanced **10-10-10 NPK ratio** fertilizer to support the microbial activity in the disturbed soil. The Cation Exchange Capacity (CEC) should be monitored; a **CEC above 15 meq/100g** indicates the soil can effectively hold the nutrients necessary for the vegetation bordering the water feature. Ensure you have a **heavy-duty pond liner**, a **submersible pump rated for 300-500 GPH**, and **crushed angular gravel** for the reservoir base.
Timing:
Installation must occur when the soil is workable and not saturated with ice or excess spring runoff. In Hardiness Zones 5 through 7, the ideal window is late spring, specifically 14 to 21 days after the last predicted frost. This timing aligns with the "Biological Clock" of most temperate perennials, transitioning them from dormant states to active vegetative growth. Installing during this period allows the root systems of surrounding plants to recover from any soil compaction before they reach the reproductive stage. Avoid installation during peak summer heat to prevent rapid evaporation and thermal stress on the pump motor.
Phases:

### Sowing the Foundation
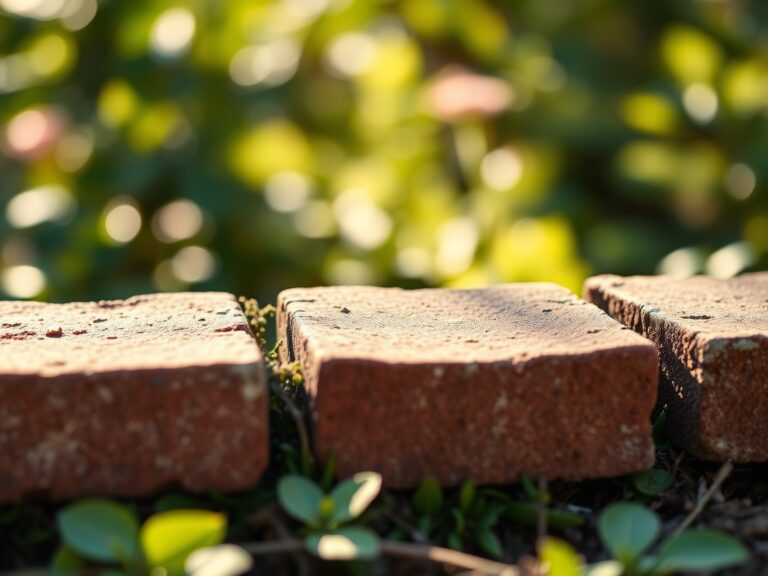
Excavate a hole **2 inches wider and deeper** than the fountain reservoir. Level the bottom using a **2-inch layer of masonry sand**. This provides a stable, non-shifting base that prevents the fountain from tilting as the soil settles. Use a spirit level to verify the horizontal plane across multiple axes.
Pro-Tip: Proper leveling prevents uneven water distribution, which can lead to localized soil saturation. If water spills over one side, it creates a "wet feet" scenario for plants, inducing root rot (Phytophthora) due to oxygen deprivation in the pore spaces.
Transplanting and Reservoir Placement
Lower the reservoir into the pit. Backfill the margins with the native friable loam, tamping down every 4 inches to eliminate air pockets. Connect the pump to the fountain head using kink-free tubing. Ensure the power cord is housed in a PVC conduit buried at least 6 inches deep to prevent accidental damage during future cultivation.
Pro-Tip: When backfilling, avoid over-compacting the soil. High bulk density restricts mycorrhizal symbiosis, the fungal relationship that allows plants to uptake phosphorus and water more efficiently through the root cortex.
Establishing the Hydrological Cycle
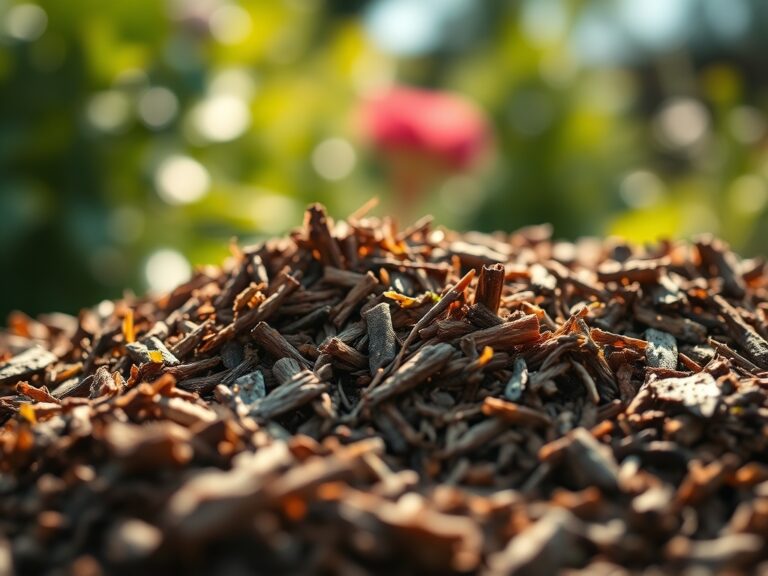
Fill the reservoir with water and activate the pump to check the flow rate. Adjust the valves to ensure the splash pattern stays within the basin. Surround the fountain with a 3-inch layer of river rock or decorative mulch. This layer acts as a vapor barrier, reducing evaporation and maintaining consistent soil moisture for the nearby flora.
Pro-Tip: The constant mist from a fountain increases local humidity, which can reduce transpiration rates in broad-leafed plants. This allows the plant to maintain higher turgor pressure during the heat of the day, preventing wilting.
The Clinic:
Physiological disorders often arise from improper water management near the fountain site. Monitor these specific symptoms:
- Nitrogen Chlorosis: Leaves turn pale yellow starting from the bottom. This occurs if leaching happens due to fountain overflow. Fix-It: Apply a high-nitrogen (20-10-10) water-soluble fertilizer to restore chlorophyll production.
- Edema: Small bumps or blisters on the underside of leaves. This is caused by the plant taking up more water than it can transpire in high-humidity zones. Fix-It: Improve airflow by pruning surrounding vegetation with bypass pruners.
- Iron Deficiency: Interveinal yellowing on new growth. High pH from concrete fountain leaching can lock out iron. Fix-It: Apply chelated iron to the soil and monitor pH levels to ensure they stay below 7.0.
- Algal Bloom: Green or brown slime in the fountain water. This is caused by high phosphate levels and sunlight. Fix-It: Use a UV clarifier or barley straw extract to inhibit algal cell division without harming nearby plants.
Maintenance:
Precision maintenance is the difference between a functional feature and a stagnant pit. Use a soil moisture meter twice weekly to ensure the surrounding soil maintains a moisture level of 25% to 35%. Most perennials in the splash zone require 1.5 inches of water per week at the drip line. Use a hori-hori knife to remove invasive weeds that thrive in the moist microclimate before they establish deep taproots. Every autumn, drain the reservoir and pump to prevent ice expansion from cracking the housing. Clean the pump filter monthly to remove organic debris that could cause mechanical failure or anaerobic odors.
The Yield:
If the fountain is surrounded by aquatic plants like Water Calla or Pickerel Weed, harvest spent blooms to prevent senescence from draining the plant's energy. Use sharp bypass pruners to cut stems at a 45-degree angle just above the water line. For "day-one" freshness in floral arrangements, immediately submerge the cut ends in 70-degree Fahrenheit water to maintain the vascular flow within the xylem. This prevents air embolisms from blocking nutrient transport.
FAQ:
How deep should I dig for a garden fountain?
Dig the hole 2 to 4 inches deeper than the reservoir height. This allows for a leveling layer of sand and gravel, ensuring the feature remains stable and does not subside during heavy rain or soil shifting.
What is the best soil for surrounding a fountain?
Use a friable loam with a pH of 6.5. This texture ensures adequate drainage, preventing waterlogged soil and root rot. High organic matter content supports the microbial life necessary for plant health in high-moisture zones.
How do I prevent the pump from clogging?
Clean the pump pre-filter every 30 days. Remove accumulated organic matter and mineral deposits. Using distilled water or a de-scaler can prevent calcium carbonate buildup, which restricts water flow and increases mechanical strain on the motor.
Can I run my fountain during the winter?
In regions where temperatures drop below 32 degrees Fahrenheit, you must decommission the fountain. Ice expansion can rupture the pump housing and the basin. Drain all lines and store the pump in a frost-free location.
How much water does a fountain lose to evaporation?
A standard fountain can lose 1% to 3% of its volume daily depending on wind and humidity. Monitor water levels every 48 hours to ensure the pump remains fully submerged, preventing cavitation and motor burnout.