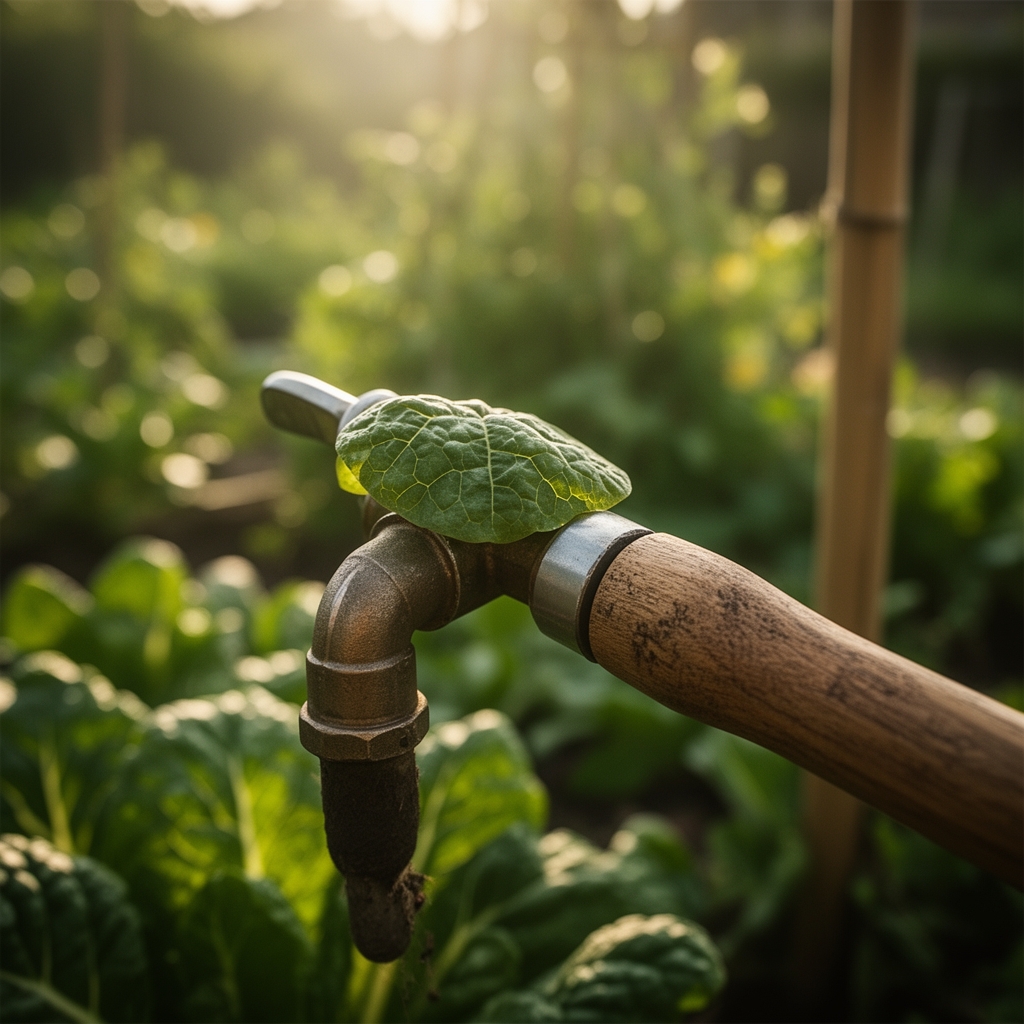
6 Irrigation Steps to Install an Outdoor Tap for Vegetables
Installing a dedicated water source transforms vegetable gardening from a daily hauling ritual into efficient irrigation. The steps for installing a vegetable garden tap eliminate the need for dragging hoses across lawns or filling watering cans at distant spigots. A properly positioned outdoor tap delivers water at 40-60 PSI directly to raised beds, drip lines, and soaker systems. This installation requires basic plumbing knowledge, local code compliance, and careful attention to frost-depth requirements in cold climates.
Materials
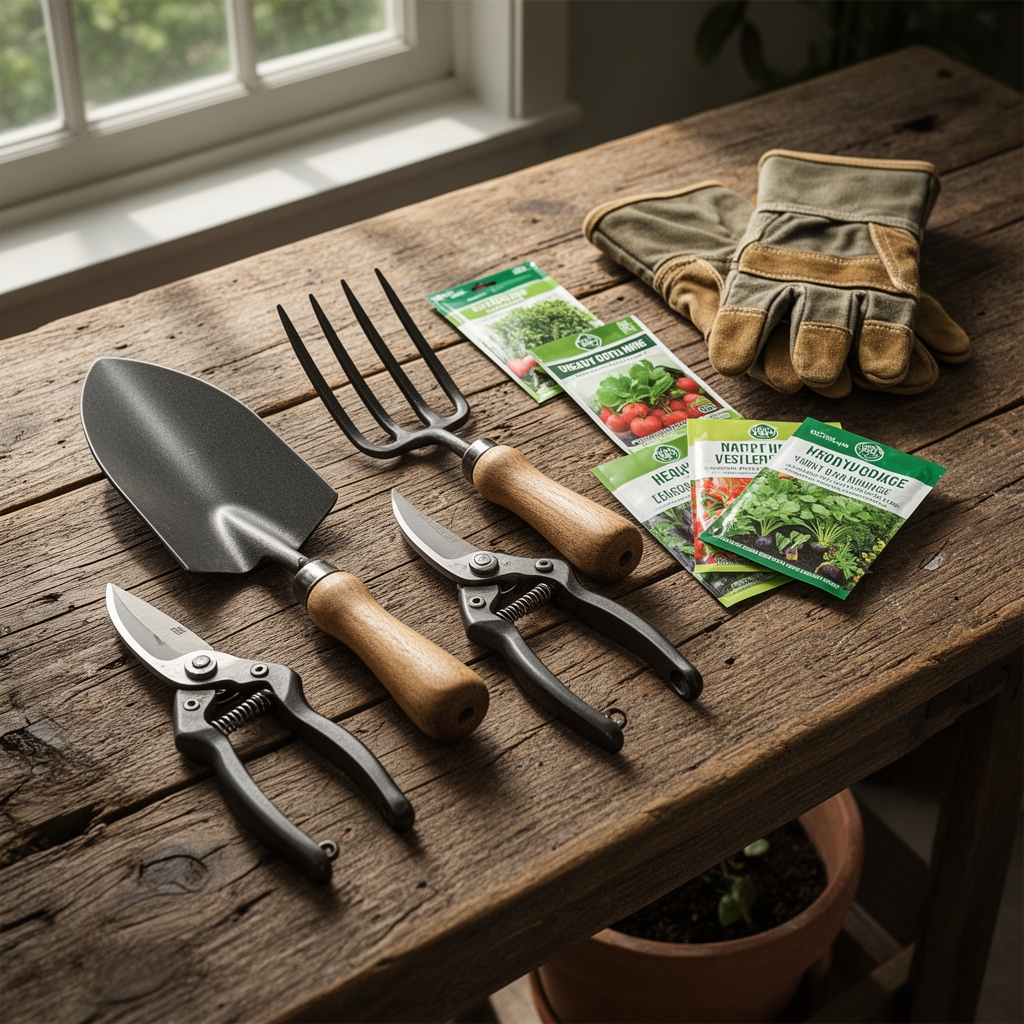
The primary components include frost-proof sillcock (12-inch or 18-inch stem length), 3/4-inch copper or PEX supply line, pipe fittings (tees, elbows, couplings), pipe cutter or hacksaw, propane torch and solder for copper (or crimp rings for PEX), Teflon tape, adjustable wrench set, trenching shovel, and gravel for drainage around the valve body.
Frost-proof sillcocks feature a valve seat positioned 12 to 18 inches inside the foundation wall where temperatures remain above freezing. The stem slopes downward at 1/4 inch per foot to allow complete drainage when shut off. Select a model with a vacuum breaker to prevent backflow contamination of household water supplies.
PEX tubing (cross-linked polyethylene) resists freeze damage better than rigid copper. It expands slightly when ice forms and contracts without rupturing. Copper provides longer service life (50+ years versus 25-40 for PEX) but requires soldering skills and becomes brittle in repeated freeze-thaw cycles.
Local building codes dictate minimum burial depth. In USDA Zones 3-5, bury supply lines 36-48 inches deep. Zones 6-7 require 24-30 inches. Zones 8-10 need only 12-18 inches. Verify requirements with municipal building departments before excavation.
Timing
Schedule installation during periods when soil temperatures remain above 45°F and ground moisture is moderate. Spring installation (April-May in Zones 5-7) allows immediate use for seedling establishment. Fall installation (September-October) takes advantage of contractor availability but requires winterization before first frost.
Avoid saturated soil conditions. Clay soils with high cation exchange capacity become unworkable when wet and form hardpan layers when trenched improperly. Sandy loam offers ideal digging conditions and superior drainage around valve assemblies.
Coordinate with irrigation system installation. If planning drip tape or micro-sprinkler networks, position the tap to minimize lateral line runs. Each 100 feet of 1/2-inch distribution line reduces pressure by approximately 5 PSI at 2 gallons per minute flow.
Phases

Locating the Tie-In Point
Identify an existing cold water supply line inside the basement or crawl space. Main supply lines typically run 3/4-inch or 1-inch diameter. Avoid tying into hot water lines or lines serving critical fixtures. The optimal location places the new tap within 20 feet of primary growing beds while maintaining required setbacks from property lines (typically 5-10 feet).
Mark the exterior wall position. Drill a 1-inch pilot hole from inside to outside at a slight downward angle. This pilot hole guides final boring and ensures the sillcock sleeve will slope correctly for drainage.
Pro-Tip: Use a magnetic stud finder to locate wall studs and a pipe locator to map existing plumbing before drilling. Hitting a concealed drain line or electrical conduit transforms a simple project into expensive remediation.
Trenching and Pipe Installation
Excavate a trench from the foundation to the garden area. Maintain consistent depth below frost line. Remove rocks, roots, and debris that could stress pipe joints. Create a 4-inch gravel bed at trench bottom for drainage and to prevent settling.
Cut into the existing supply line using a pipe cutter for clean, square edges. Install a tee fitting using appropriate connection method (solder for copper, crimp rings for PEX). Run new supply line through the foundation wall via the pilot hole, sealing exterior penetration with hydraulic cement or polyurethane caulk rated for below-grade applications.
Connect the frost-proof sillcock to the supply line inside the wall cavity. The valve body must angle downward toward the exterior. Secure mounting flange to exterior sheathing or siding with corrosion-resistant screws. Test connections at full pressure before backfilling.
Pro-Tip: Install a separate shut-off valve on the interior supply line. This allows complete system drainage for winter and isolates the garden tap for repairs without shutting down household water.
Backfilling and Testing
Replace soil in 6-inch lifts, tamping each layer to 85-90% compaction. Loose backfill settles over time and creates surface depressions that channel water toward foundations. Mix excavated clay with 30% coarse sand to improve drainage and reduce frost heave potential.
Open the garden tap and interior shut-off valve. Inspect all joints for leaks at full pressure (typically 50-70 PSI in residential systems). Check the exterior mounting point for water seepage around the foundation penetration. Allow water to run for 5 minutes to flush installation debris from lines.
Pro-Tip: Install a pressure regulator (set to 40 PSI) between the tap and drip irrigation systems. Vegetables irrigated with drip tape perform best at low, consistent pressure. Excess pressure causes emitter blowouts and uneven water distribution that mimics drought stress patterns.
Troubleshooting
Symptom: Water continues dripping from spout after shut-off.
Solution: Frost-proof sillcock washers wear over time. Disassemble the packing nut at the handle, replace the rubber washer with an exact-match replacement, and reassemble. If dripping persists, the valve seat inside the wall cavity has corroded and requires complete sillcock replacement.
Symptom: Reduced water pressure at garden tap compared to other outdoor faucets.
Solution: Sediment accumulation restricts flow in horizontal pipe runs. Install a 200-mesh inline filter at the tap connection point. Flush the filter monthly during peak growing season. If pressure remains low, the supply line diameter may be undersized. A 1/2-inch line delivers maximum 4 GPM; upgrade to 3/4-inch for flow rates exceeding 6 GPM.
Symptom: Pipe rupture during first winter after installation.
Solution: Incomplete drainage allowed water to freeze in the valve body. Verify the sillcock slopes continuously downward from valve seat to spout at minimum 1/4 inch per foot. Remove any sags or upward bends in the stem. Close the tap and open the interior shut-off valve before each freeze event to allow complete drainage.
Symptom: Water seepage around foundation penetration.
Solution: Hydraulic cement or caulk failed due to foundation movement or improper application. Excavate soil around penetration to 6 inches depth. Clean all debris from the annular gap. Pack with hydraulic cement mixed to thick paste consistency. Feather edges to direct water away from the opening. Allow 48-hour cure time before backfilling.
Maintenance
Drain the system before first frost in Zones 3-7. Close the interior shut-off valve, open the garden tap, and allow complete drainage. Leave the tap open through winter to prevent pressure buildup from any residual ice formation. This protocol prevents valve body rupture and extends sillcock service life to 20+ years.
Flush lines monthly during growing season. Open the tap fully and allow water to run for 2-3 minutes. This removes mineral deposits, biofilm buildup, and sediment that reduce flow rates and create zones of low dissolved oxygen.
Apply 1 inch of water per week to established vegetable crops during active growth. Sandy soils require 0.5-inch applications every 3-4 days. Clay soils with higher water-holding capacity need 1-inch applications every 7 days. Monitor soil moisture at 4-6 inch depth using a tension meter or simple probe test.
Inspect mounting screws and flange seal annually. Thermal expansion cycles loosen fasteners and degrade caulk. Retighten screws to snug fit without overtightening (which cracks mounting flanges). Reapply exterior-grade caulk if gaps exceed 1/16 inch.
Test backflow preventer function each spring. Close the tap and attach a hose under pressure. The vacuum breaker should vent air and prevent reverse flow. Replace breaker assemblies every 5 years or when venting becomes sluggish.
FAQ
How deep should I bury the supply line?
Burial depth depends on USDA Hardiness Zone and local frost penetration. Zones 3-5 require 36-48 inches, Zones 6-7 need 24-30 inches, and Zones 8-10 require 12-18 inches minimum. Verify local code requirements before excavation.
Can I install a garden tap on an existing hose bib?
No. Standard hose bibs lack the frost-proof valve configuration needed for year-round installation. The valve seat sits at the exterior wall where freezing occurs. Use only frost-proof sillcocks with valve seats positioned inside conditioned space.
What pipe material works best for garden tap installations?
PEX tubing offers freeze resistance and ease of installation without special tools beyond crimp rings. Copper provides superior longevity (50+ years) but requires soldering skills and becomes brittle in repeated freeze-thaw cycles. Both materials meet code requirements when installed properly.
How do I prevent backflow into household water supplies?
Install a frost-proof sillcock with integral vacuum breaker. This device vents air into the line when pressure drops, preventing contaminated water or fertilizer solution from siphoning back into potable water systems. Test breaker function annually.
Should I insulate the supply line in cold climates?
Insulation provides minimal protection compared to proper burial depth below frost line. Focus effort on correct slope (1/4 inch per foot downward), complete drainage protocols, and frost-proof valve selection. Insulation degrades over time and traps moisture against pipes, accelerating corrosion in metal systems.