7 Weatherproof Steps to Build a Vegetable Tool Storage Box
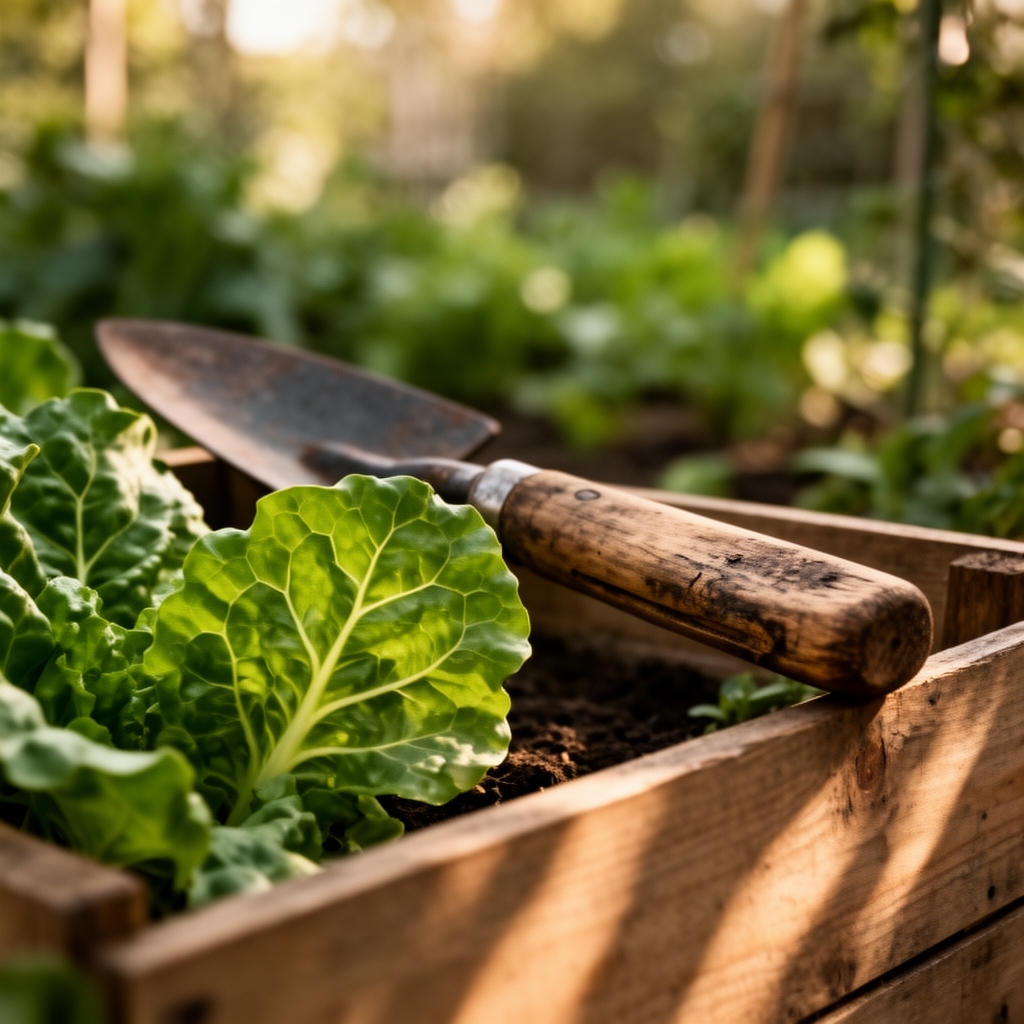
The morning dew beads on your spade handle, reminding you that good tools deserve protection from the elements. Rust, rot, and weather damage claim more garden implements than overuse. A dedicated storage box keeps trowels sharp, pruners dry, and organic fertilizer bags sealed from moisture. These steps for building a vegetable garden storage box transform raw lumber into a weatherproof vault that will outlast your current tool collection and serve your garden for decades.
Materials
Select pressure-treated lumber rated for ground contact, specifically boards with a minimum retention level of 0.40 PCF (pounds per cubic foot). Cedar and redwood offer natural rot resistance through thujaplicin compounds, eliminating the need for chemical treatment. For the box frame, acquire four 2×4 boards at 48 inches and four at 24 inches. The lid requires one sheet of 3/4-inch exterior-grade plywood cut to 50×26 inches.
Hardware includes thirty 3-inch galvanized deck screws, two stainless-steel hinges rated for 50 pounds each, and one hasp latch with pad-eye. Exterior wood sealant should contain UV inhibitors and fungicides, applied at a rate of 350-400 square feet per gallon. The substrate beneath the box benefits from a 2-inch layer of crushed gravel (granite or limestone, pH 7.0-8.0) to improve drainage and prevent moisture wicking.
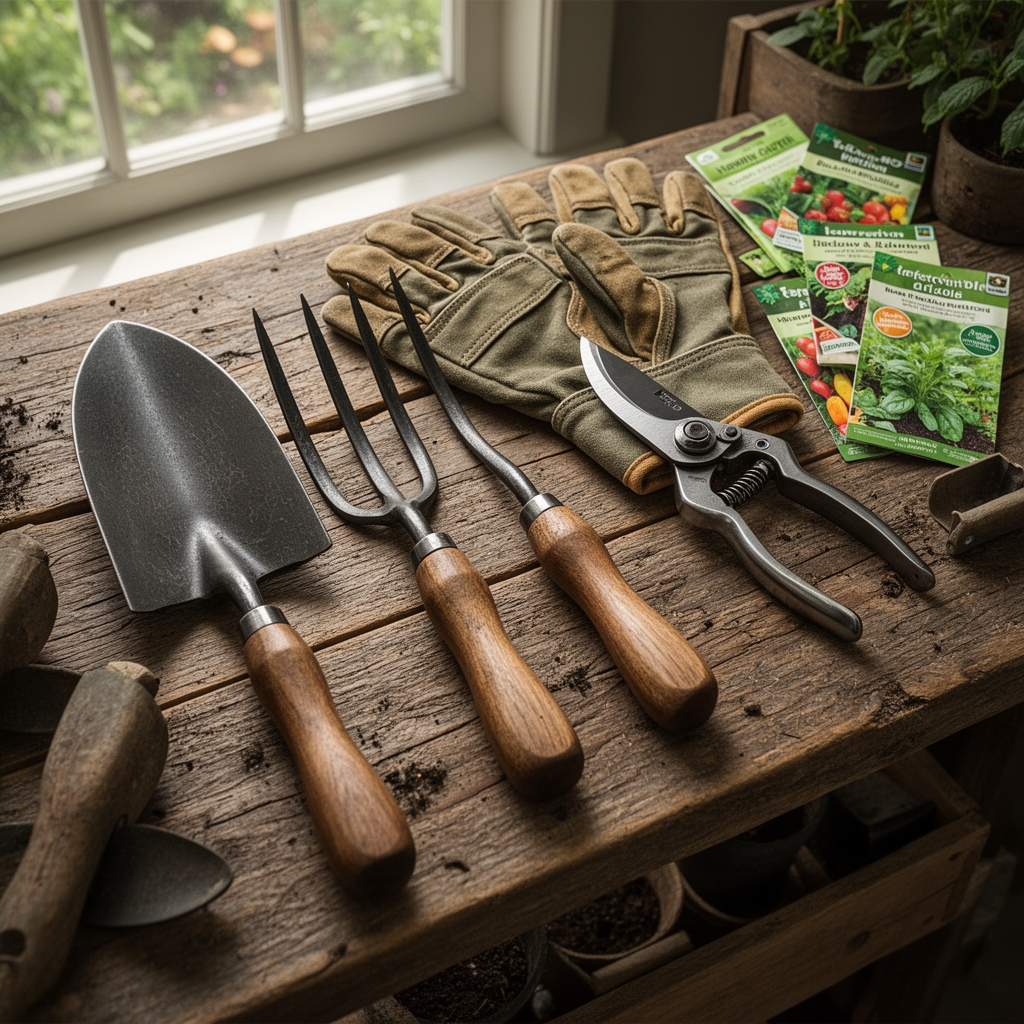
For tool organization inside, install hooks made from 1/4-inch steel rod. Consider adding a shallow tray filled with silica gel desiccant packets or a layer of diatomaceous earth to maintain relative humidity below 60 percent. This prevents rust formation on carbon steel implements.
Timing
Construct your storage box during USDA Hardiness Zone-appropriate weather windows when temperatures remain above 50°F for at least 72 hours. This ensures proper curing of wood sealant and adhesives. In Zones 3-5, optimal building occurs from May 15 through September 15. Zones 6-7 extend this window from April 15 to October 15. Zones 8-10 allow year-round construction, though avoid periods of excessive humidity above 80 percent.
Allow 14 days after sealing before exposing the box to heavy rainfall. The cation exchange capacity of untreated wood increases dramatically when wet, leading to accelerated degradation. Plan construction to coincide with your garden's dormant season when tools see lighter rotation and temporary storage alternatives are easier to manage.
Phases

Foundation Phase: Excavate a 52x28x4-inch rectangle. Level the base using a builder's level, ensuring less than 1/4-inch deviation across the diagonal. Install landscape fabric with a minimum 3-ounce weight. Add crushed gravel and compact to 95 percent maximum dry density using a hand tamper.
Pro-Tip: Slope the gravel bed 1/4 inch from back to front. This mimics the natural auxin distribution in plant stems, directing water away from the box's rear wall where hinges and structural joints concentrate.
Assembly Phase: Construct the base frame by connecting the 48-inch boards with 24-inch cross-members at each corner using two deck screws per joint. Pre-drill pilot holes 1/16 inch smaller than screw diameter to prevent splitting. Stand the four corner posts (2x4s cut to 24 inches) vertically and attach the upper frame.
Attach the plywood bottom using screws every 8 inches around the perimeter. Install vertical side panels cut from 1×6 tongue-and-groove boards, staggering joints for structural integrity. Leave 1/4-inch gaps between boards to allow airflow, preventing anaerobic conditions that favor white-rot fungi.
Pro-Tip: Apply wood sealant to cut ends immediately after sawing. Exposed end grain exhibits 200-300 times greater moisture absorption than face grain due to open xylem vessels.
Finishing Phase: Attach hinges 6 inches from each end of the lid. Install the hasp latch centered on the front edge. Apply three coats of exterior sealant, sanding with 220-grit paper between coats. The final coat should cure for 7 days minimum.
Pro-Tip: Angle the lid at 15 degrees by attaching a rear cleat 2 inches taller than the front. This pitch sheds precipitation and increases solar heating inside, reducing condensation by 40 percent.
Troubleshooting
Symptom: White crystalline deposits on hardware. Solution: This efflorescence indicates galvanic corrosion from dissimilar metals. Replace steel screws near aluminum or copper components with stainless-steel equivalents.
Symptom: Warped lid failing to close flush. Solution: Wood movement perpendicular to grain can exceed 8 percent with moisture changes. Install a central support brace running lengthwise beneath the plywood.
Symptom: Interior mold growth on stored fabric bags. Solution: Relative humidity exceeds 70 percent. Add four 1-inch ventilation holes near the top of opposing walls, covering with rust-proof mesh to exclude insects.
Symptom: Base boards separating from frame. Solution: Insufficient fastener penetration in pressure-treated lumber. Replace with screws 1/2 inch longer, ensuring 1.5-inch minimum thread engagement.
Symptom: Carpenter ant galleries in untreated cedar. Solution: Apply borate wood preservative (disodium octaborate tetrahydrate) at 2-pound per gallon concentration. Reapply annually.
Maintenance
Inspect all hardware quarterly. Tighten screws that have backed out more than 1/8 inch. Reapply sealant to high-wear areas (lid edges, corners) annually in spring before the last frost date. Clean interior surfaces twice yearly with a solution of 1 tablespoon hydrogen peroxide per quart water to suppress microbial growth without leaving toxic residues.
Check gravel drainage layer after heavy rainfall exceeding 2 inches. If standing water persists beyond 4 hours, excavate and add 1-2 inches additional gravel. Replace desiccant materials when they change color per manufacturer indicators, typically every 6-8 months in humid climates.
Sand and refinish the exterior every 3-4 years or when water no longer beads on the surface. This indicates the hydrophobic barrier has degraded below effective levels.
FAQ
How deep should I bury the base? The bottom sits on gravel, not buried. Soil contact accelerates rot even in treated lumber through increased moisture and microbial action.
Can I use interior-grade plywood? No. Interior plywood delaminates when the phenol-formaldehyde adhesive degrades from UV exposure and moisture cycling.
What spacing prevents wood expansion damage? Leave 1/4-inch gaps between all boards running parallel to grain direction. Cross-grain movement requires no gaps in structural members.
How long until the box is fully waterproof? After the final sealant coat cures for 14 days. Test by sprinkling water on the surface. Complete beading indicates readiness.
Should I line the interior with plastic? No. Impermeable liners trap condensation between wood and barrier, creating ideal conditions for decay fungi. Breathable construction outperforms sealed designs.