8 Steps to Sharpen a Digging Spade with a Bench Stone
Damp earth releases a distinct Geosmin scent when a clean edge slices through the rhizosphere. A dull blade does not cut; it crushes plant tissue and disrupts the capillary action of the soil. This mechanical resistance increases physical exertion and damages the delicate mycorrhizal networks essential for nutrient uptake. Mastering the steps for sharpening a garden spade with a stone ensures the tool maintains a 45 degree bevel. This angle is critical for penetrating heavy clay or compacted silt without deforming the steel. Precision in the tool edge mirrors precision in the field. A sharp spade allows for clean root pruning during transplanting, which minimizes the risk of pathogen entry through jagged wounds. By maintaining your equipment, you preserve the structural integrity of the soil profile and the vascular health of your specimens.
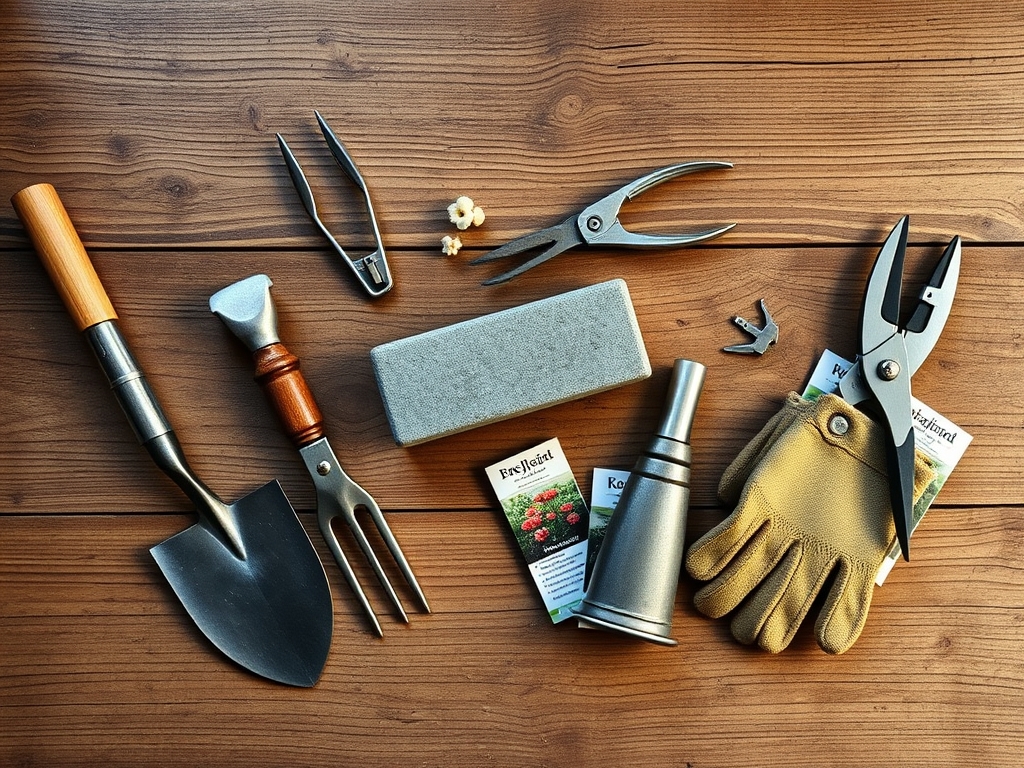
Materials:
Before addressing the steel, the horticultural environment must be optimized. Soil productivity depends on a **Cation Exchange Capacity (CEC)** between **15 and 25 meq/100g**. For high-demand crops, target an **NPK ratio of 10-10-10** in friable loam. This substrate should feel granular, consisting of roughly **40% sand, 40% silt, and 20% clay**. If the soil pH falls below **6.0**, apply calcitic lime to prevent aluminum toxicity. If pH exceeds **7.5**, incorporate elemental sulfur to increase the availability of micronutrients like iron and manganese. Sharp tools are the only way to navigate this dense, mineral-rich matrix without destroying the soil’s pore space, which must remain at **50%** to allow for gas exchange and water retention.
Timing:
Sharpening should occur during the dormant season, typically between Hardiness Zones 4 and 8 after the first killing frost. In these zones, the "Biological Clock" of the plant shifts from active vegetative growth to senescence. The transition is triggered by a shortening photoperiod and soil temperatures dropping below 45 degrees Fahrenheit. Attempting major soil disruption or transplanting during the reproductive stage (flowering) redirects energy away from root establishment, causing a drop in turgor pressure. Use the late winter window to prepare tools so they are ready for the spring thaw, precisely when the soil moisture content is at field capacity.
Phases:
Sowing and Preparation
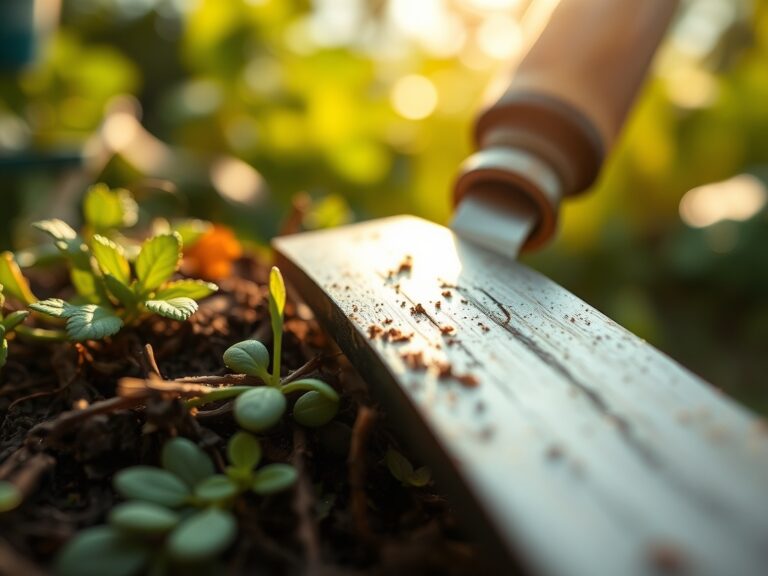
Clean the spade of all oxidized metal and dried organic matter. Use a wire brush to expose the raw steel. Secure the spade in a vise with the blade facing upward. Apply a thin layer of honing oil to a medium-grit bench stone.
Pro-Tip: Clean blades prevent the transfer of soil-borne pathogens like Fusarium oxysporum. A sterile edge protects the rhizosphere, the narrow region of soil influenced by root secretions and beneficial microbes.
Transplanting and Angling
Hold the bench stone at a 45-degree angle against the factory bevel of the spade. Use long, rhythmic strokes away from your body. Maintain consistent pressure to ensure even metal removal across the entire leading edge.
Pro-Tip: A precise edge allows for clean cuts that stimulate auxin suppression in the root tips. This hormonal shift encourages lateral root branching, which increases the surface area for water absorption.
Establishing the Edge
Flip the spade over to remove the "burr" or wire edge. Lay the stone flat against the back of the blade and lighty stroke once. The goal is a functional edge, not a razor edge, to prevent chipping when hitting stones.
Pro-Tip: Minimizing root trauma during establishment prevents transplant shock. Smooth cuts allow the plant to maintain higher turgor pressure, ensuring the stomata remain open for photosynthesis.
The Clinic:
Physiological disorders often stem from poor tool maintenance or soil imbalances.
- Symptom: Ragged root ends and slow recovery after transplanting.
Solution: Sharpen the spade to a 30-45 degree bevel. Jagged tears invite Pythium root rot. - Symptom: Interveinal chlorosis (yellowing leaves with green veins).
Solution: This indicates a Magnesium deficiency. Apply Epsom salts (magnesium sulfate) at a rate of 1 tablespoon per foot of plant height. - Symptom: Stunted growth and purple tint on lower leaves.
Solution: This is a Phosphorus deficiency, often caused by cold soil (below 55 degrees) or low pH. Incorporate bone meal to boost P levels. - Fix-It for Nitrogen Chlorosis: If older leaves turn uniform pale yellow, the plant lacks Nitrogen. Apply a high-N fertilizer like blood meal (12-0-0) to restore chlorophyll production.
Maintenance:
Post-sharpening, coat the steel in a light layer of linseed oil to prevent oxidation. In the field, monitor soil conditions with a soil moisture meter. Most woody perennials require 1.5 inches of water per week delivered at the drip line to maintain cellular hydration. Use a hori-hori knife for precise weeding in tight spaces and bypass pruners for clean vascular cuts on stems. Avoid anvil pruners, which crush the xylem and phloem. Check the spade edge every 10 hours of use in abrasive, sandy soils to ensure the bevel has not rounded off.
The Yield:
For edible crops, harvest when the plant reaches peak metabolic maturity. For leafy greens, this is often before the "bolting" phase when the plant shifts to seed production. Use your sharpened spade to lift root crops like carrots or parsnips by inserting the blade 6 inches from the crown to avoid mechanical bruising. To maintain "day-one" freshness, hydro-cool the produce immediately by submerging it in 40-degree Fahrenheit water to remove field heat and slow the rate of respiration.
FAQ:
What is the best angle for a garden spade?
A 45-degree angle is the industrial standard. It provides a balance between a sharp cutting edge for roots and a durable thickness that will not chip when striking rocks or high-density clay.
How often should I use a bench stone?
Sharpen your spade every 50 hours of use or at the start of every planting season. In sandy soils with high quartz content, the abrasive nature of the soil may require more frequent honing.
Can I use a file instead of a stone?
A mill file is acceptable for removing large nicks, but a bench stone provides a refined finish. The stone aligns the metal microscopic fibers, creating a smoother slice through the soil and organic matter.
Why does my spade rust after sharpening?
Sharpening exposes raw, unprotected carbon steel to oxygen and moisture. Always apply a thin film of mineral oil or linseed oil to the blade after sharpening to create a hydrophobic barrier against oxidation.