8 Custom Steps to Build a Wooden Vegetable Planter Box
The scent of fresh-cut cedar mixing with garden soil marks the beginning of every serious growing season. Constructing a raised wooden planter transforms difficult ground into controlled fertility where root systems thrive in custom-blended media. Following precise steps for building a vegetable garden planter ensures proper drainage, thermal mass, and soil structure that conventional in-ground beds cannot match. The difference between amateur and professional results lies in joinery techniques, wood selection based on rot resistance, and understanding how container geometry affects mycorrhizal colonization rates.
Materials and Soil Components
Select untreated cedar or redwood boards measuring 2 inches by 10 inches for sidewalls. Avoid pressure-treated lumber containing copper azole or chromated arsenate, which leach into edible crops. Cedar naturally resists Serpula lacrymans and other wood-decay fungi for 15 to 20 years without chemical preservatives.
Galvanized deck screws (3-inch length, #10 gauge) provide structural integrity superior to nails, which withdraw under seasonal expansion cycles. Use corner braces fabricated from 2-inch by 4-inch stock, creating lap joints that distribute lateral soil pressure across 32 square inches rather than concentrating force at single points.
For the growing medium, blend 40 percent aged compost (pH 6.8 to 7.2), 30 percent peat moss or coir (acidifying buffer), 20 percent perlite (particle size 3 to 5 mm for aeration), and 10 percent worm castings. Amend with alfalfa meal at 4-4-4 NPK ratio, applying 2 cups per cubic foot. This provides slow-release nitrogen through mineralization over 90 days. Add rock phosphate (0-3-0) at 1 cup per cubic foot to buffer phosphorus availability. Incorporate mycorrhizal inoculant containing Glomus intraradices at manufacturer-specified rates, typically 1 ounce per 10 gallons of soil.
Test final media pH using a calibrated meter. Target range for vegetables spans 6.2 to 6.8, optimizing cation exchange capacity for calcium and magnesium uptake.
Timing and Hardiness Considerations
Build planters 4 to 6 weeks before the last projected frost date for your hardiness zone. In Zone 5, this falls between April 15 and May 10. Zone 7 gardeners can construct boxes by March 20. The thermal mass of wooden walls moderates soil temperature fluctuations by 4 to 7 degrees Fahrenheit compared to ambient air, advancing transplant dates by 10 to 14 days.
Allow new cedar to weather for 14 days before filling with soil. Fresh-cut wood releases allelopathic compounds, primarily thujone, which inhibits germination in Brassicaceae family crops at concentrations above 12 ppm. Rain and UV exposure degrade these volatiles to harmless levels.
Construction and Planting Phases
Step 1: Cut Components
Mill sidewalls to 8-foot lengths for rectangular planters yielding 32 square feet of growing area. Cut end pieces to 4 feet. Precision matters. Variations exceeding 1/8 inch create gaps where soil escapes and moisture distributes unevenly.
Step 2: Assemble Frame
Predrill pilot holes 3/4 inch from board ends to prevent splitting. Drive screws at 45-degree angles through end boards into sidewall edges. Install corner braces on interior faces, positioning screws in offset patterns to avoid splitting attachment points.
Step 3: Install Drainage
Drill 3/4-inch drainage holes every 12 inches along the bottom perimeter. Line the base with landscape fabric (permeable rating 15 gallons per square foot per minute) to prevent substrate loss while maintaining water egress.
Step 4: Position and Level
Place the completed box on compacted gravel or pavers. Use a 48-inch spirit level to verify planar accuracy. Slopes exceeding 1 degree concentrate water at lower corners, creating anaerobic pockets where Pythium and Phytophthora thrive.
Pro-Tip for Step 4: Elevate planters 6 inches above ground on concrete blocks. This air gap increases soil temperature by 3 to 5 degrees in early spring and deters voles from tunneling into root zones.
Step 5: Add Soil Mix
Fill to 2 inches below the rim. Compress lightly with a tamper to eliminate air pockets but maintain 35 to 40 percent pore space. Excessive compaction reduces oxygen diffusion, limiting aerobic bacteria that drive nitrogen cycling.
Step 6: Initial Watering
Saturate media with 5 gallons per cubic foot. Allow 24 hours for settling. Add additional soil to restore levels.
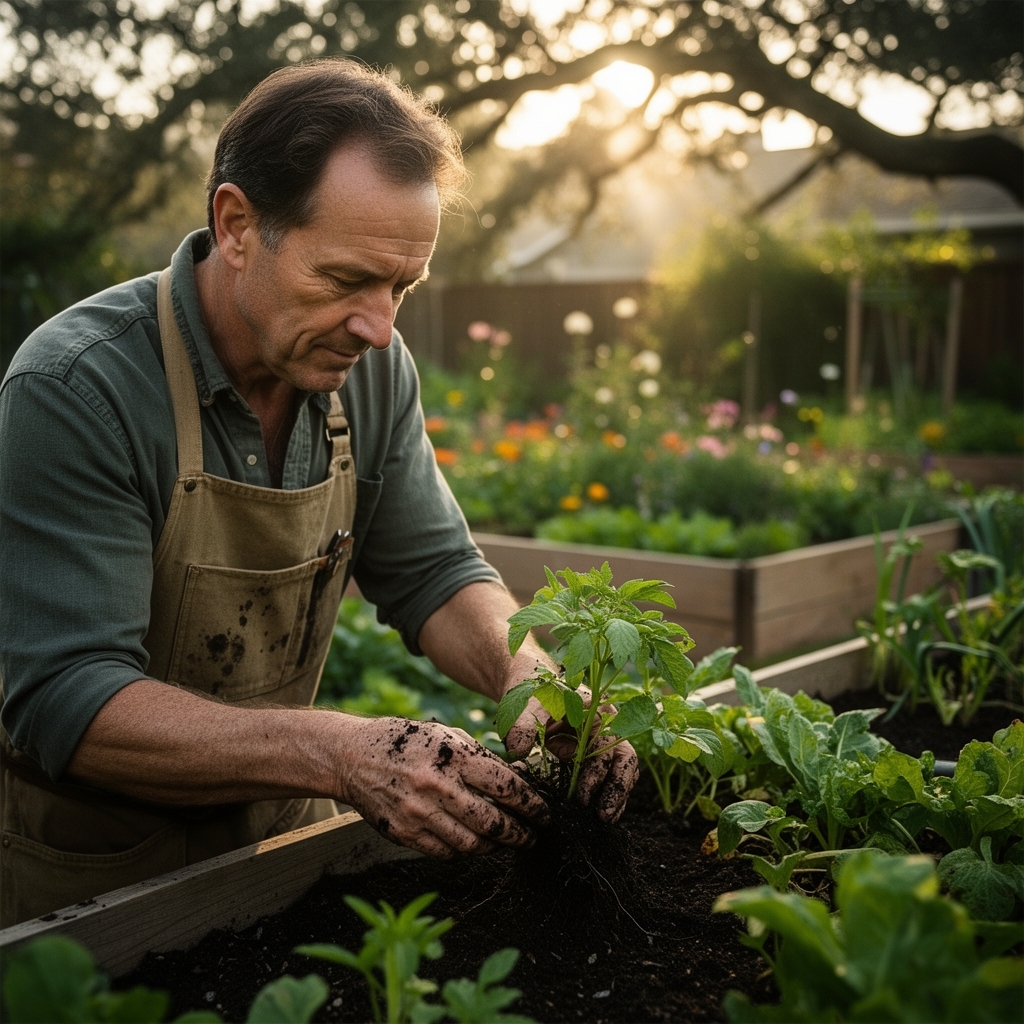
Step 7: Transplant Seedlings
Space determinate tomatoes 24 inches apart; indeterminate varieties require 30 inches. Bury stems to first true leaves, stimulating adventitious root formation along buried nodes. This increases root surface area by 40 to 60 percent.
Pro-Tip for Step 7: Dust root balls with Trichoderma harzianum before transplanting. This competitive fungus colonizes root surfaces, excluding Fusarium and Verticillium pathogens.
Step 8: Mulch Application
Spread 2 inches of straw mulch around plants. This moderates soil temperature, suppresses weeds, and reduces evapotranspiration by 30 percent.
Troubleshooting Common Disorders
Symptom: Blossom end rot on tomatoes and peppers, appearing as sunken black lesions on fruit bottoms.
Solution: Calcium deficiency caused by irregular watering. Apply calcium chloride foliar spray at 1 tablespoon per gallon. Maintain consistent soil moisture at 60 to 70 percent field capacity.
Symptom: Interveinal chlorosis on youngest leaves.
Solution: Iron lockout from pH above 7.2. Drench soil with chelated iron (FeEDDHA) at 1 ounce per 10 gallons. Sulfur amendments lower pH by 0.5 units per pound per 10 square feet.
Symptom: Wilting despite moist soil.
Solution: Root-knot nematodes (Meloidogyne species). Apply chitin-rich crab meal at 3 pounds per 10 square feet to stimulate chitinase-producing bacteria that parasitize nematode eggs.
Symptom: Holes in leaves with metallic-green beetles present.
Solution: Japanese beetles (Popillia japonica). Hand-remove adults at dawn when cold temperatures reduce mobility. Apply Bacillus thuringiensis var. galleriae to soil to target larvae.
Maintenance Protocol
Water when the top 1 inch of soil feels dry to touch, typically every 2 to 3 days in temperatures above 80 degrees Fahrenheit. Deliver 1 to 1.5 inches per week through drip irrigation positioned at soil level. Overhead watering promotes foliar diseases.
Side-dress every 21 days with fish emulsion (5-1-1 NPK) diluted to half strength. Excess nitrogen after fruit set redirects auxin distribution to vegetative growth rather than reproductive structures.
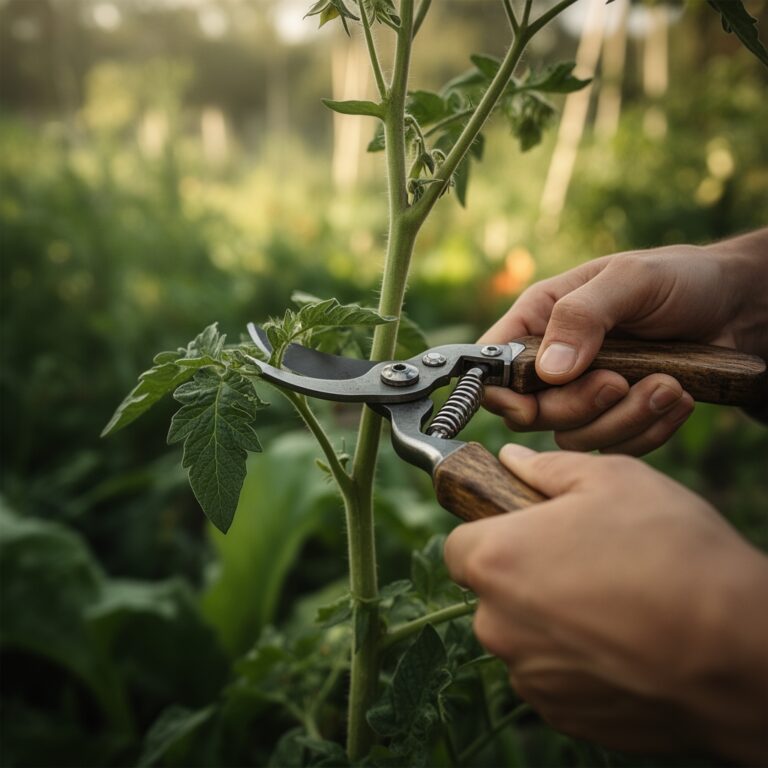
Prune indeterminate tomatoes to single leaders, removing suckers when they reach 2 inches. This concentrates carbohydrate transport to developing fruit, increasing average weight by 15 percent.
Frequently Asked Questions
How deep should a vegetable planter box be?
Minimum 10 inches for leafy greens; 12 to 18 inches for root crops and fruiting vegetables. Tomato taproots extend 24 inches under optimal conditions but adapt to shallower containers through lateral branching.
What wood types resist rot without treatment?
Cedar, redwood, black locust, and white oak contain natural fungicides. Cedar heartwood has a Janka hardness of 900 and resists decomposition for two decades in soil contact.
Can I reuse soil from last season?
Yes, if crops showed no disease. Remove plant debris, then sterilize by solarization. Cover moist soil with clear plastic for 4 to 6 weeks when daytime temperatures exceed 90 degrees. This raises soil temperature to 140 degrees at 6-inch depth, killing pathogens and weed seeds.
When should I replace wooden planters?
Monitor for structural softness and cracking. Cedar degrades when moisture content exceeds 20 percent for extended periods. Expect 15 years in well-drained sites; 10 years in clay soils with poor drainage.
Do I need to line the interior walls?
Optional. Polyethylene lining extends wood life by 3 to 5 years but reduces breathability. If using liner, perforate every 6 inches to permit gas exchange and prevent condensation between wood and plastic.