6 Efficient Steps to Use a Garden Cutter for Fast Harvesting
The satisfying crunch of a sharp blade through a thick zucchini stem signals the culmination of months of careful tending. Using a garden cutter for vegetable harvesting transforms a tedious, hour-long task into a precise fifteen-minute operation. The right tool, wielded with proper technique, preserves plant vigor while protecting your wrists from repetitive strain.
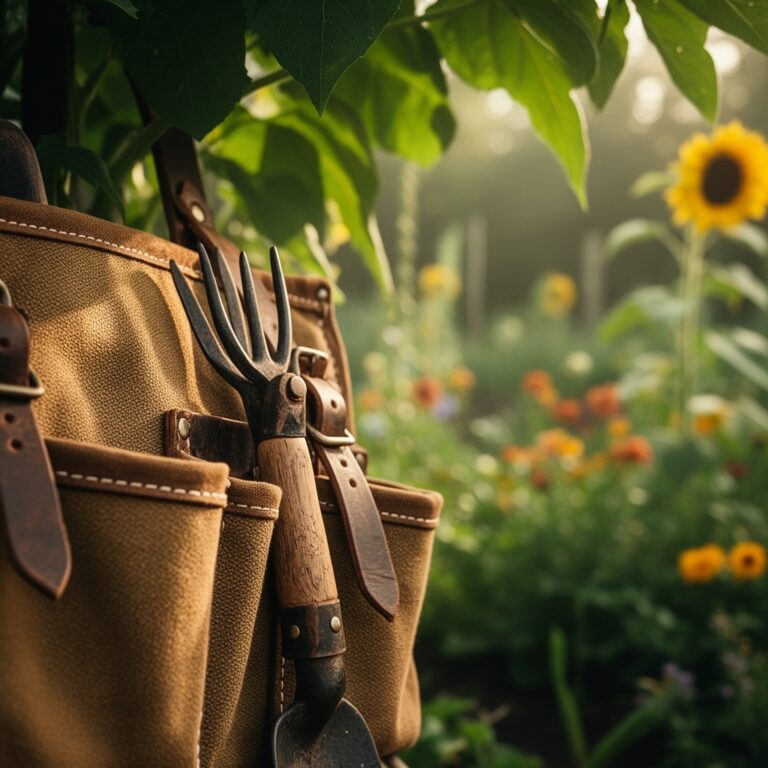
Materials and Tool Selection

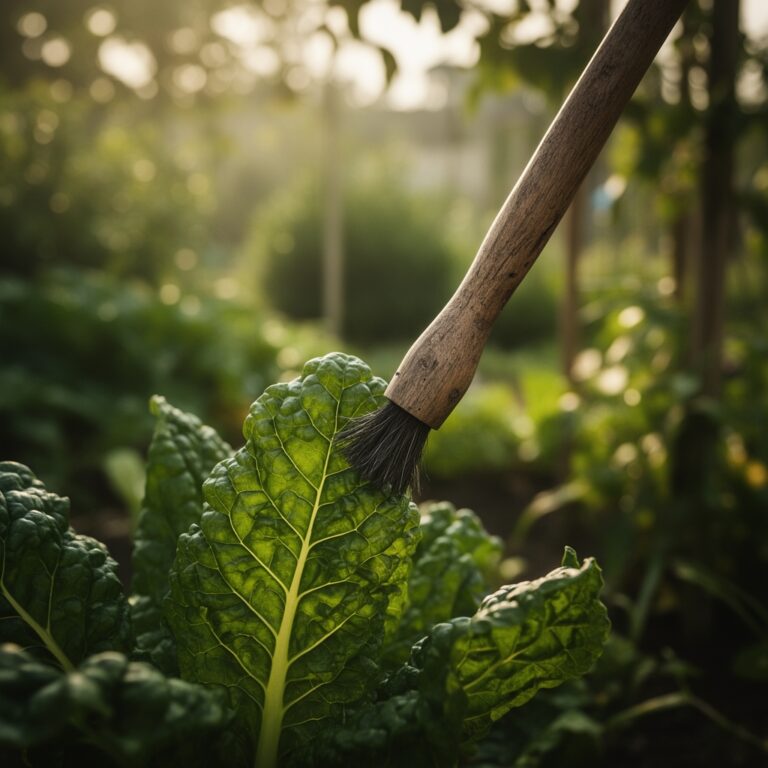
A quality garden cutter requires carbon steel (55-60 HRC hardness) or stainless steel blades for clean cuts that minimize pathogen entry points. Choose bypass-style cutters for soft-stemmed vegetables like tomatoes and lettuce. Select anvil-style models for woody herbs such as rosemary or thyme.
Sanitizing solution proves essential. Mix one part bleach to nine parts water (pH 7.5-8.0 after dilution) in a spray bottle. Apply between cuts when moving from plant to plant to prevent disease transmission.
Soil amendments support regrowth after harvest. Keep a 4-4-4 organic fertilizer blend on hand, delivering balanced nitrogen, phosphorus, and potassium. Incorporate mycorrhizal fungi inoculant at 0.5 ounces per gallon of soil volume to enhance nutrient uptake through increased cation exchange capacity.
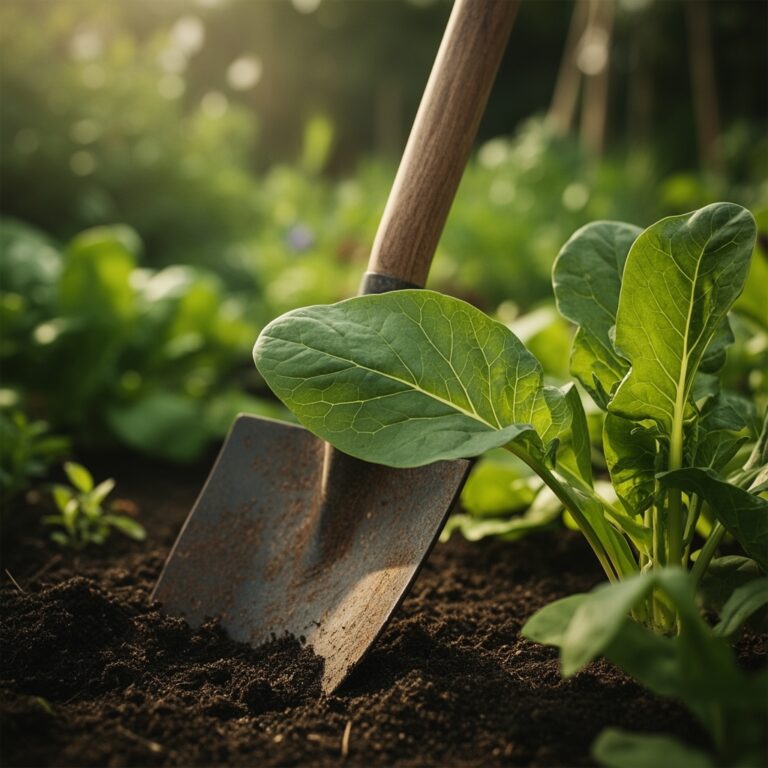
Collection containers matter. Use rigid-walled harvest baskets rather than soft bags. Hard sides prevent bruising and maintain the structural integrity of delicate produce like bell peppers and eggplants.
Timing Your Harvest Window
Hardiness zones dictate harvest schedules. Zone 5 gardeners typically harvest cool-season crops from late May through June, then again September through October. Zone 8 offers near-year-round opportunities, with only a brief pause during January frosts.
Morning hours between 6:00 and 10:00 AM provide optimal conditions. Plant tissues exhibit maximum turgor pressure after overnight rehydration. Sugars concentrate in fruits and leaves before photosynthesis converts them to starches.
Frost dates create hard deadlines. Harvest all frost-sensitive vegetables like basil, cucumbers, and squash 72 hours before predicted frost events. Root vegetables including carrots and parsnips tolerate light freezes down to 28°F and actually develop sweeter flavor profiles after cold exposure.
Six-Phase Harvest Technique
Sowing Phase Preparation
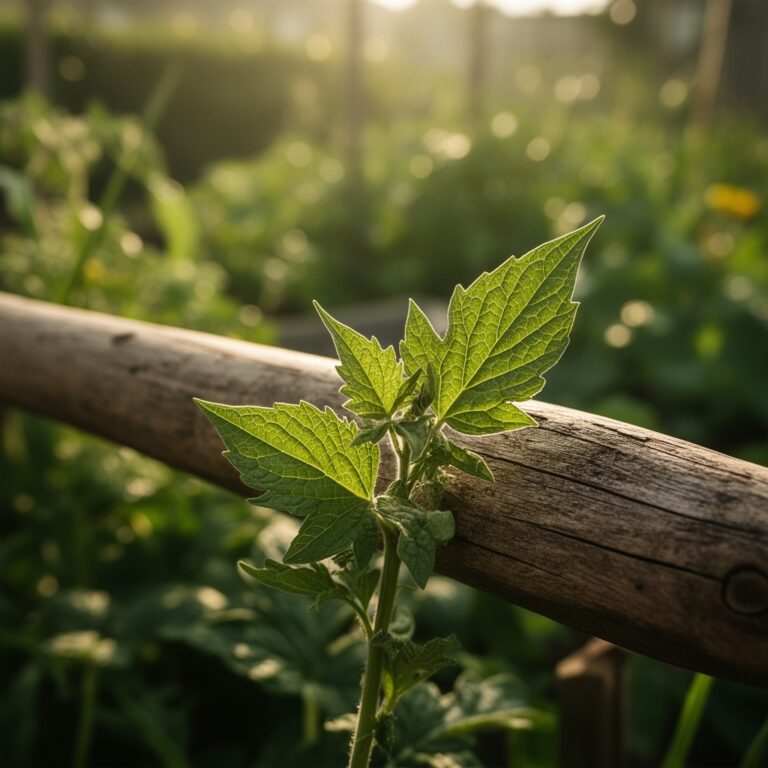
Begin efficient harvesting protocols at sowing time. Plant in clearly defined rows with 18-inch spacing for determinate varieties, 24-inch spacing for indeterminate types. This geometry allows blade clearance without damaging adjacent plants.
Mark calendar dates for maturity windows. Most seed packets list "days to maturity" ranging from 50 days for radishes to 85 days for winter squash. Add seven days as buffer time.
Pro-Tip: Apply slow-release fertilizer (14-14-14 NPK) at sowing depth. This positions nutrients where developing taproots access them, producing thicker stems that withstand cutting stress.
Transplanting Phase Assessment
Evaluate stem diameter at transplanting. Seedlings with 0.25-inch stem thickness at soil line develop into plants that tolerate repeated harvests. Thinner specimens struggle to regenerate after cutting.
Harden off transplants through graduated sun exposure over ten days. This process thickens cuticle layers and increases lignin deposition in cell walls, creating stems that resist crushing during cuts.
Pro-Tip: Prune transplants at a 45-degree angle two inches above the cotyledon node. This angle maximizes surface area for auxin distribution, promoting lateral branching that yields more harvest points.
Establishing Cutting Protocol
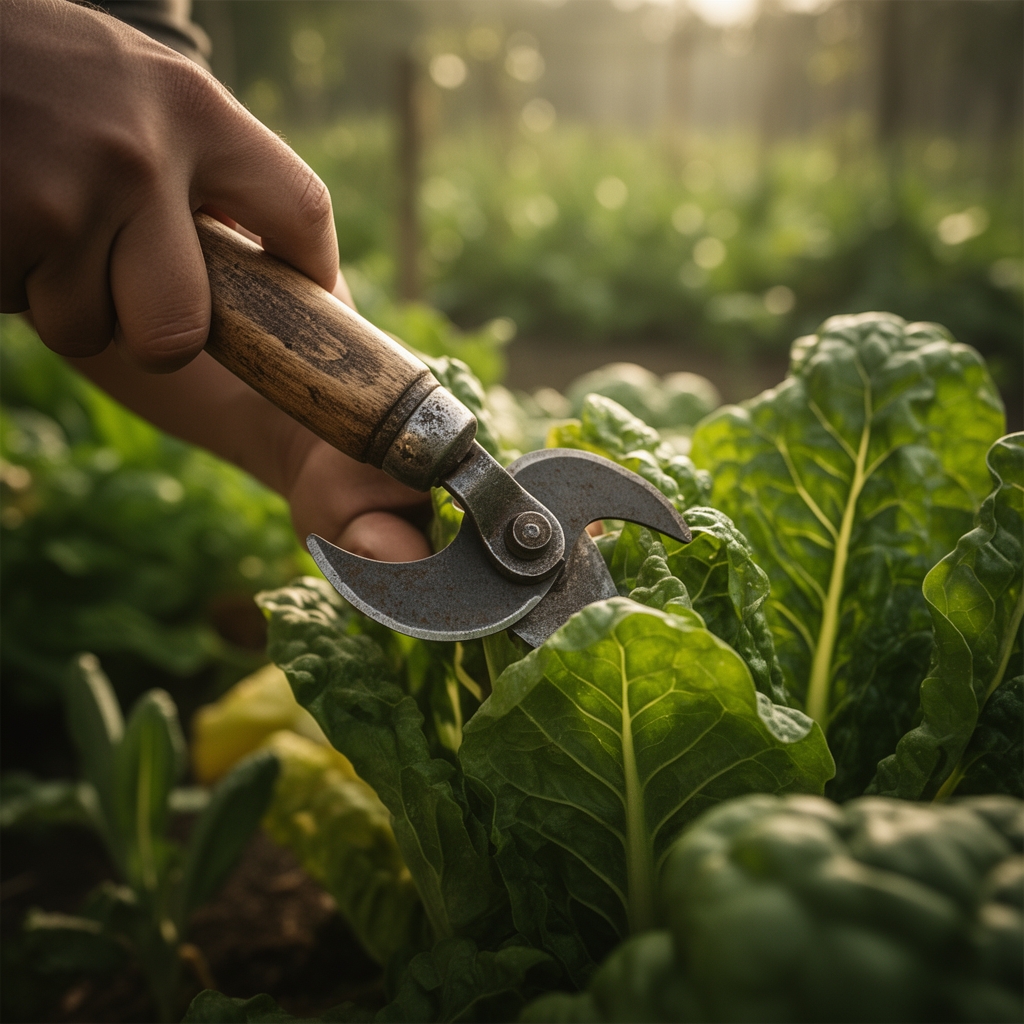
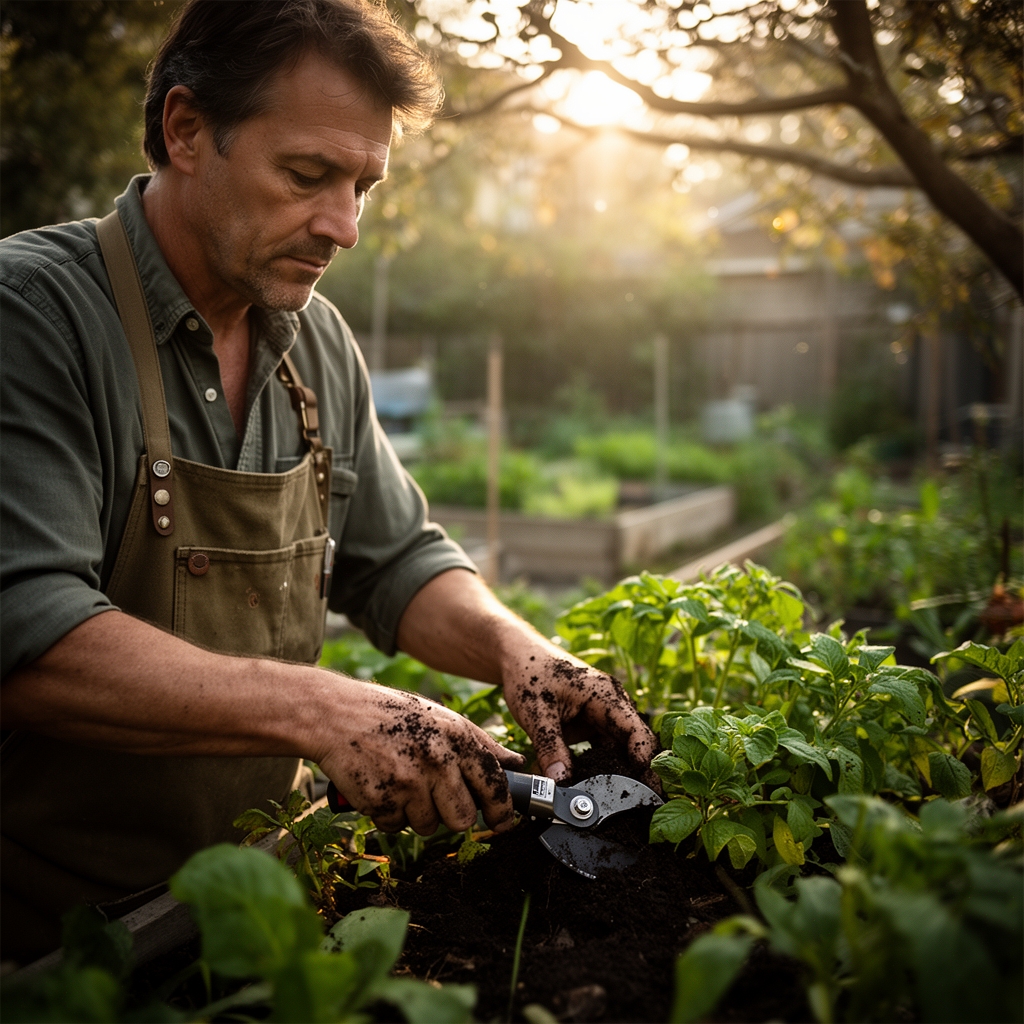
Position your non-dominant hand six inches behind the target stem. This hand stabilizes the plant while your dominant hand executes the cut. Never grasp the stem you intend to sever.
Angle blades at 30 degrees from vertical. This creates an oval cut surface rather than a circular one, reducing water accumulation that invites fungal colonization.
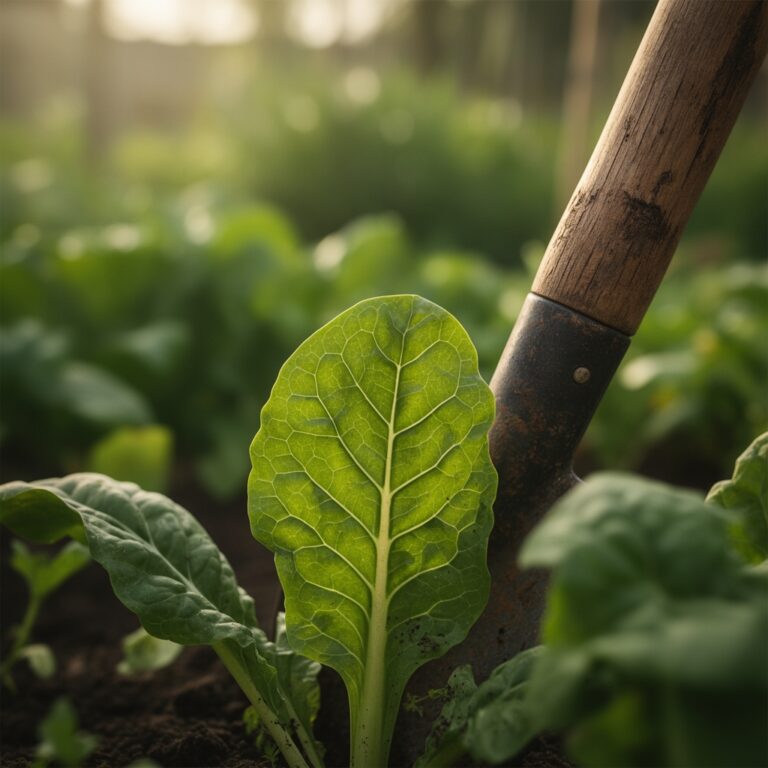
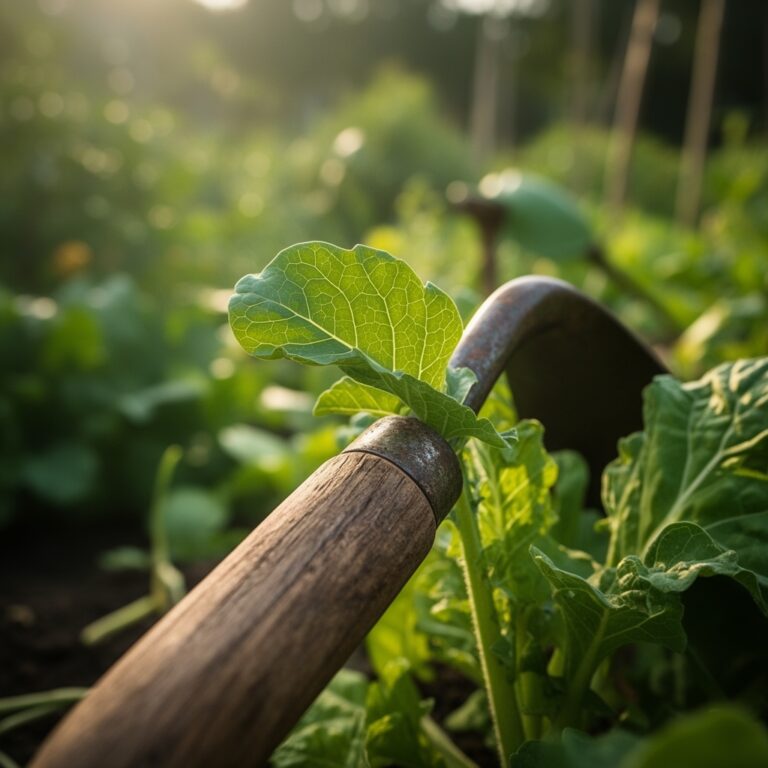
Cut 0.25 inches above nodes for indeterminate plants like tomatoes and cucumbers. The remaining node contains meristematic tissue capable of producing new growth within seven to ten days.
Pro-Tip: For leafy greens, harvest outer leaves first while leaving the central growing point intact. Remove no more than 30 percent of total leaf mass per cutting session to maintain photosynthetic capacity.
Sanitization Between Cuts
Spray blade surfaces with sanitizing solution after every fifth cut when working with healthy plants. Increase frequency to every single cut when any sign of disease appears within the garden bed.
Allow ten seconds of contact time before making the next cut. This duration achieves a three-log reduction in bacterial populations including Pseudomonas and Xanthomonas species.
Post-Harvest Plant Care
Apply water-soluble fertilizer (20-20-20 NPK diluted to 200 ppm nitrogen) within two hours of harvesting. Plants experience temporary shock after losing significant biomass. Readily available nutrients speed recovery.
Mulch exposed soil around cut plants with 1.5 inches of aged compost. This layer moderates soil temperature fluctuations and suppresses weed germination that would compete for resources during the recovery period.
Storage and Blade Maintenance
Rinse blades with clean water after each harvest session. Dry thoroughly with lint-free cloth to prevent rust formation on carbon steel models.
Apply food-grade mineral oil to pivot points monthly. Three drops per joint maintains smooth operation and prevents sap buildup that causes sticky, imprecise cuts.
Troubleshooting Common Harvest Issues
Symptom: Ragged, torn cuts with brown edges.
Solution: Sharpen blades using a 20-degree angle whetstone. Dull blades crush vascular tissue rather than severing it cleanly, creating entry points for Botrytis and bacterial soft rot.
Symptom: Plants wilt within hours after cutting.
Solution: Harvest during morning hours only. Afternoon cuts occur when plants experience maximum transpirational stress. Reduced turgor pressure prevents proper wound sealing.
Symptom: Secondary growth produces smaller, misshapen fruits.
Solution: Increase phosphorus availability by applying bone meal (0-12-0 NPK) at one tablespoon per plant. Phosphorus drives flower and fruit development in regenerating tissues.
Symptom: Fungal growth at cut sites within 48 hours.
Solution: Improve air circulation by removing lower leaves up to six inches above soil line. Space plants an additional six inches apart in future sowings to reduce humidity around cut surfaces.
Symptom: Insects congregating at fresh cuts.
Solution: Dust cut surfaces with diatomaceous earth immediately after harvesting. The silica particles desiccate soft-bodied insects like aphids while the wound calluses over.
Maintenance Schedule for Peak Performance
Water plants receiving regular harvests with 1.25 inches per week measured at root zone depth. Use a rain gauge placed at soil level rather than estimating spray coverage. Cut plants require 25 percent more water than unharvested specimens due to increased metabolic demands.
Side-dress with compost every 21 days during active harvest periods. Apply a 0.5-inch layer in a six-inch ring around each plant base. This protocol replaces nutrients exported in harvested tissues.
Monitor soil pH monthly using a calibrated meter. Maintain readings between 6.2 and 6.8 for optimal nutrient availability. Applications of elemental sulfur at 0.5 pounds per 100 square feet lower pH by approximately 0.5 units. Dolomitic limestone raises pH at the same rate when applied at one pound per 100 square feet.
Test blade sharpness before each harvest session. A properly sharp edge cuts cleanly through a sheet of printer paper held vertically. Blades requiring more than light pressure need immediate attention.
Frequently Asked Questions
How often can I harvest from the same plant?
Leafy greens tolerate cutting every seven to ten days. Fruiting vegetables like tomatoes and peppers support harvesting every three to four days during peak production. Root vegetables offer one-time harvests only.
What time of day preserves the most nutrients?
Harvest between 6:00 and 8:00 AM when vitamin C content peaks at 15 percent higher than evening levels. Sugar content in fruits reaches maximum concentration at this time.
Should I harvest before or after watering?
Complete harvesting first, then water immediately afterward. Pre-harvest irrigation dilutes sugars and increases tissue water content, reducing storage life by 30 to 40 percent.
How do I prevent disease spread through cutting tools?
Sanitize blades with 10 percent bleach solution between every plant when any disease symptoms appear in the garden. Replace solution every two hours as organic matter neutralizes chlorine effectiveness.
Can I harvest in light rain?
Avoid cutting during precipitation or when foliage remains wet. Moisture on blade surfaces dilutes sanitizing agents and spreads waterborne pathogens like Phytophthora across cut wounds.